This guide will walk you through setting up Cloudflared on your system.
You need to have administrative (sudo) access to your system.
Here are the steps to install Cloudflared.
| #!/bin/sh | |
| # Parsing command line arguments | |
| while [ "$1" != "" ]; do | |
| case $1 in | |
| --ip ) shift | |
| IP=$1 | |
| ;; | |
| * ) echo "Invalid argument" | |
| exit 1 |
| # Installing dependencies | |
| DEBIAN_FRONTEND=noninteractive && \ | |
| wget -q -O - https://dl-ssl.google.com/linux/linux_signing_key.pub > /usr/share/keyrings/chrome.pub && \ | |
| echo 'deb [arch=amd64 signed-by=/usr/share/keyrings/chrome.pub] http://dl.google.com/linux/chrome/deb/ stable main' > /etc/apt/sources.list.d/google-chrome.list && \ | |
| apt update -y && \ | |
| apt install -y google-chrome-stable | |
| apt install xvfb -y | |
| # Install miniconda |
| DEBIAN_FRONTEND=noninteractive && \ | |
| wget -q -O - https://dl-ssl.google.com/linux/linux_signing_key.pub > /usr/share/keyrings/chrome.pub && \ | |
| echo 'deb [arch=amd64 signed-by=/usr/share/keyrings/chrome.pub] http://dl.google.com/linux/chrome/deb/ stable main' > /etc/apt/sources.list.d/google-chrome.list && \ | |
| apt update -y && \ | |
| apt install -y google-chrome-stable | |
| apt install xvfb -y | |
| export DISPLAY=:1 |
| Host * | |
| ConnectTimeout 30 | |
| ServerAliveInterval 30 | |
| ControlMaster auto | |
| ControlPersist 60s | |
| HashKnownHosts yes | |
| GSSAPIAuthentication no | |
| IdentitiesOnly yes | |
| Compression yes | |
| Host usny |
| #!/bin/bash | |
| # Set the destination directory | |
| DEST_DIR="/usr/local/bin" | |
| # Get the latest release tag from the GitHub API | |
| LATEST_RELEASE=$(curl --silent "https://api.github.com/repos/juanfont/headscale/releases/latest" | grep '"tag_name":' | sed -E 's/.*"([^"]+)".*/\1/') | |
| # Form the URL of the latest release binary for Linux AMD64 | |
| ASSET_URL="https://github.com/juanfont/headscale/releases/download/${LATEST_RELEASE}/headscale_${LATEST_RELEASE#v}_linux_amd64" |
| #!/sbin/openrc-run | |
| name=cloudflared | |
| command="/usr/bin/$name" | |
| command_args="tunnel --config /etc/cloudflared/config.yml run" | |
| command_background="yes" | |
| start_stop_daemon_args="--user root:root" | |
| pidfile="/run/$name.pid" |
| server | |
| { | |
| listen 80; | |
| listen 443 ssl http2; | |
| server_name [YOUR_DOMAIN]; | |
| index index.php index.html index.htm default.php default.htm default.html; | |
| root /www/wwwroot/zotero; | |
| #SSL-START SSL related configuration, do NOT delete or modify the next line of commented-out 404 rules | |
| #error_page 404/404.html; |
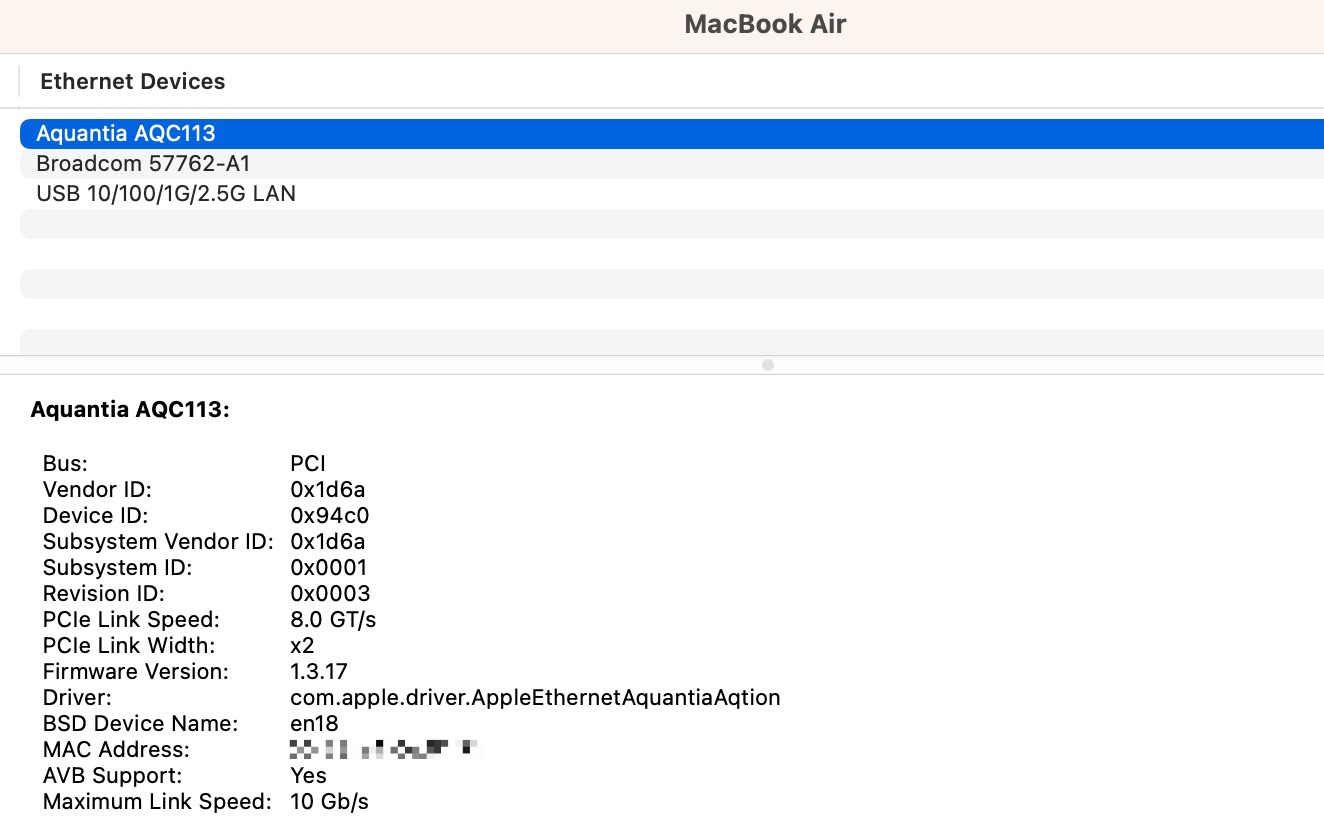
The M1 Mac natively supports AQC107s and AQC113 (tested and effective)/AQC113CS core models. AQC107 has been tested and is not supported (macOS 12/13).
The AQC113 can be found on PChome in Taiwan. The OWC 10G Ethernet PCIe Network Adapter Expansion Card can be purchased for 108USD. The AQC113 PCIe3.0 x1 adapter for Thunderbolt 3 has a reading speed of 10GbE on a Mac (Ventura 13.1).