In this session, we are going to mimic a posts api that we worked on in a previous class. Typecode provides the free sample api.
APIs are what enable the backend, frontend and your mobile application to work together. We have also seen how to build basic REST api using Django Rest Framework
To get the post API to work we will need to work on four modules:
-
urls
-
views
-
models
-
serialiezers
Let us begin.
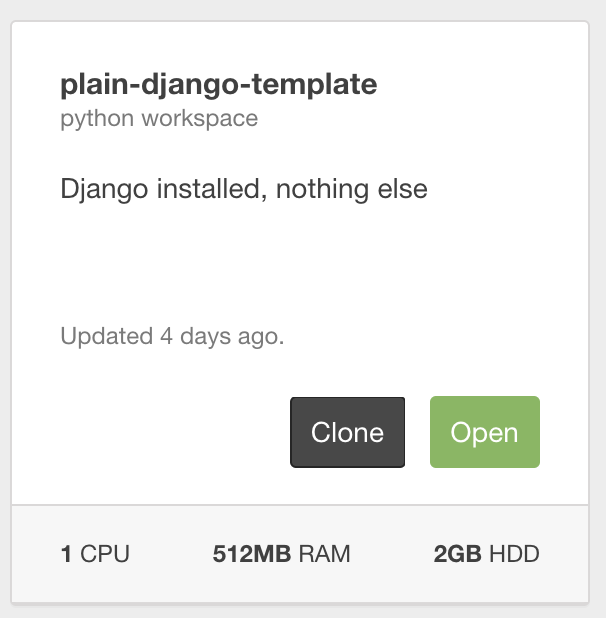
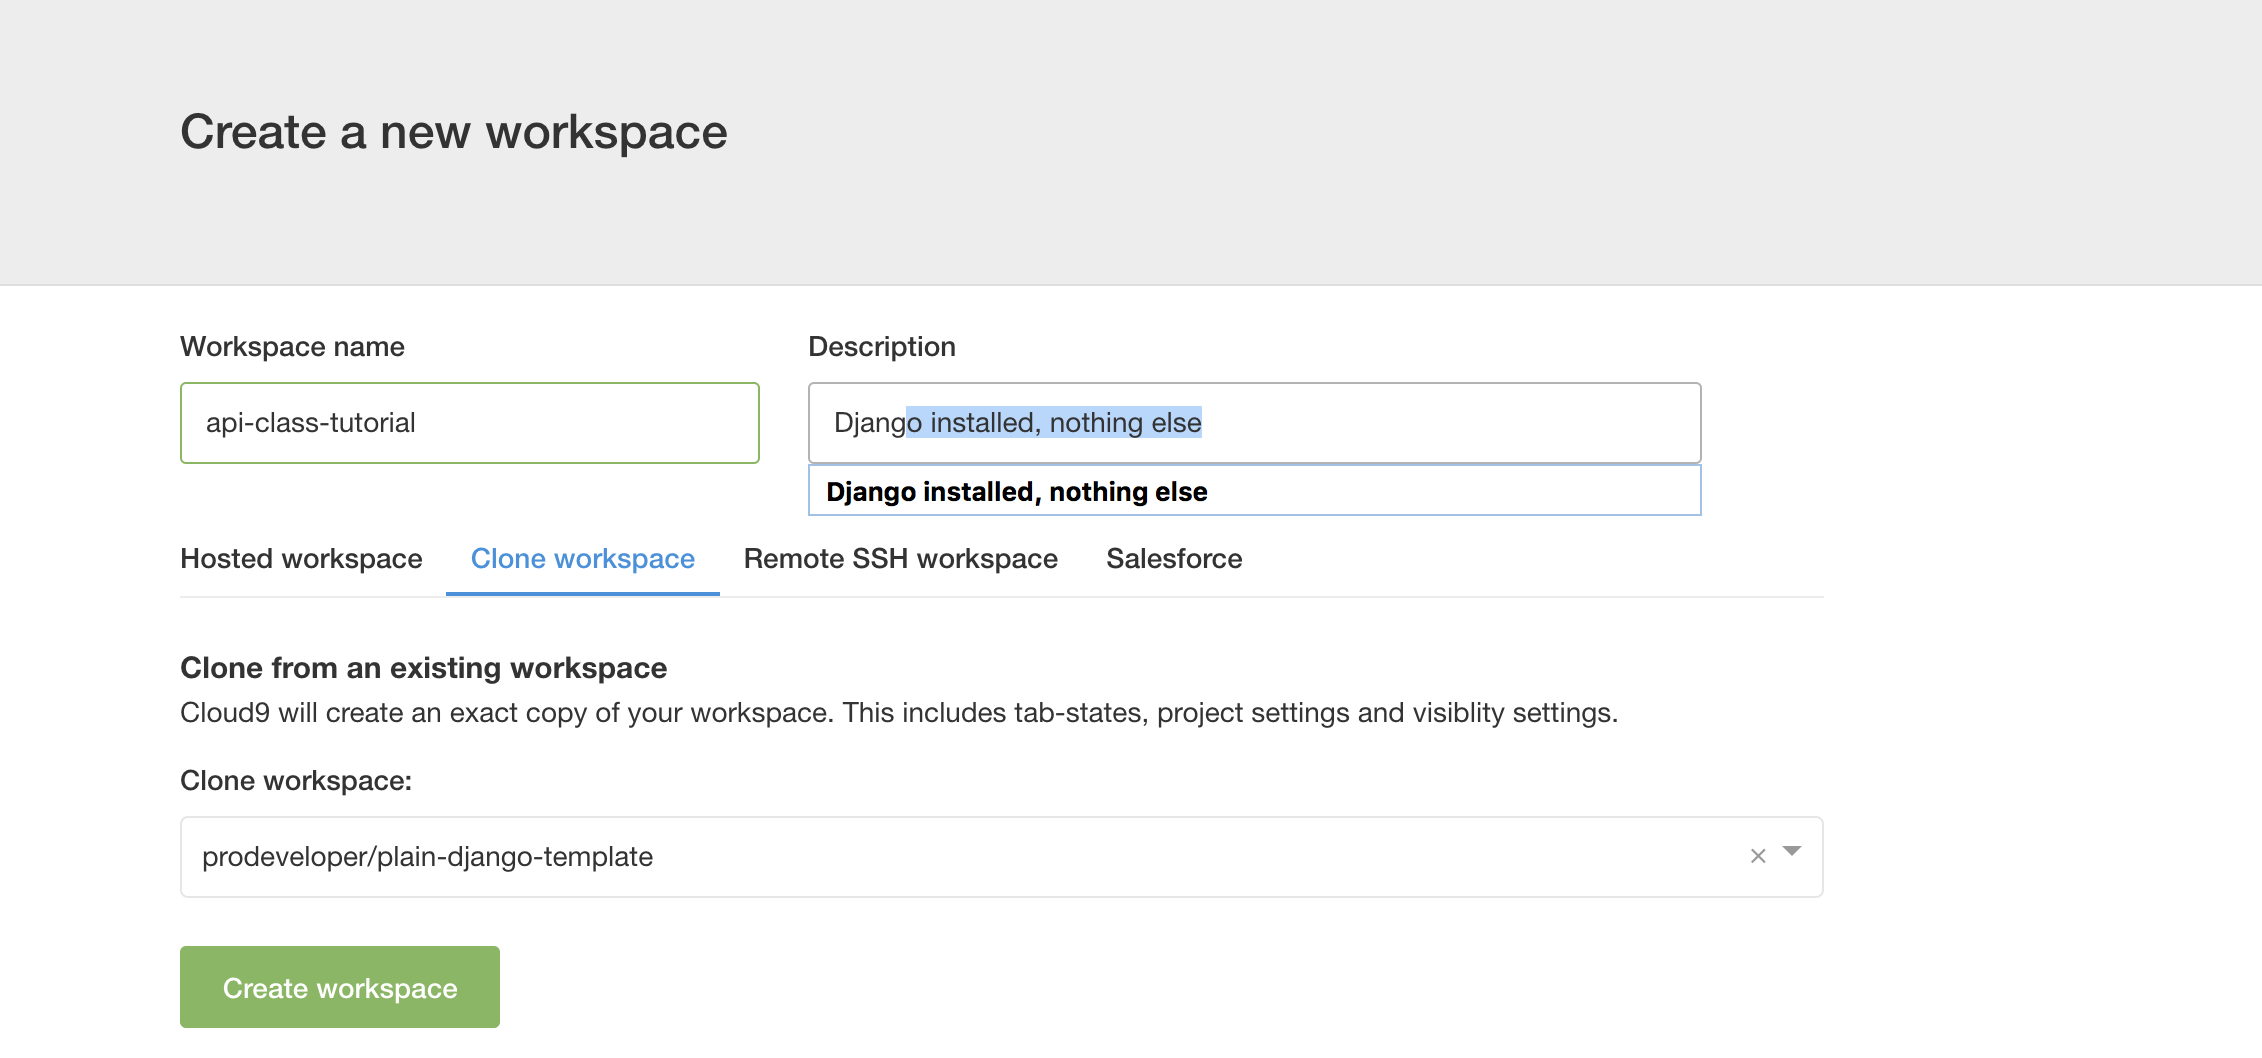
Starting from our basic django install, let us clone the workspace.
We can now edit the details on the cloned workspace
This process ensures we always have an easy way to recreate the environments we need.
With our workspace ready, we can now go ahead and start by creating the model we need.
You notice we skipped id this is because the field will be autogenerated. Also notice that we did not specify the userId relationship. This is intentional for purposes of this class.
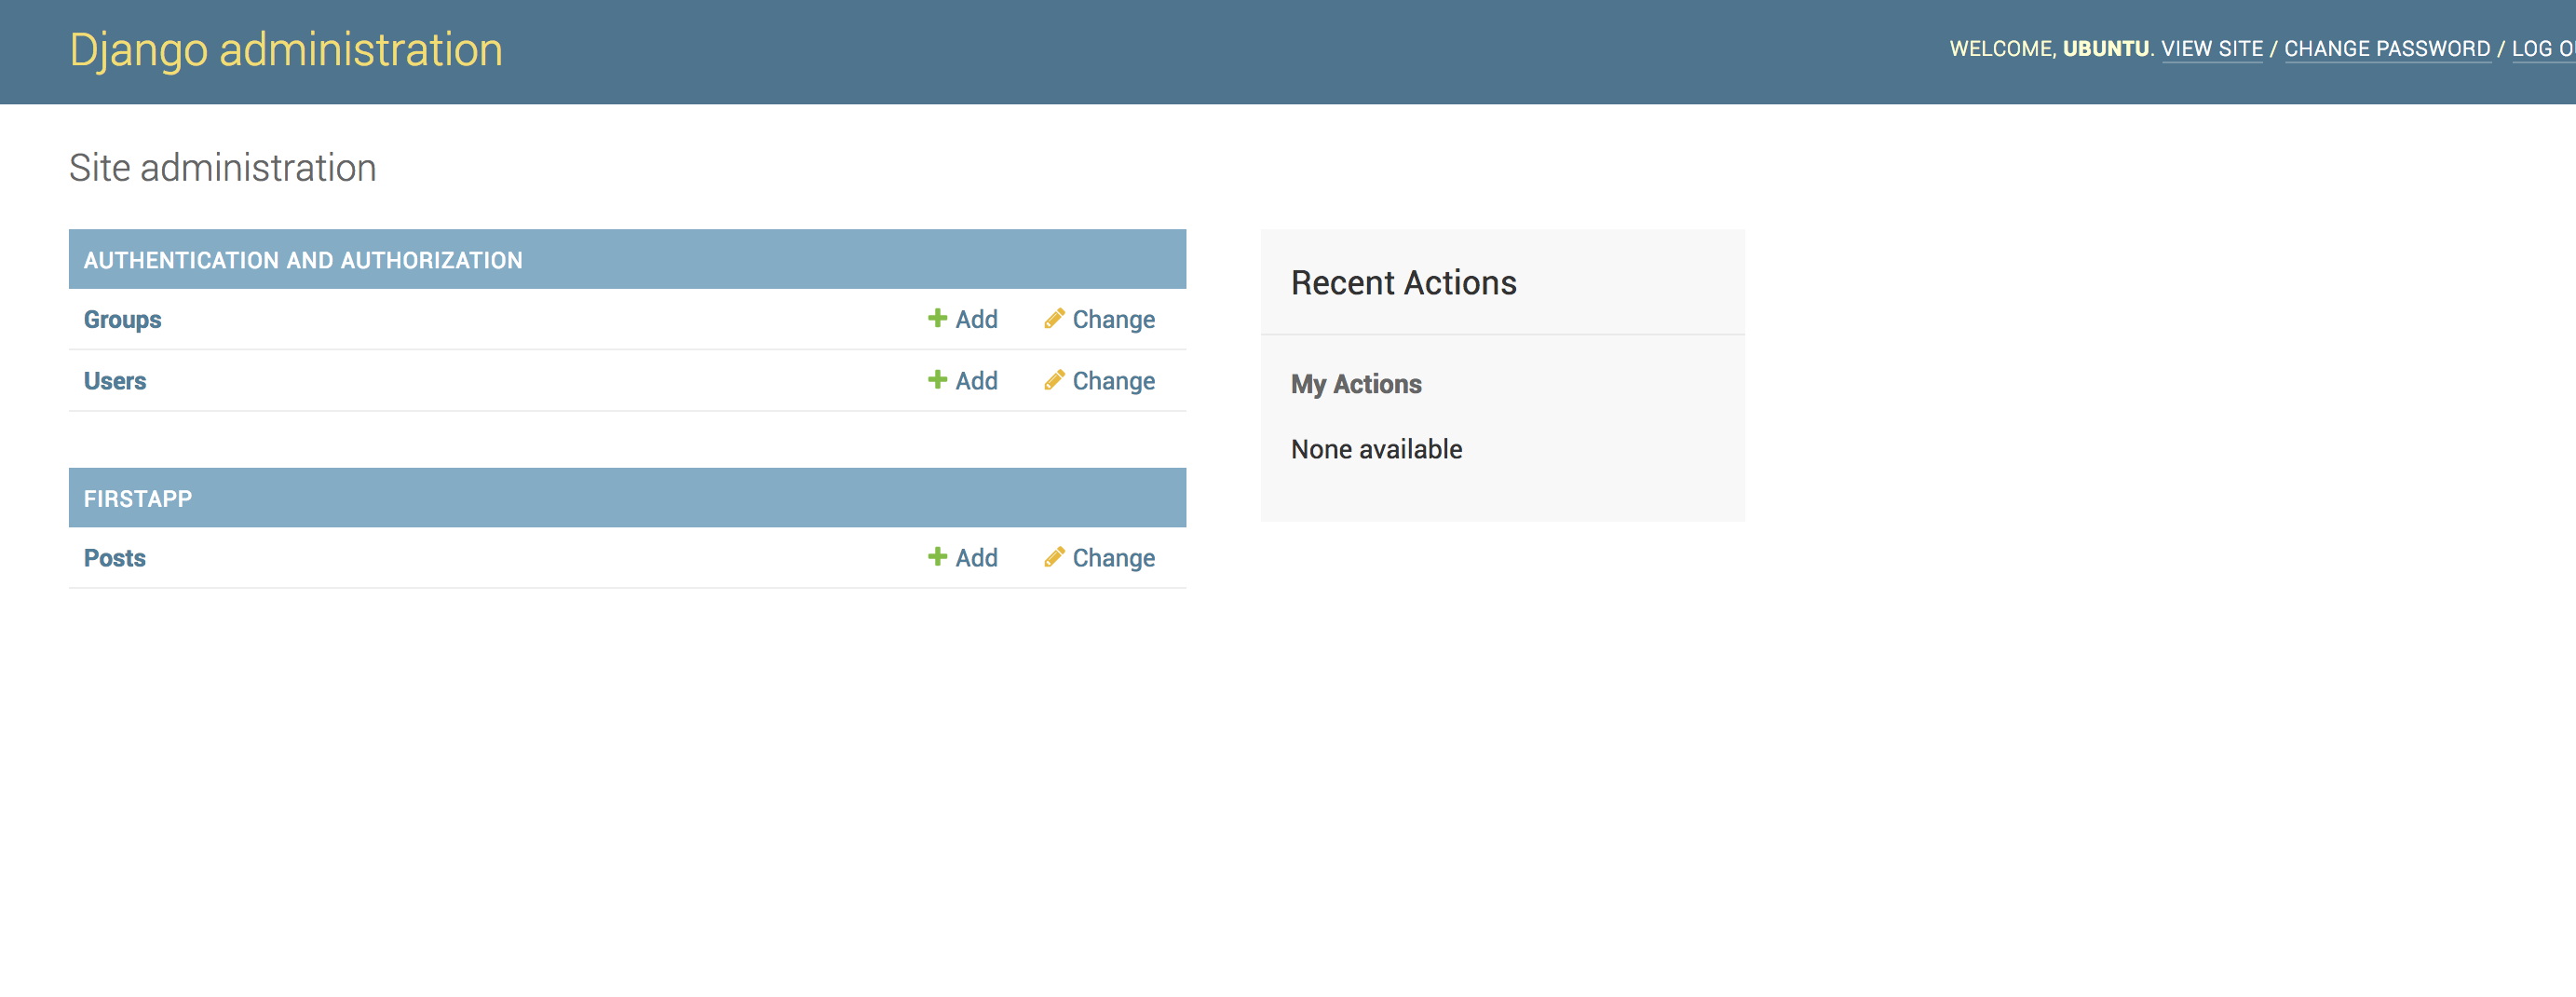
As usual make sure your model is registered on the admin side.
And then run your migrations
Incase your migrations don't run, ensure you have it on the INSTALLED_APPS list in your settings.py
At this point run the test server to ensure you can actually see the model on your admin side and interact with it
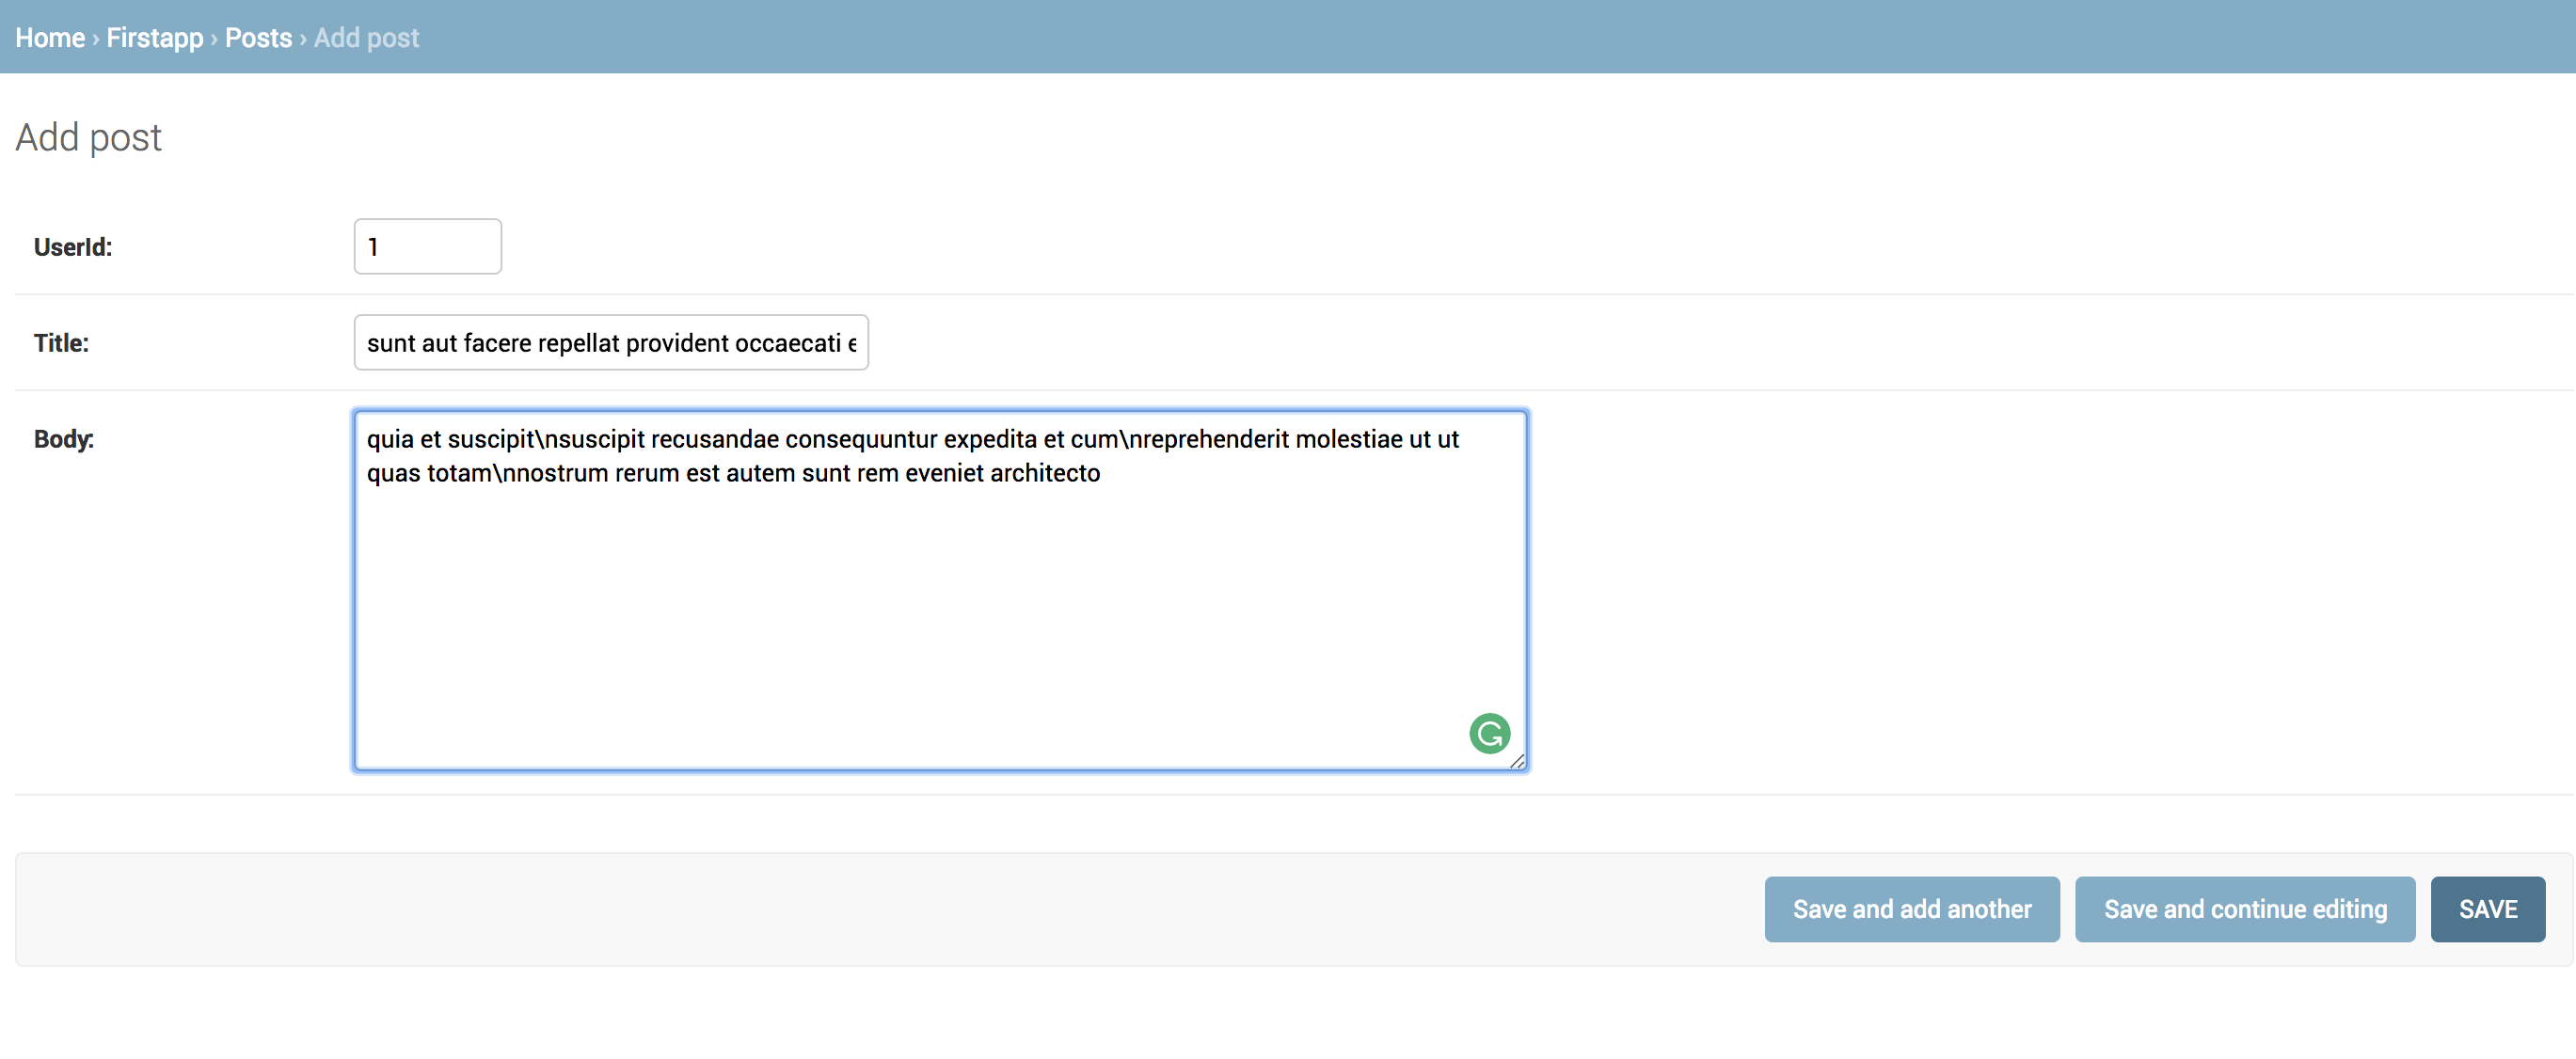
Now go ahead and add at least two sample records.
Now our records are available but we can't see them on the frontend. In the next step we will expose the model using Django REST framework.
We now need a way for DjangoRest to understand our relevant models. Ensure you have it installed by following the instructions from this lesson
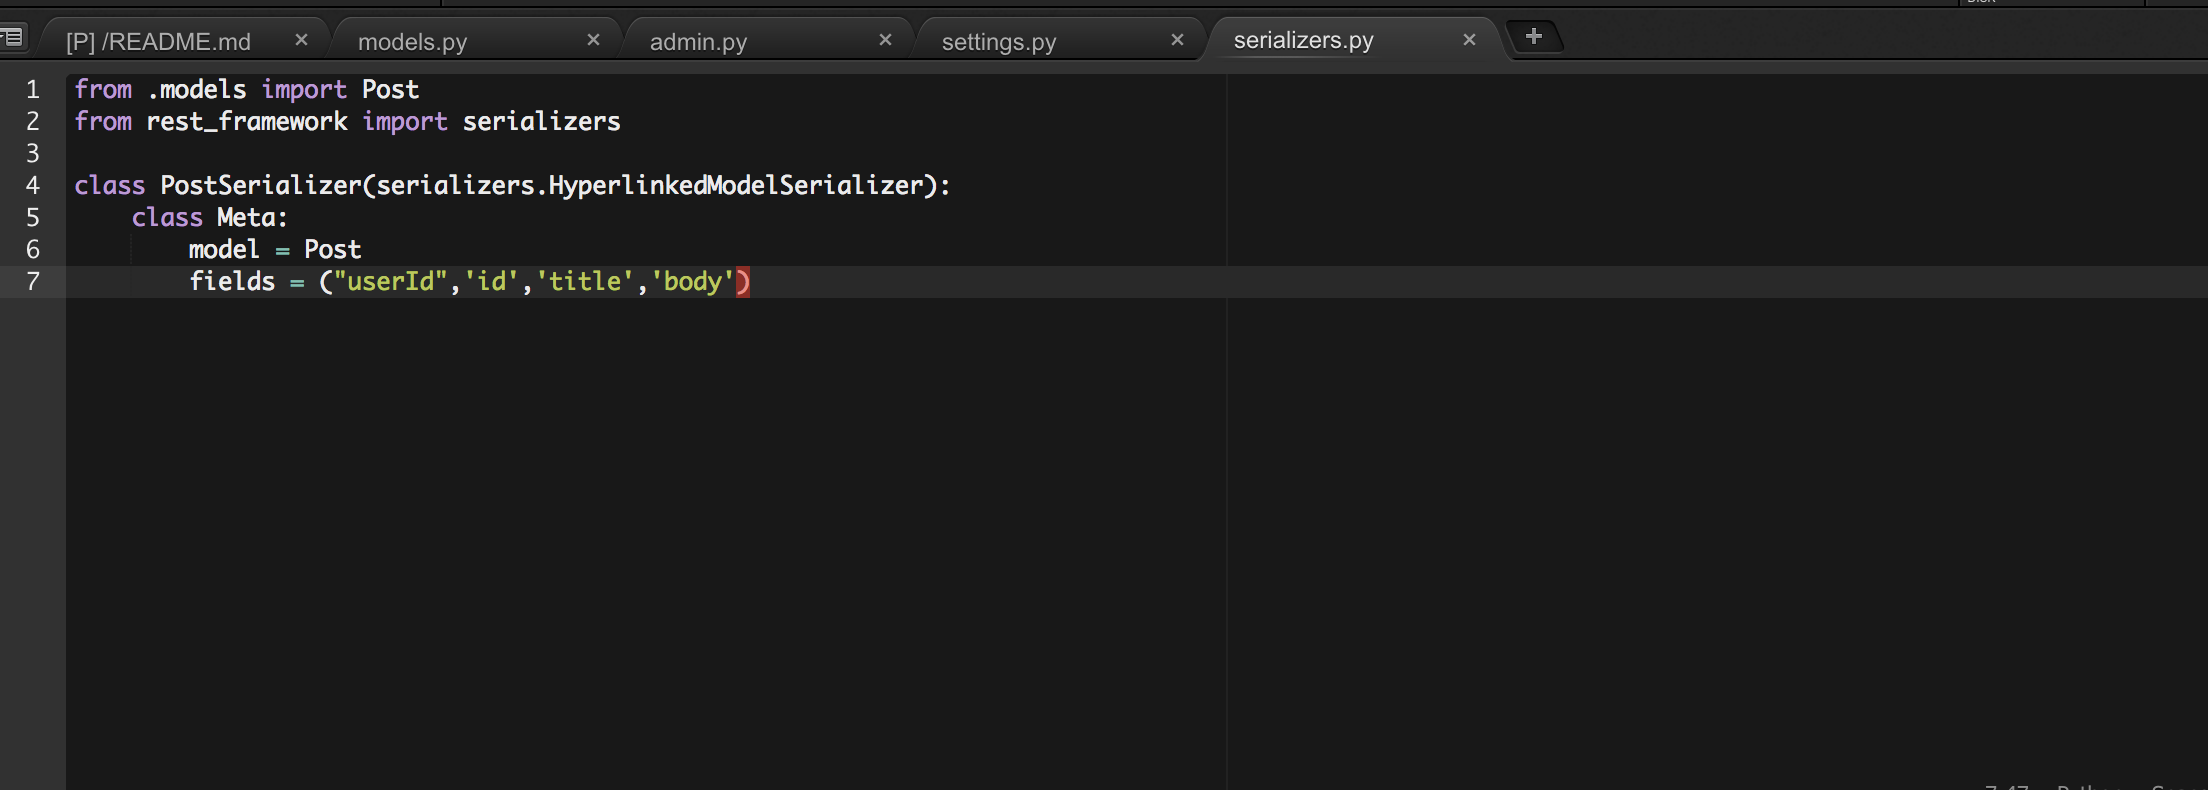
Once that is done, go ahead and create the serializer for the Post model as follows.
As usual, prepare the view for the model.
And wire it all up with the url.
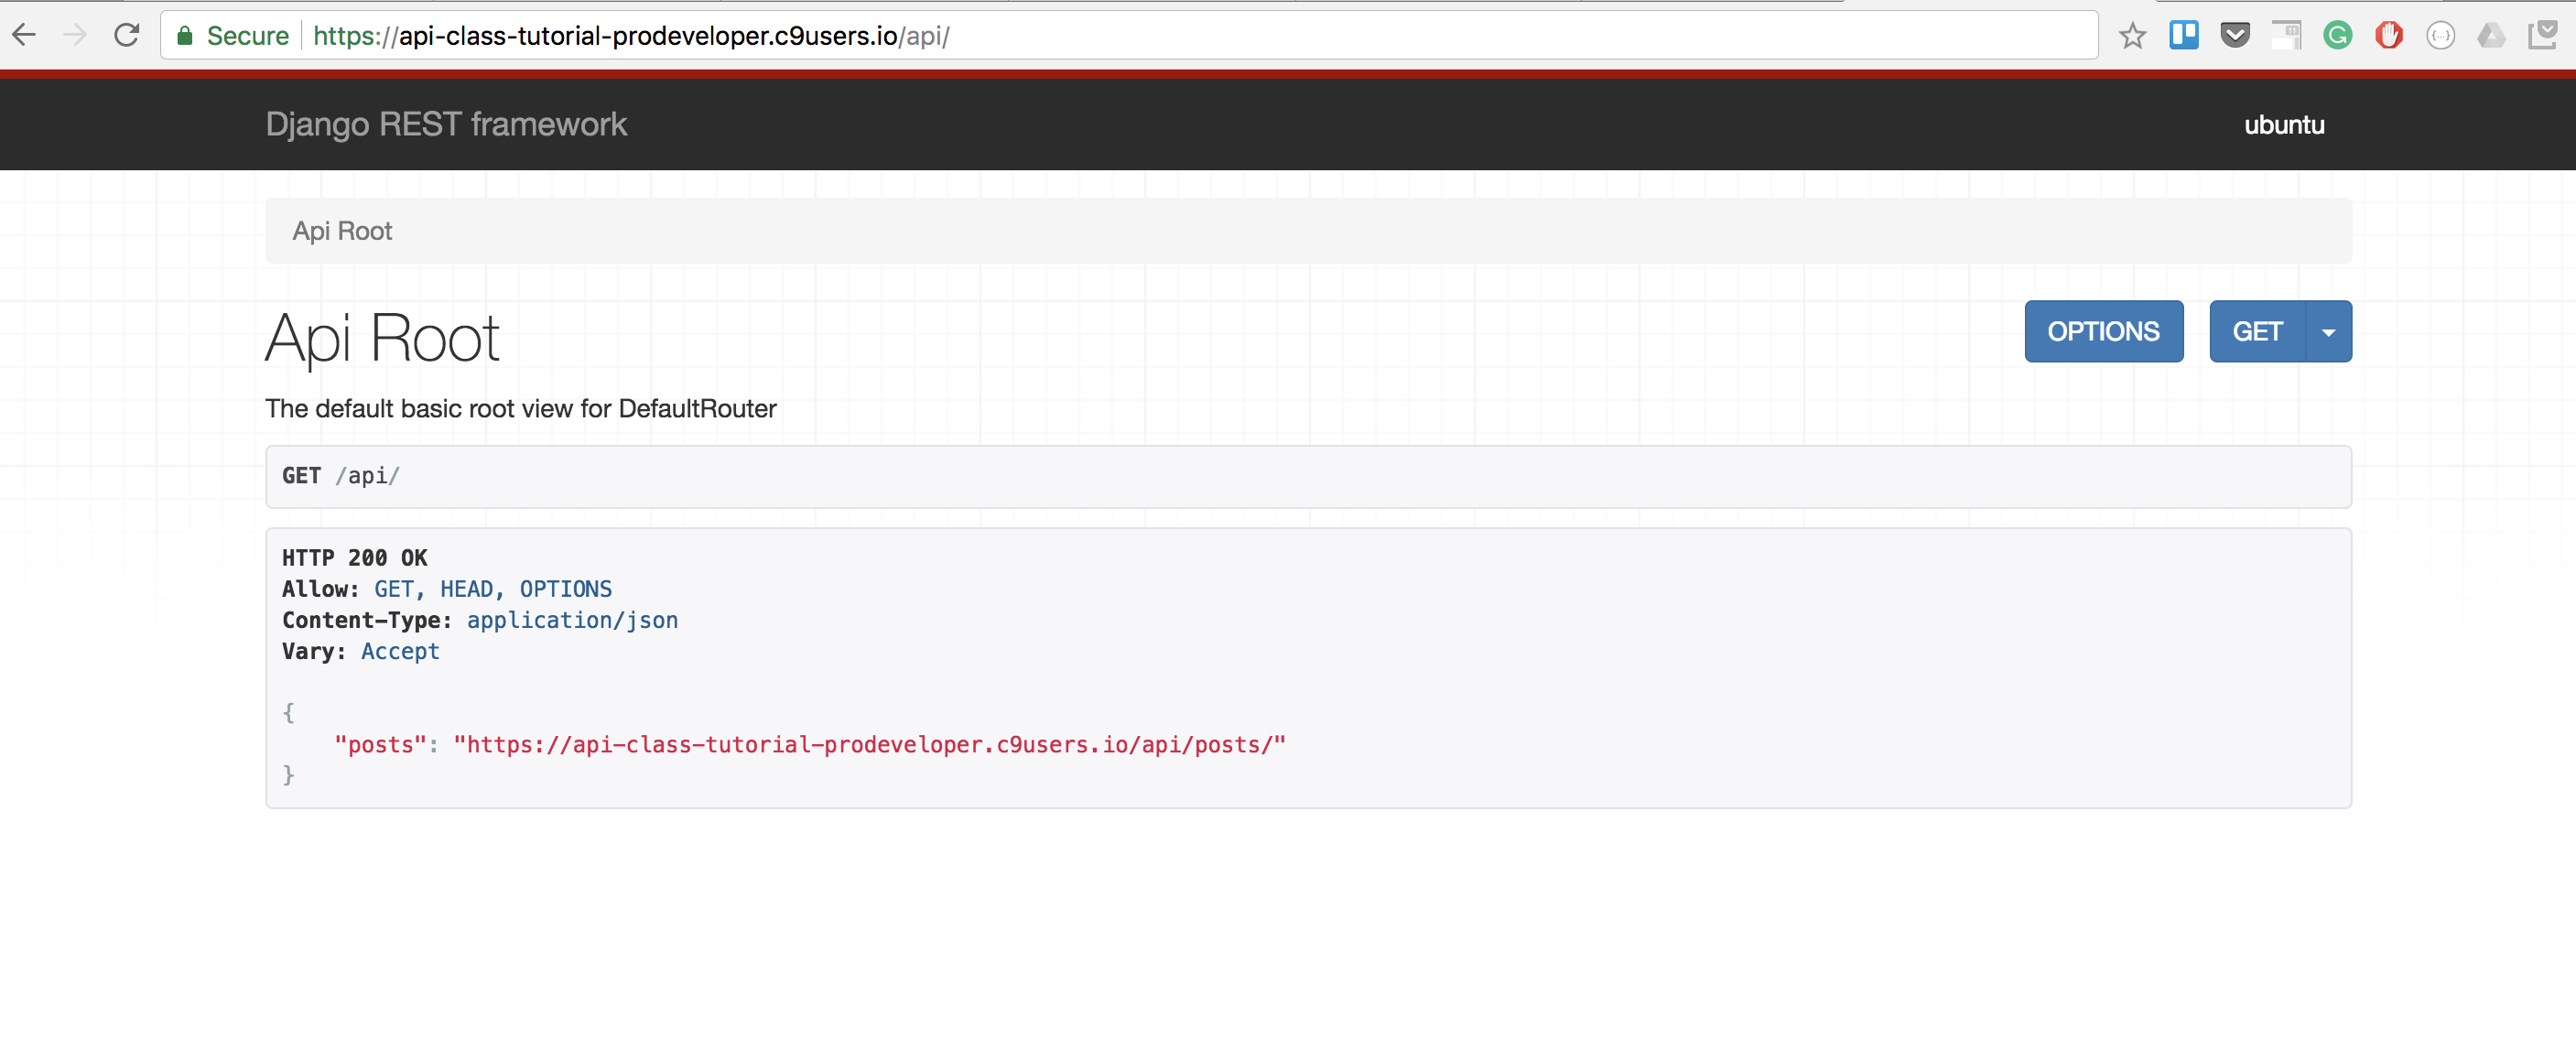
Now when you run the development server and navigate to /api you can see the API root
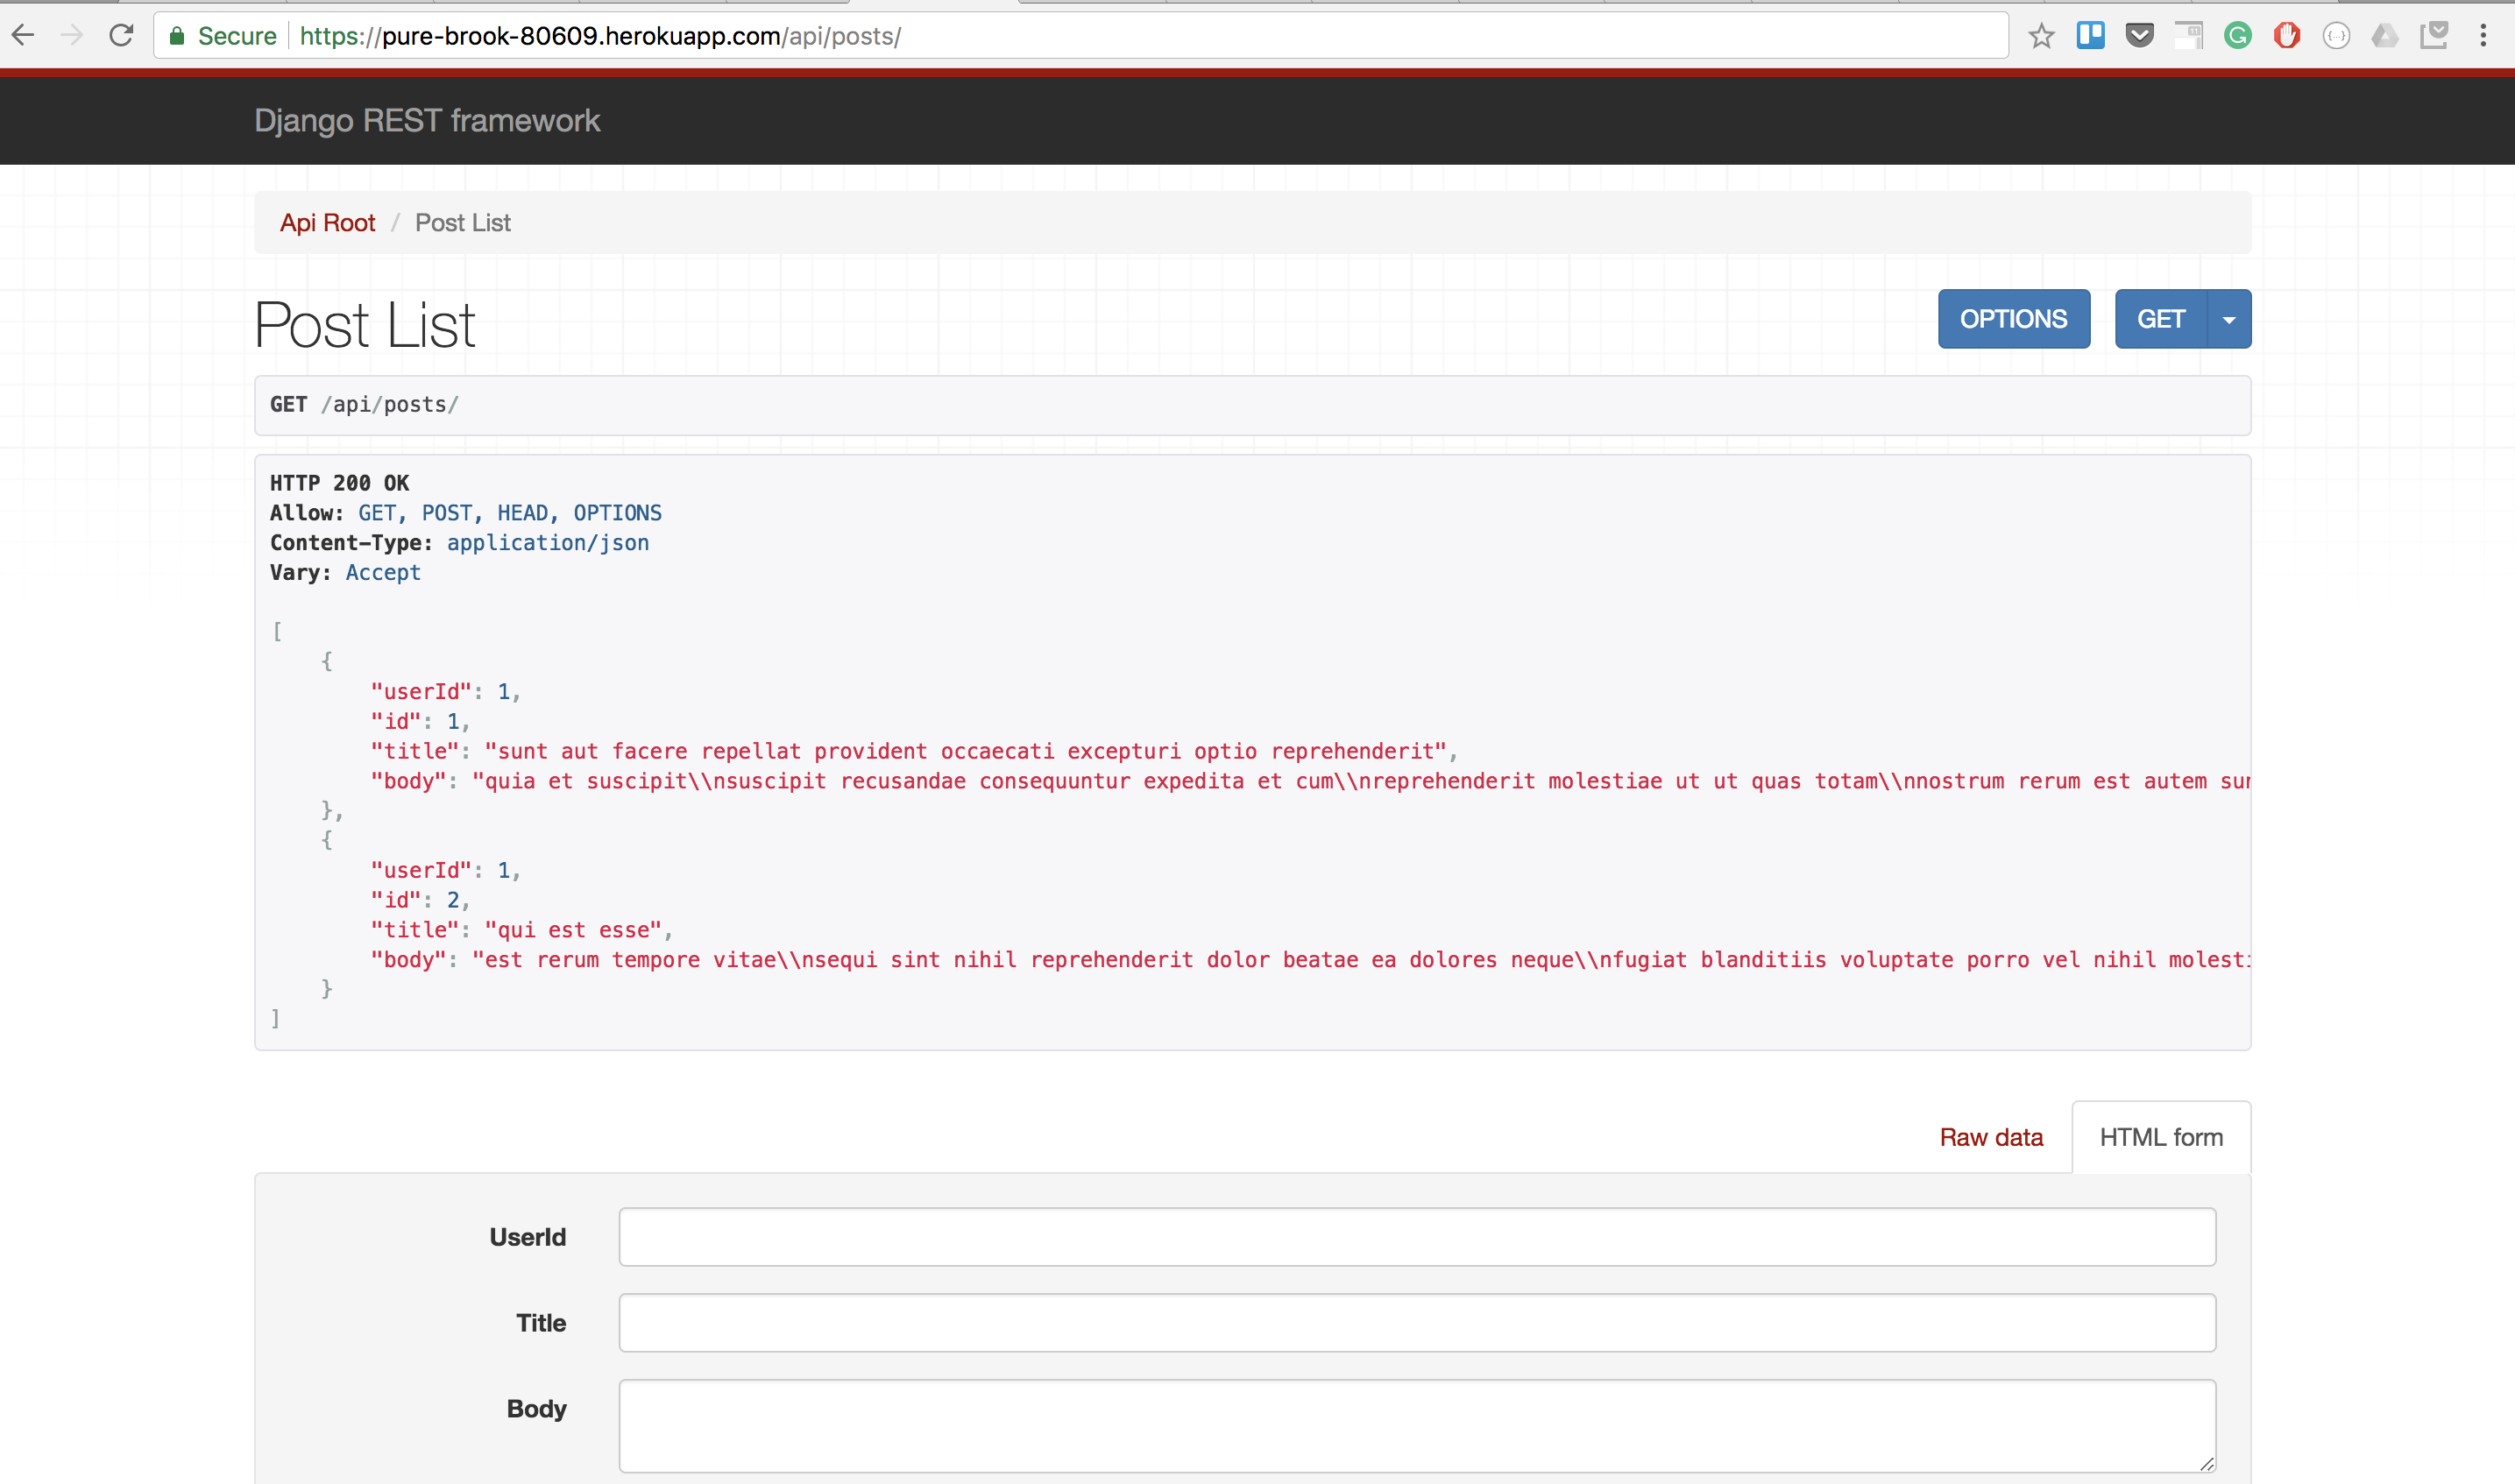
You can also navigate to /api/posts to see your posts
Now we want to push this code to production server on heroku.
We will use the usual steps to push our code to heroku. With only the minor change that we need to ensure we have all the libraries we need also pushed online
You want your requirements.txt file to look like this
Here is the code for ease of copy pasting.
Django==1.11.5

gunicorn==19.7.1

Markdown==2.6.9

Pillow==2.3.0

django-filter==1.0.4

djangorestframework==3.6.4
Your Pipfile and Procfile will follow the same process demonstrated in the tutorial.
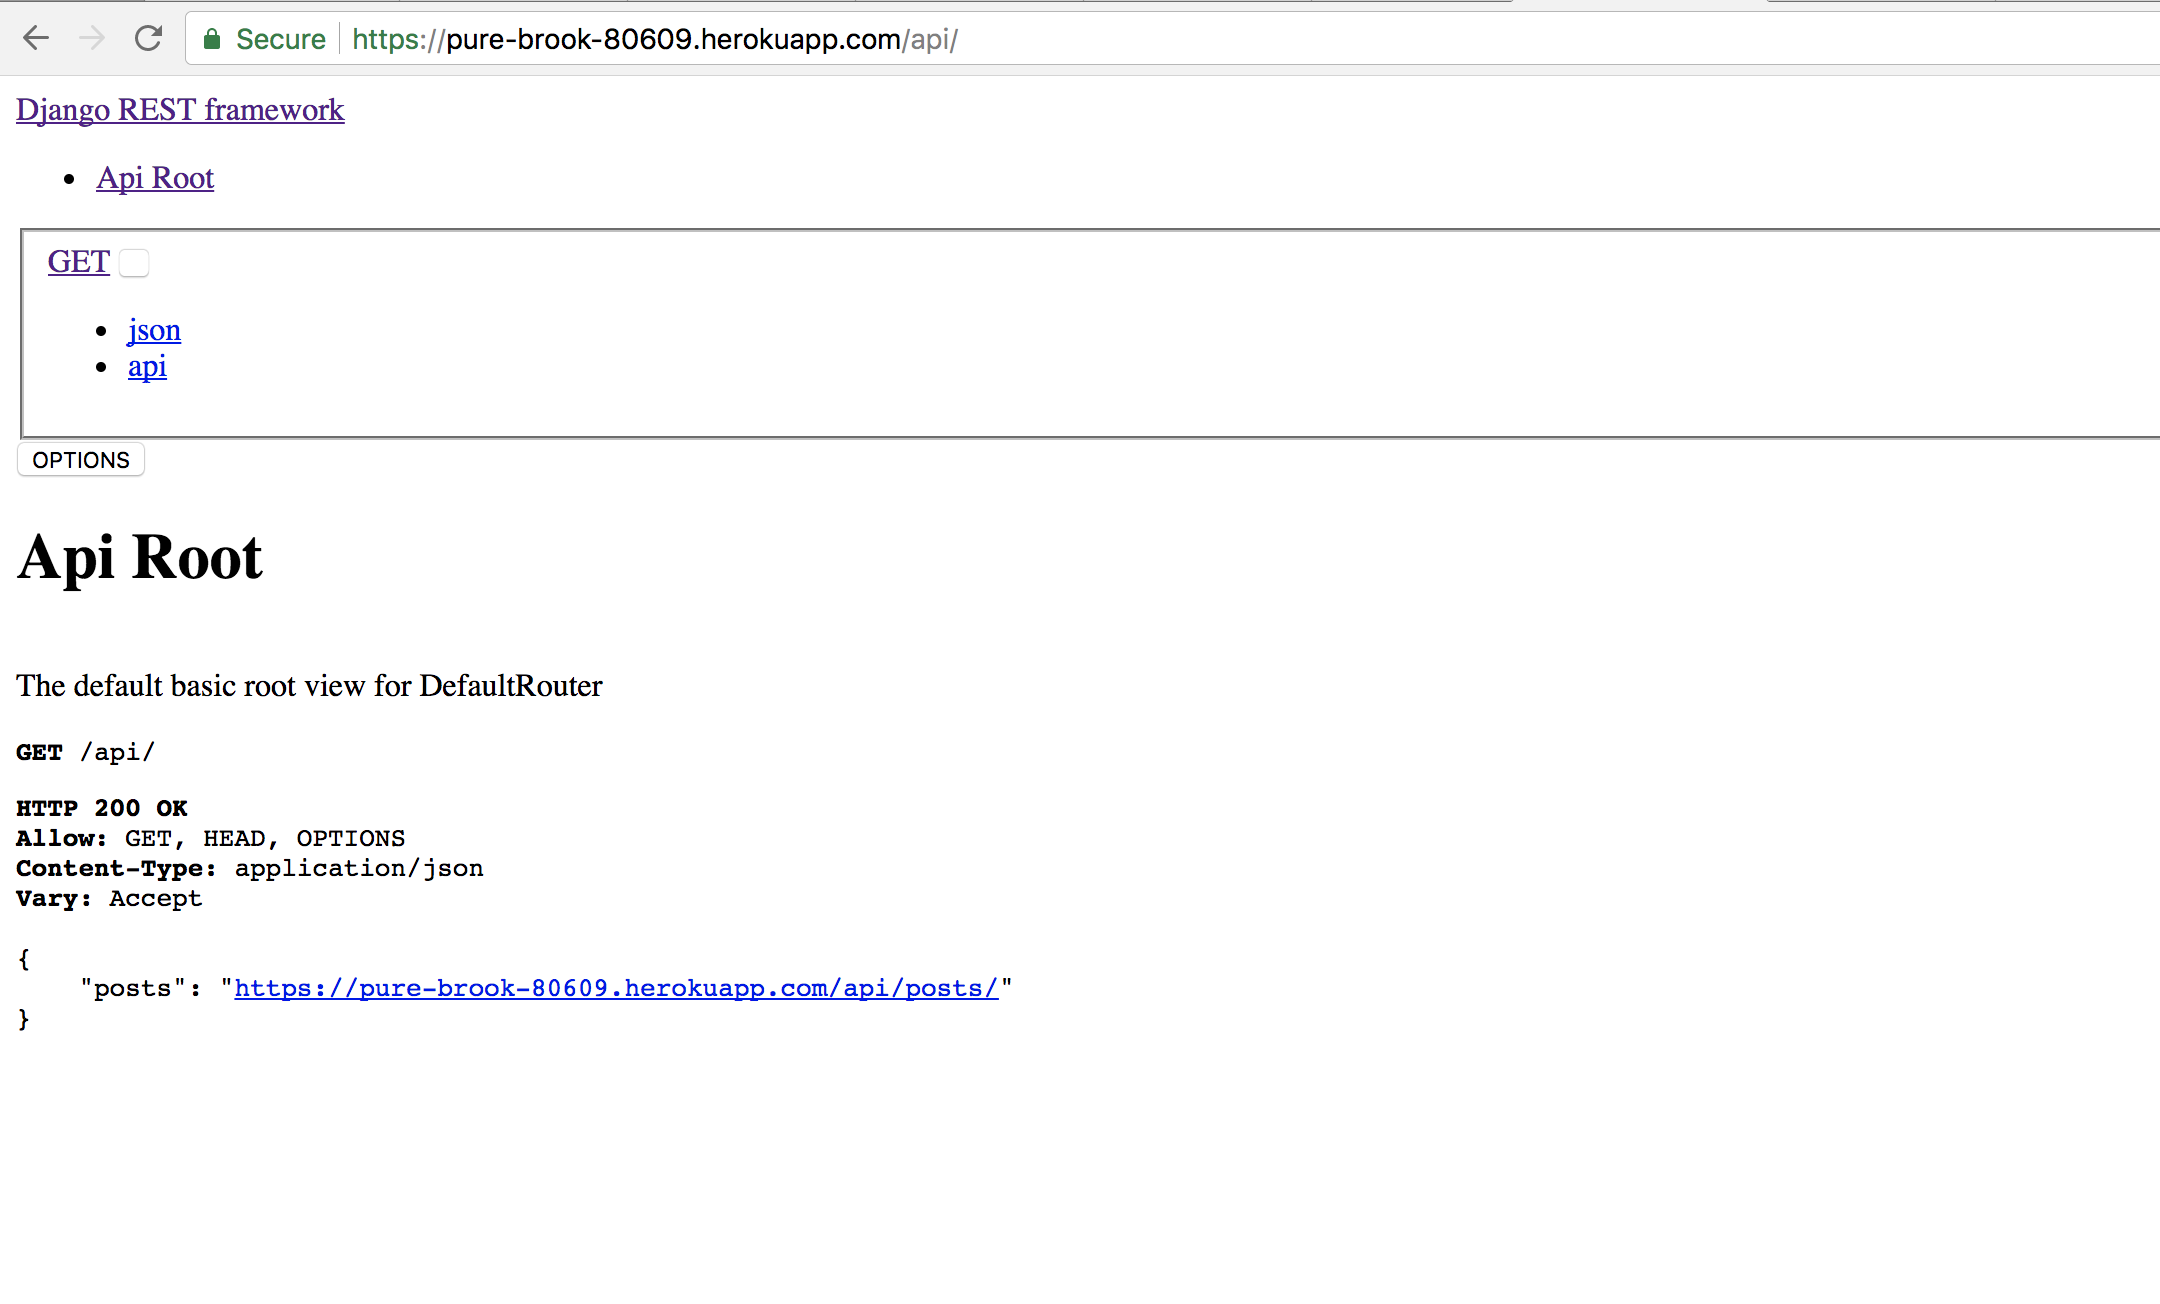
Now push the app to heroku and navigate to the link. Once you have added the host to your settings.py file, you should be in a position to see your endpoint /api
You notice Django Rest Framework did not have any of its assets loaded. To fix that, we will need a new library, whitenoise
Once this is done, ensure to add it to your requirements.txt
The final text will thus look like this
Django==1.11.5

gunicorn==19.7.1

Markdown==2.6.9

Pillow==2.3.0

django-filter==1.0.4

djangorestframework==3.6.4

whitenoise==3.3.1
Now to your settings.py file on the MIDDLEWARE_CLASSES list. Add whitenoise as follows
This is the text to copy and paste
# 'django.middleware.security.SecurityMiddleware',

'whitenoise.middleware.WhiteNoiseMiddleware',
Now once more commit your code and push to heroku.
This will now load the page with all the assets.
For your Assignment, in addition to getting the Post model exposed via the API, also build a model for Todo. The end result should give results such as https://jsonplaceholder.typicode.com/todos
