It should be noted that not all games will have the same process, and this guide mainly focuses on implementing AA in Roblox. This is because different games have different rendering engines and techniques, which may or may not make this possible. Sometimes AA is a built-in feature you can modify and change in the game.
Anti-aliasing is a technique used in computer graphics to smooth out jagged edges and reduce visual artifacts, such as aliasing or "jaggies," which occur due to the limitations of rendering pixels on a digital display. AA works by blending the colors of pixels along the edges of objects to create a smoother transition between them. This results in a more visually pleasing and realistic appearance of curved or diagonal lines and edges.
Here is a comparison of images to illustrate the effect of anti-aliasing:
| Without AA | With AA |
 |
 |
 |
 |
Please open the images in a new tab to compare properly. Flick between the two tabs.
This is true, but you need to keep the graphics setting at or above 8/10 to enable it. This guide allows some form of AA to be kept on forever and makes the existing AA at or above 8/10 even better than it already is.
If you do not see a setting, do not fret, this is normal. It is ok to skip the step.
First of all, to get started, you will need to download the latest version of 'nvidiaProfileInspector' by Orbmu2k on Github.
Link to relevant tool: https://github.com/Orbmu2k/nvidiaProfileInspector/releases
After this is done, you will be greeted with a *.zip file, extract it, and you will find the nvidiaProfileInspector.exe inside, which is what you will need to open. Double click it.
Once you have opened nvidiaProfileInspector.exe, you will see a window with a plethora of settings you can change. By default, you will be on the _GLOBAL_DRIVER_PROFILE (Base Profile) profile (you can see this on the top left drop-down menu). Click the arrow on the right of the drop-down menu and start to type the keyword "Roblox". You should select Roblox VR. This is the Roblox you use to play.
Do not use any of the Sparse Grid Supersampling options as this will break the lighting in Roblox. Other games (such as Hitman: World of Assassination also have this problem).
You should now be on the Roblox VR profile. Although you most likely do not play Roblox in VR, this is the correct profile you want to modify. The Roblox profile is for the Microsoft Store version of Roblox.
Scroll down the options 3 - Antialiasing; we will begin to modify this.
You will want to change the setting Antialiasing - Combined (Mode + Setting) to the setting 0x23400025 Enhance | 8x MSAA + 8x SSAA. Although this setting does not seem to do anything when rendering in DirectX 11, I have noticed that it does work in other rendering methods, so you are free to do this optionally.
After that, set the Antialiasing - FXAA Enabled setting to On. This does not actually enable FXAA in Roblox but does allow the setting Antialiasing - Transparency Supersampling to function properly, which is the setting we will be mostly focusing on.
Finally, you will want to set Antialiasing - Transparency Supersampling to 0x00000030 AA_MODE_REPLAY_SAMPLES_EIGHT or 8x Supersampling (your choice, the difference is none). You will then want to set the setting Antialiasing (MSAA) - Mode to Enhance the application setting. This is important as this will allow Roblox's own anti-aliasing to stack on top of this (making results better).
Optionally, you can copy my settings, but I cannot guarantee they do anything.
As you have now applied AA, you will now need to change the LOD Bias so textures do not look blurry or undetailed. It should be worth noting that LOD Bias does not affect your own or other people's avatars in-game if you use the DirectX 11 rendering option, it does in others.
Go down to the options 4 - Texture Filtering; we will begin to modify this.
Set Anisotropic Filter - Optimization and Anisotropic Filter - Sample Optimization to Off, and Anisotropic Filtering - Mode to User-defined / Off. We will be doing this to avoid texture flickering and to use a better anisotropic filtering setting than what Roblox offers.
Set Anisotropic Filtering - Setting to 16x and Anisotropic Filtering (mode + setting) to 0x10000010 16x. This will override Roblox's worse anisotropic filtering method to a better one.
We will begin to apply the LOD Bias now, set Texture Filtering - Driver Controlled LOD Bias to On, Texture Filtering - LOD Bias (DX) to -1.7500, and Texture Filtering - LOD Bias (OGL) to -1.8125. This will counter the loss of detail resulting from MSAA. Depending on the resolution of your display, you may have to set it lower or higher (higher resolution means lower LOD bias). These settings are for 1080p. You must also set Texture Filtering - Negative LOD bias to Allow.
The rest of the settings are optional; you may copy my settings.
Press the Apply changes button on the top right. You are done now.
Implementing anti-aliasing (AA) in games like Roblox can greatly enhance the visual quality by reducing jagged edges and improving overall smoothness. By following the steps outlined in this guide and using the nvidiaProfileInspector tool, you can enjoy a more visually appealing and immersive gaming experience. Experiment with different settings to find the best balance for your system and preferences. Implement AA and elevate your gaming visuals.


Somehow AA and Texture load bias setting not even changed roblox look (not AA, and blur not removed)
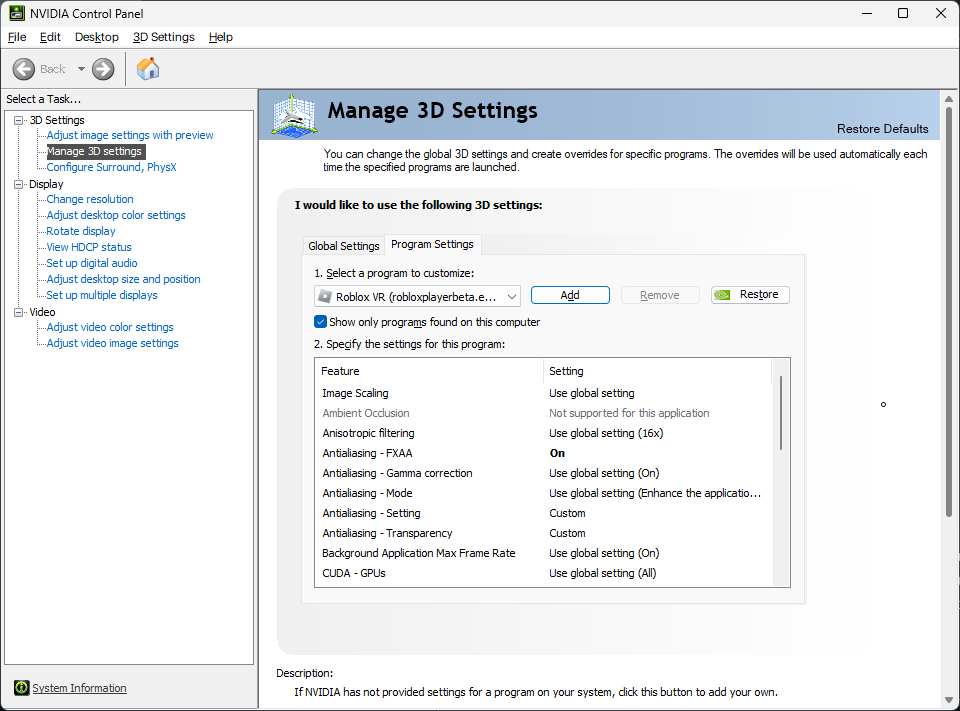
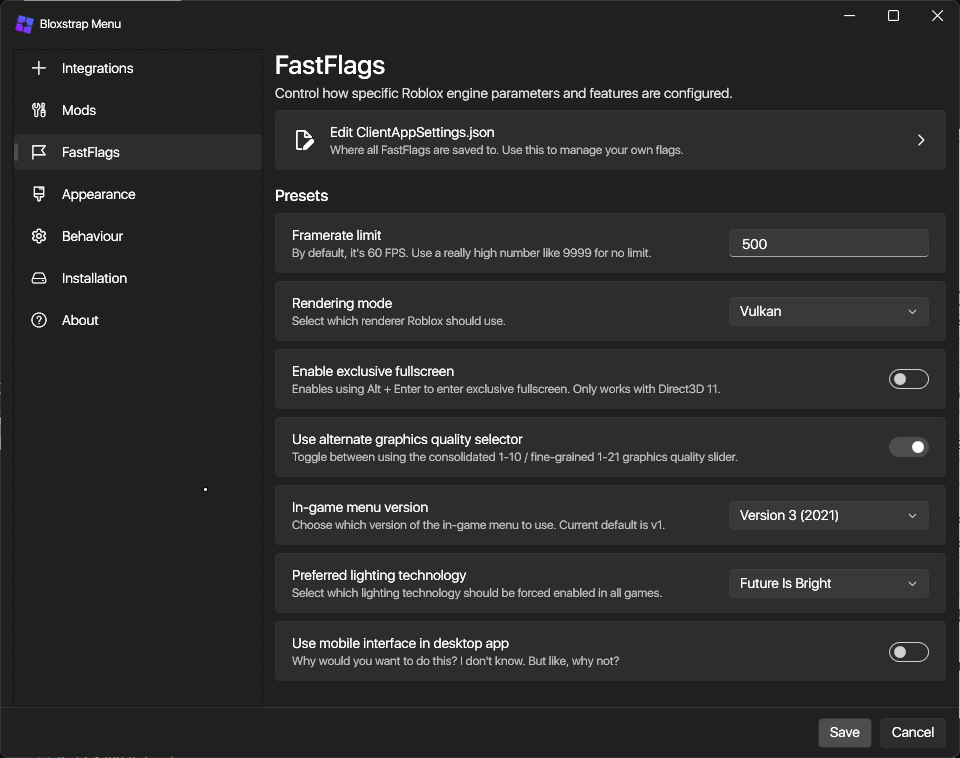
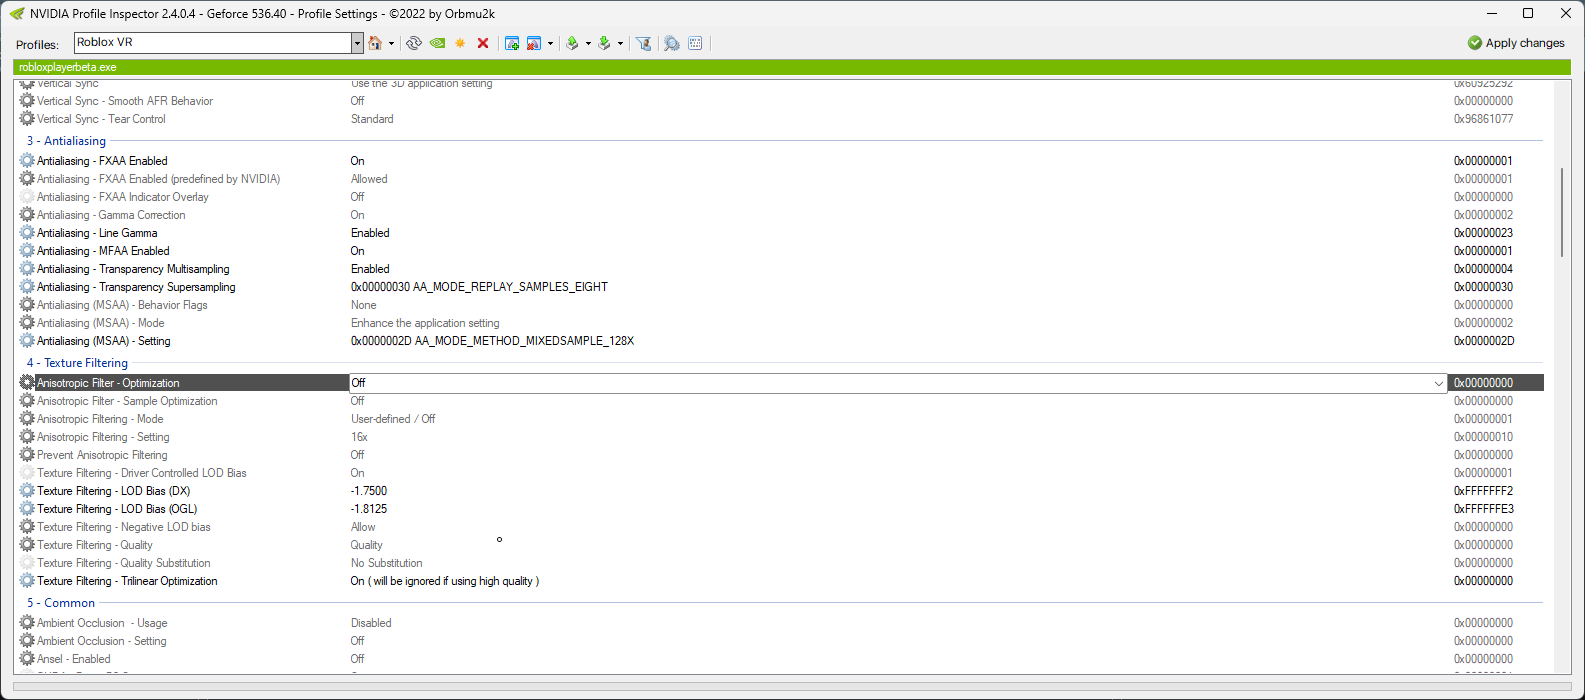
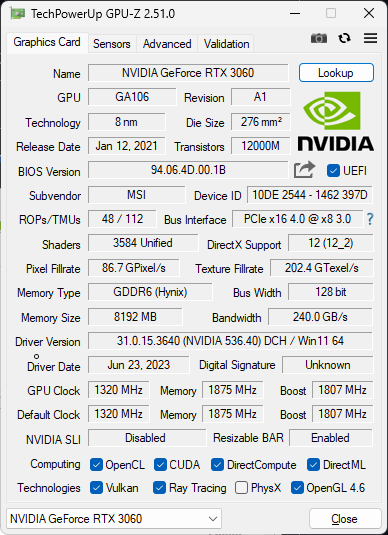
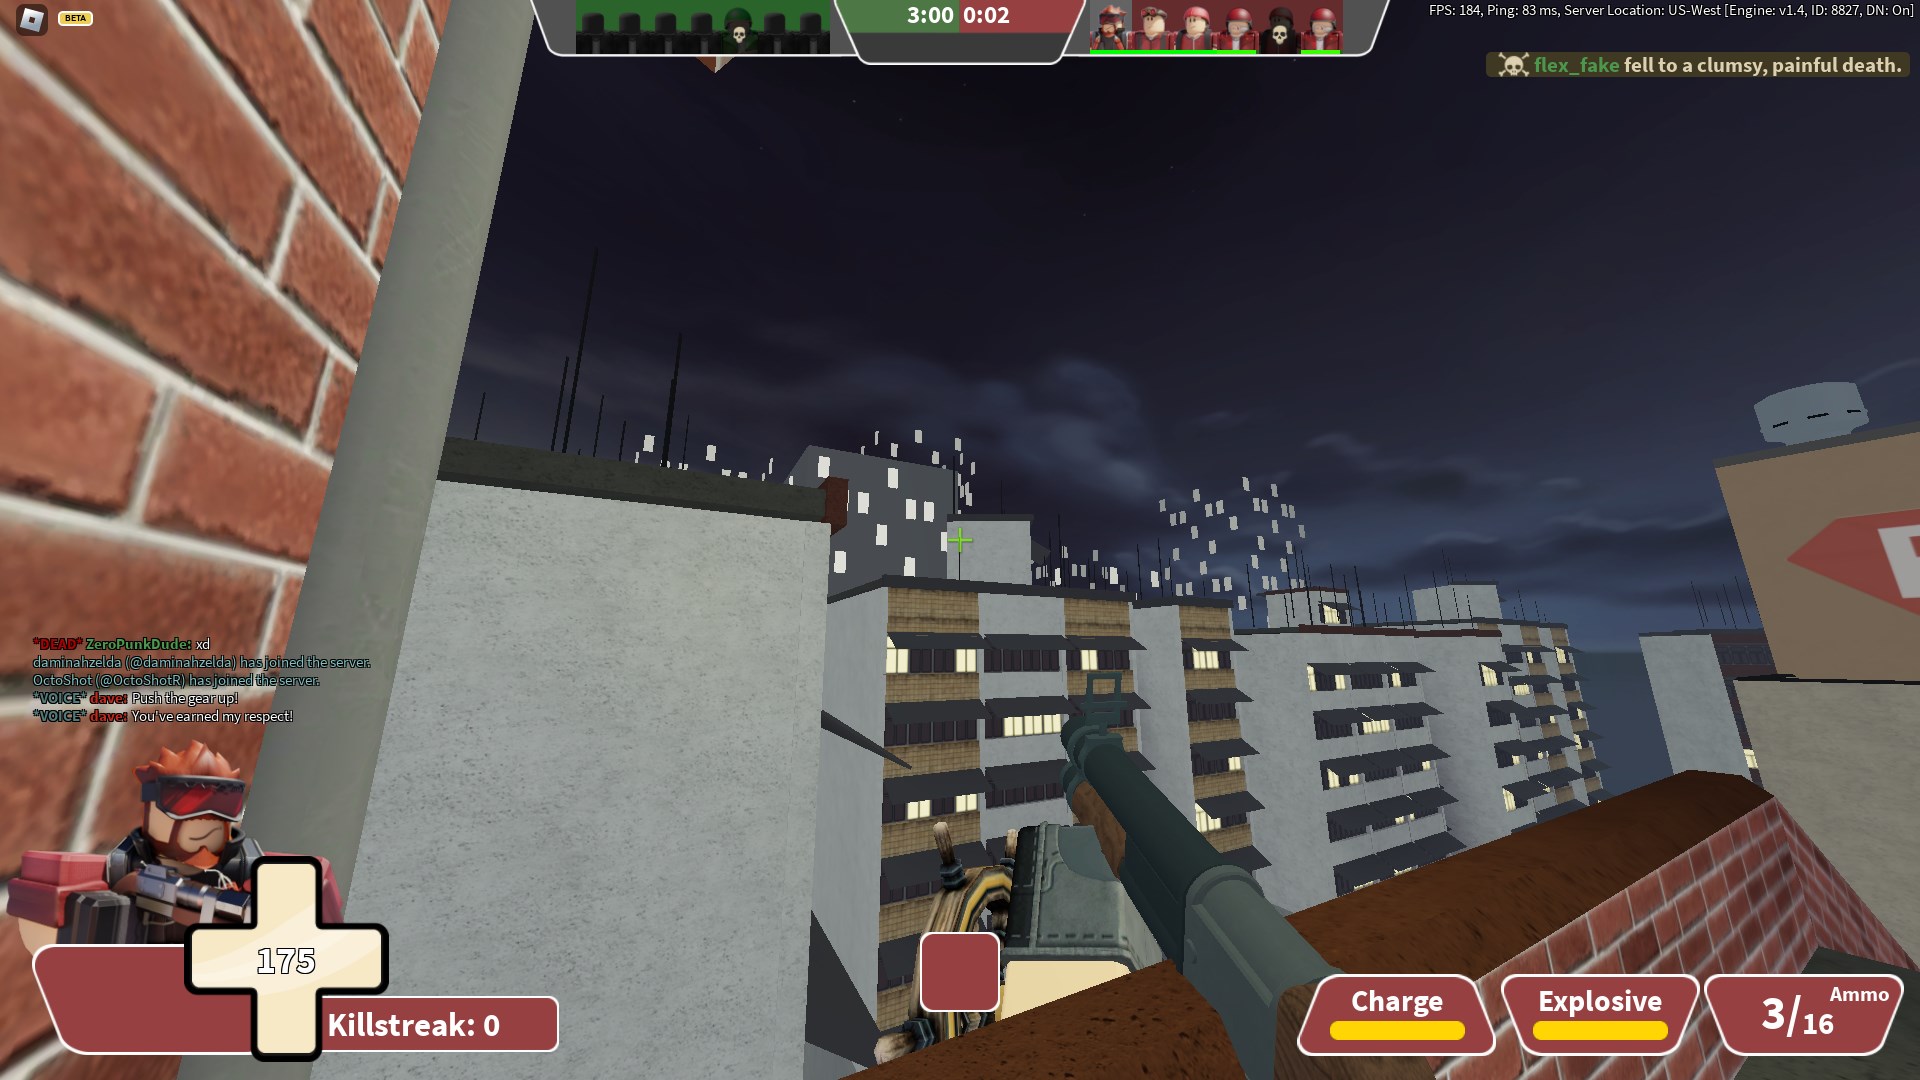
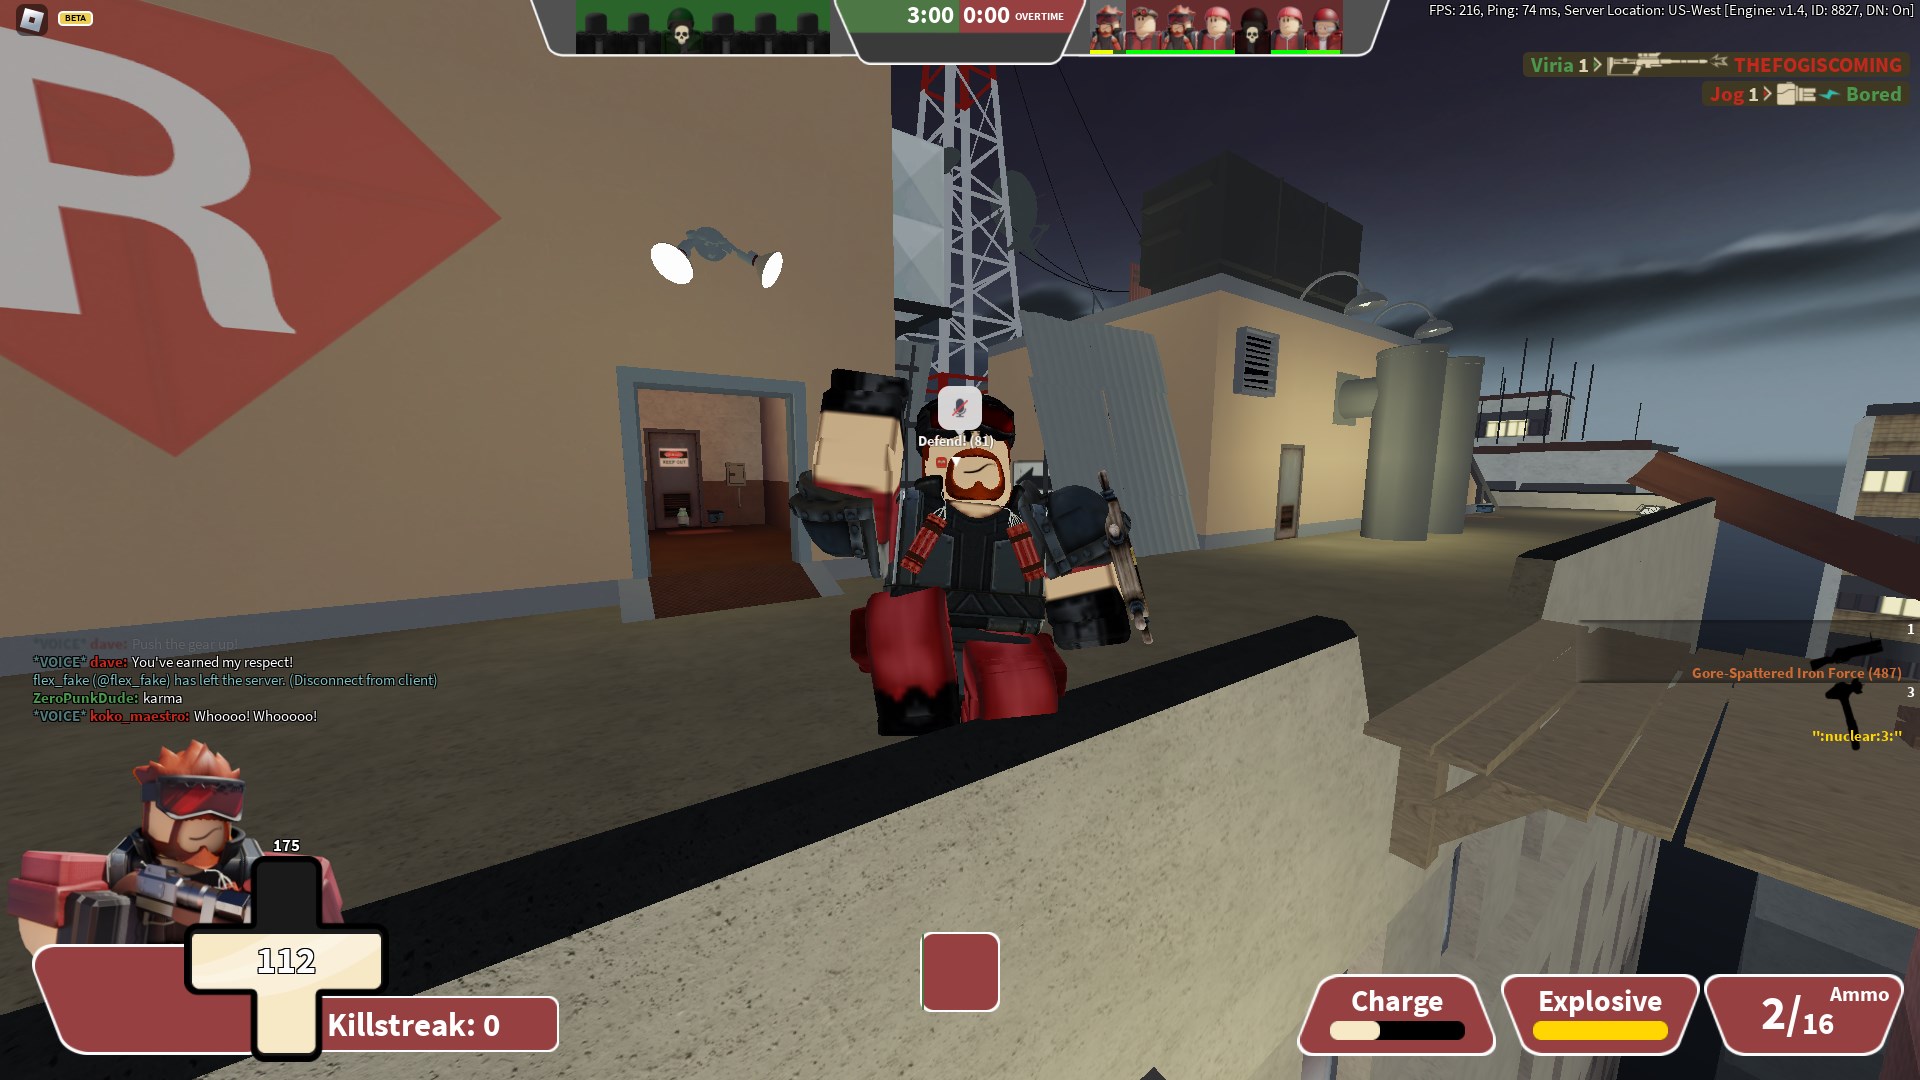
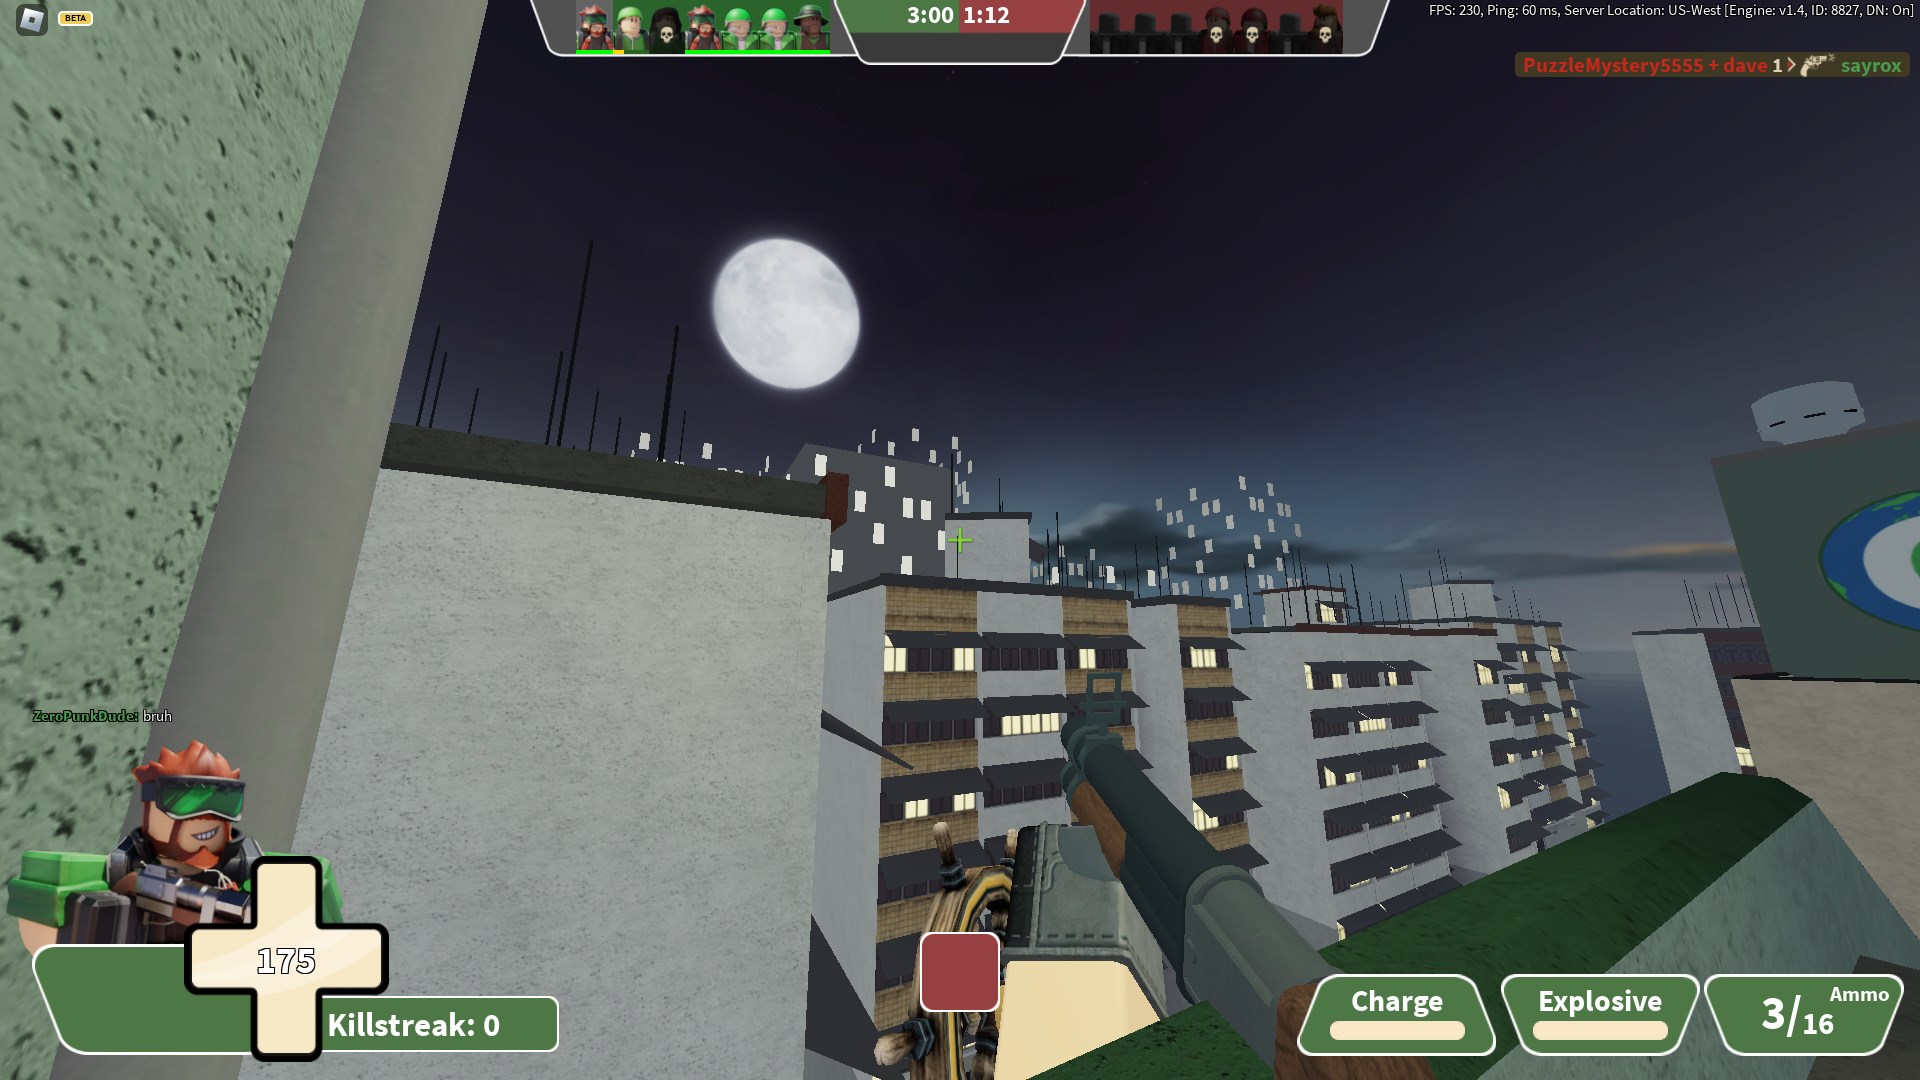
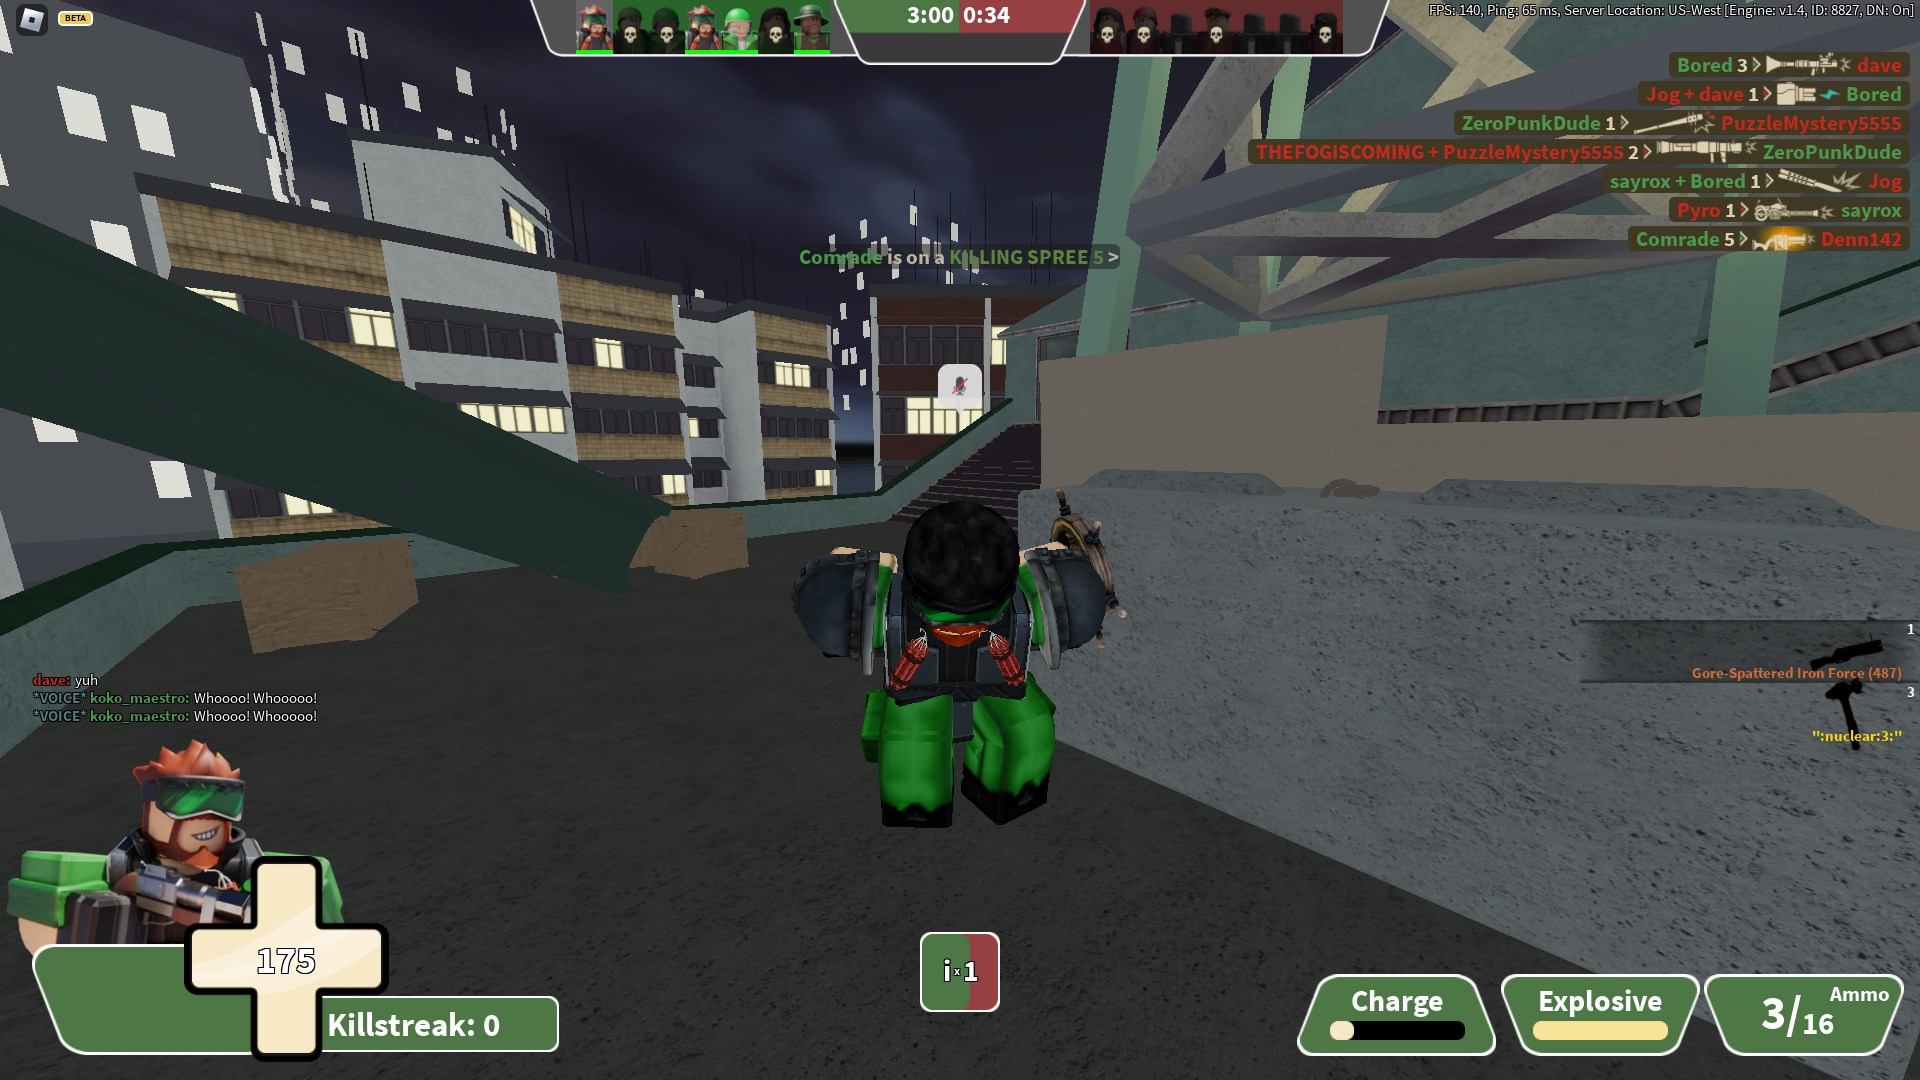
What did I miss?
Nvidia Control Panel (roblox vr is here)
Bloxstrap settings
settings & gpu-z
without
with