This Guide aims to explain the WMC "Standard" for deploying your site on GitHub, where it will stay online 24/7 under your own unique URL.
For that, we will use Github Pages and Github Actions, which are both integrated tools in GitHub everyone may use that has an account.
- Terminology
- Project Structure
- Creating the branch for Github Pages
- Enabling Github Pages
- Setting up automatic building
- Deploying for the first time
- Changing the styling of the Disclaimer Banner
- Wrap-up
- Github Actions: Environment to automatically run code on commits/changes in your project
- Github Pages: Free Hosting of your site under a URL, like
https://wmc-ahif-2021.github.io/Kipper-Web/
Since in this case a pre-written script is used, you will have to use the following project structure, as otherwise, it will not work:
- .github/
  - workflows/
    - deploy-gh-pages.yml
- src/
  - index.html
  - ...
Note that the index.html must be placed in /src/index.html
Other files like CSS or JS/TS are not as important, as they will be fetched automatically in the built. Though it's a good
practise to put everything content-related into /src/ and folders like /src/css/ or /src/js/.
Regarding the .github/workflows/deploy-gh-pages.yml file, this will be added later in the step Setting up automatic building
IMPORTANT!
When using <a href=""> you have to use relative paths, such as ./ or ../, or even ../../, which redirect based on their position. This is important for the web-building process, since specifying absolute paths or just file.html will almost always break the GitHub Page and return 404 Page not found!
Github Pages requires its own branch, where the build files are stored. This will be especially important later when using TypeScript, as that is a compiled language and we will need to compile it.
In this case, we will create the branch called gh-pages. Simply go on GitHub and do the following:
-
Click on
mainormaster(It will be one of those)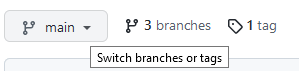
-
A new interface should open, go there into the
Find or create a branch...text field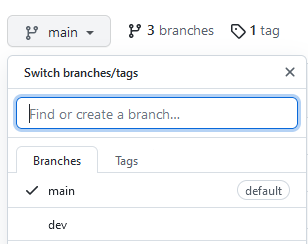
-
Write the name
gh-pagesand click on the buttonCreate branch: gh-pages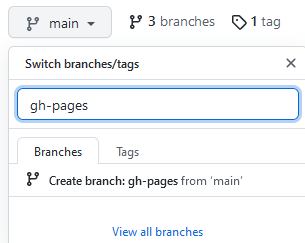
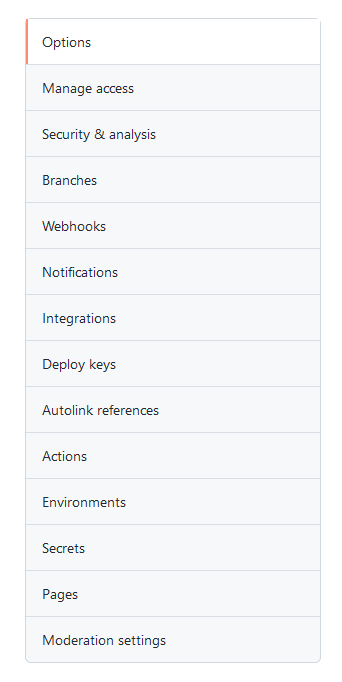
To enable Github Pages, simply go to the Settings and navigate to Pages:
The gh-pages branch might be already detected by GitHub and if that's the case the configuration was already done for you.
Though if it's not just select the branch gh-pages under Branches and it should work.
If the configuration is valid and it worked, the following should be visible (Example from a personal branch):
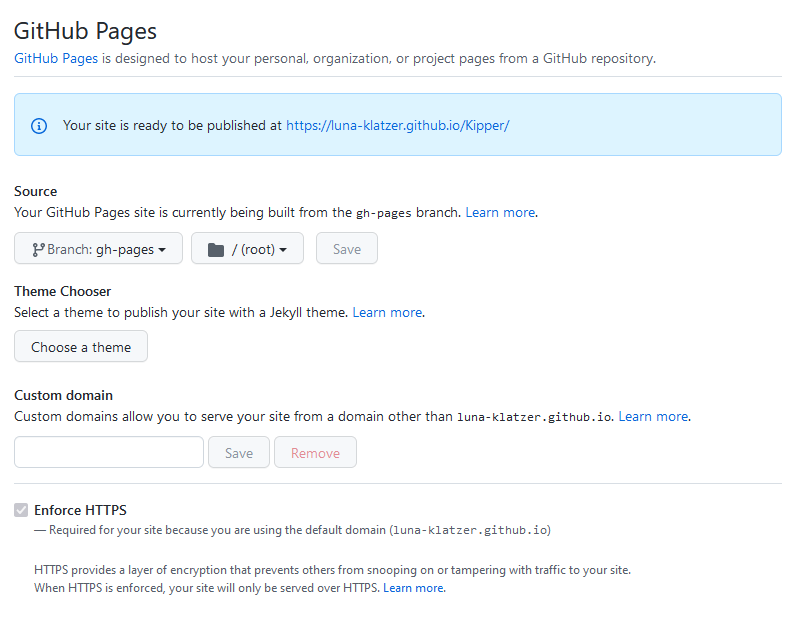
Please copy the URL in the blue box that should be visible on your settings page, as this will be important later on!
The GitHub Action file is a simple script (code) that will be run each time you commit to your master or main branch. This will allow that changes are immediately built and hosted, each time you change something on your main or master branch.
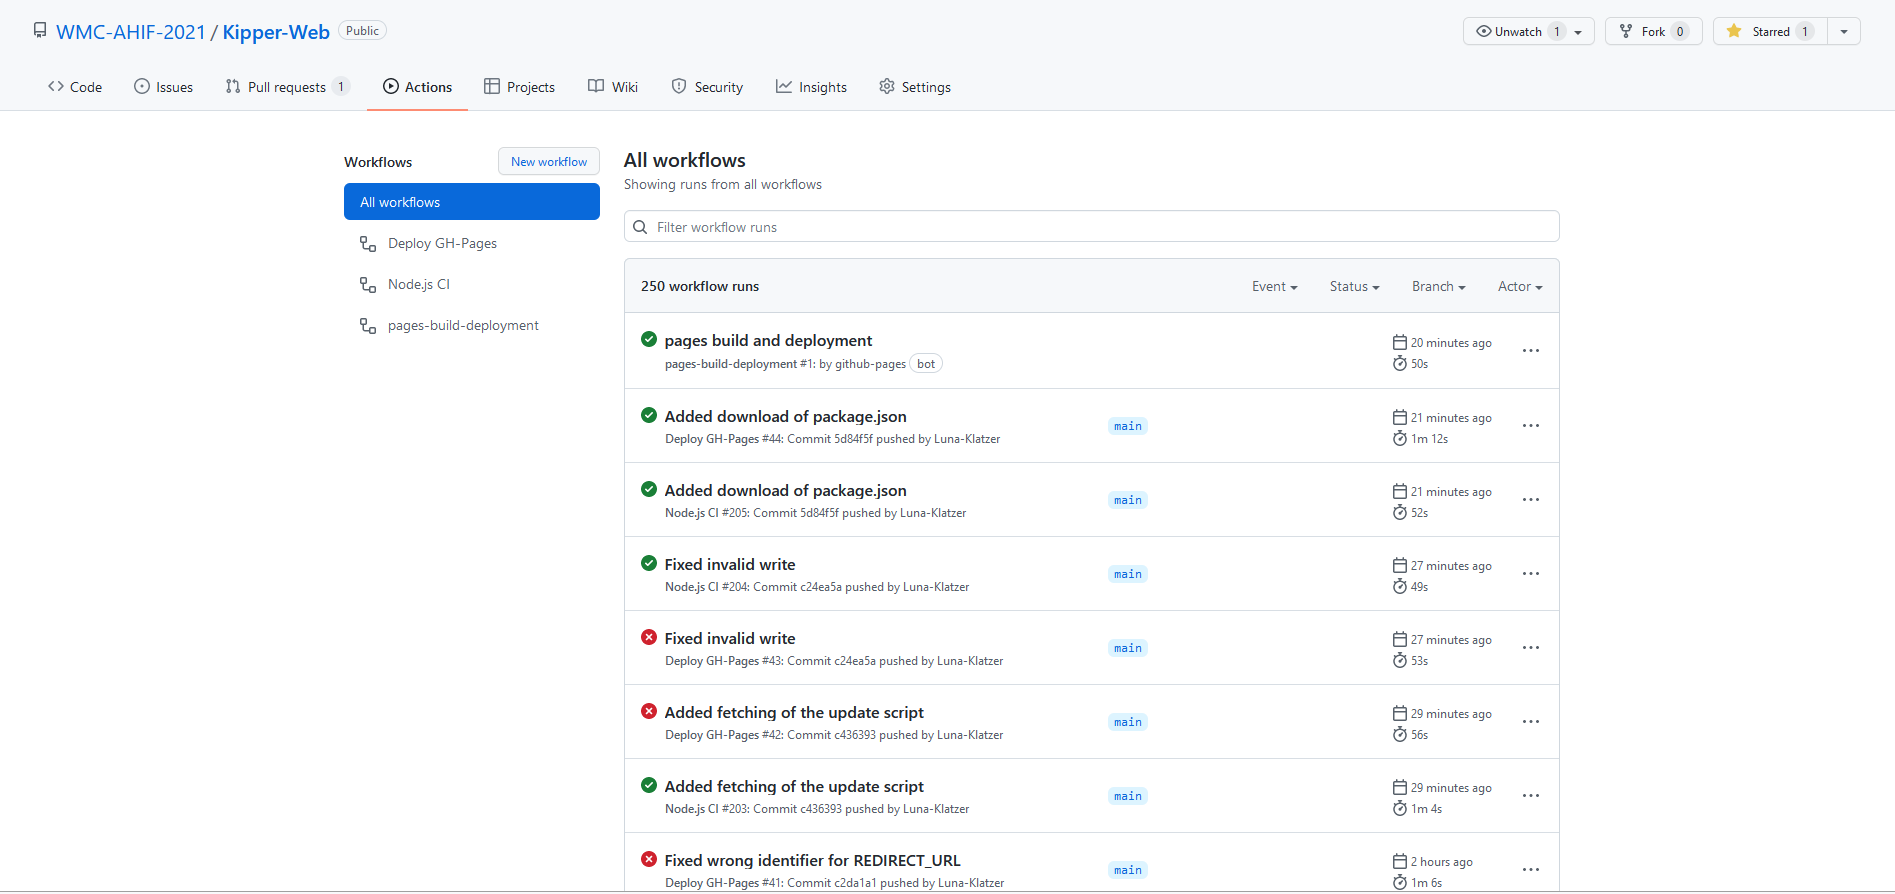
To view Github Actions runs go here to the Github Actions Section (Example from Kipper):
To add the Github Actions file, simply copy the code from here and create a new .yml file in this location: /.github/workflows/deploy-gh-pages.yml
(If the directories .github or workflows don't exist, simply create them ^^)
Now you will need to configure the file, as it needs to know where your site is located.
Simply do this by adding the url you copied ealier into this location:

It should look afterwards like this (Kipper as an example - don't copy this):
    env:
      REDIRECT_URL: https://wmc-ahif-2021.github.io/Kipper-Web/
Commit the new file and once GitHub has received the commit, the automatic building process should be enabled.
If everything worked, you should see every time you update main or master a new built
visible under your unique URL.
Note that there should also be a banner like the following (styling might differ):

This is automatically added in the build process, though styling may be changed.
To change the styling of the banner you may add a CSS file with the following selectors:
- General selector of the entire banner
#disclaimer-banner {
  /* Place your CSS rules here */
}
- Selector for the link inside of the banner (
@ HTL Leonding.)#disclaimer-banner a { /* Place your CSS rules here */ }
- Selector for the paragraph inside of the banner
#disclaimer-banner p {
  /* Place your CSS rules here */
}
If you need any help or any problems occurred, you can message me at any moment on discord under 🌸Luna🌸#1114.
If you want to see an example for the build process you can go to Kipper and see how it already works there:
- Deployed Web-Site: Kipper Web
- Technical Details: Github Pages Run 4658900343