(based on this pastebin i've found via Google, markdownified and adjusted to work with the official Yosemite release)
Yosemite's first developer preview was released right after Monday's WWDC opening keynote. For the general public, an open beta will be available to download later this summer. However, for those who want a sneak peek at the new hotness, there is a way to safely install it without risking your machine, using the free and powerful VirtualBox application from Oracle.
(LEGAL DISCLAIMER: This guide aims to explain how to create a virtual machine on a regularly purchased Apple computer, running a genuine Mac OS X operating system, for testing purposes only.)
- Download Yosemite from the App Store
- Open Terminal.app
- Install
iesd, to customize OS X InstallESD:
gem install iesd - Turn install image into base system:
iesd -i "/Applications/Install OS X Yosemite.app" -o yosemite.dmg -t BaseSystem - Convert into UDSP (sparse image) format:
hdiutil convert yosemite.dmg -format UDSP -o yosemite.sparseimage - Mount the InstallESD ...
hdiutil mount "/Applications/Install OS X Yosemite.app/Contents/SharedSupport/InstallESD.dmg" - ... as well as the sparse image:
hdiutil mount yosemite.sparseimage - Copy base system into sparse image:
cp "/Volumes/OS X Install ESD/BaseSystem."* "/Volumes/OS X Base System/" - Unmound InstallESD ...
hdiutil unmount "/Volumes/OS X Install ESD/" - ... as well as the sparse image:
hdiutil unmount "/Volumes/OS X Base System/" - Unmount both mounted disks:
- via
diskutil:
diskutil unmountDisk $(diskutil list | grep "OS X Base System" -B 4 | head -1)
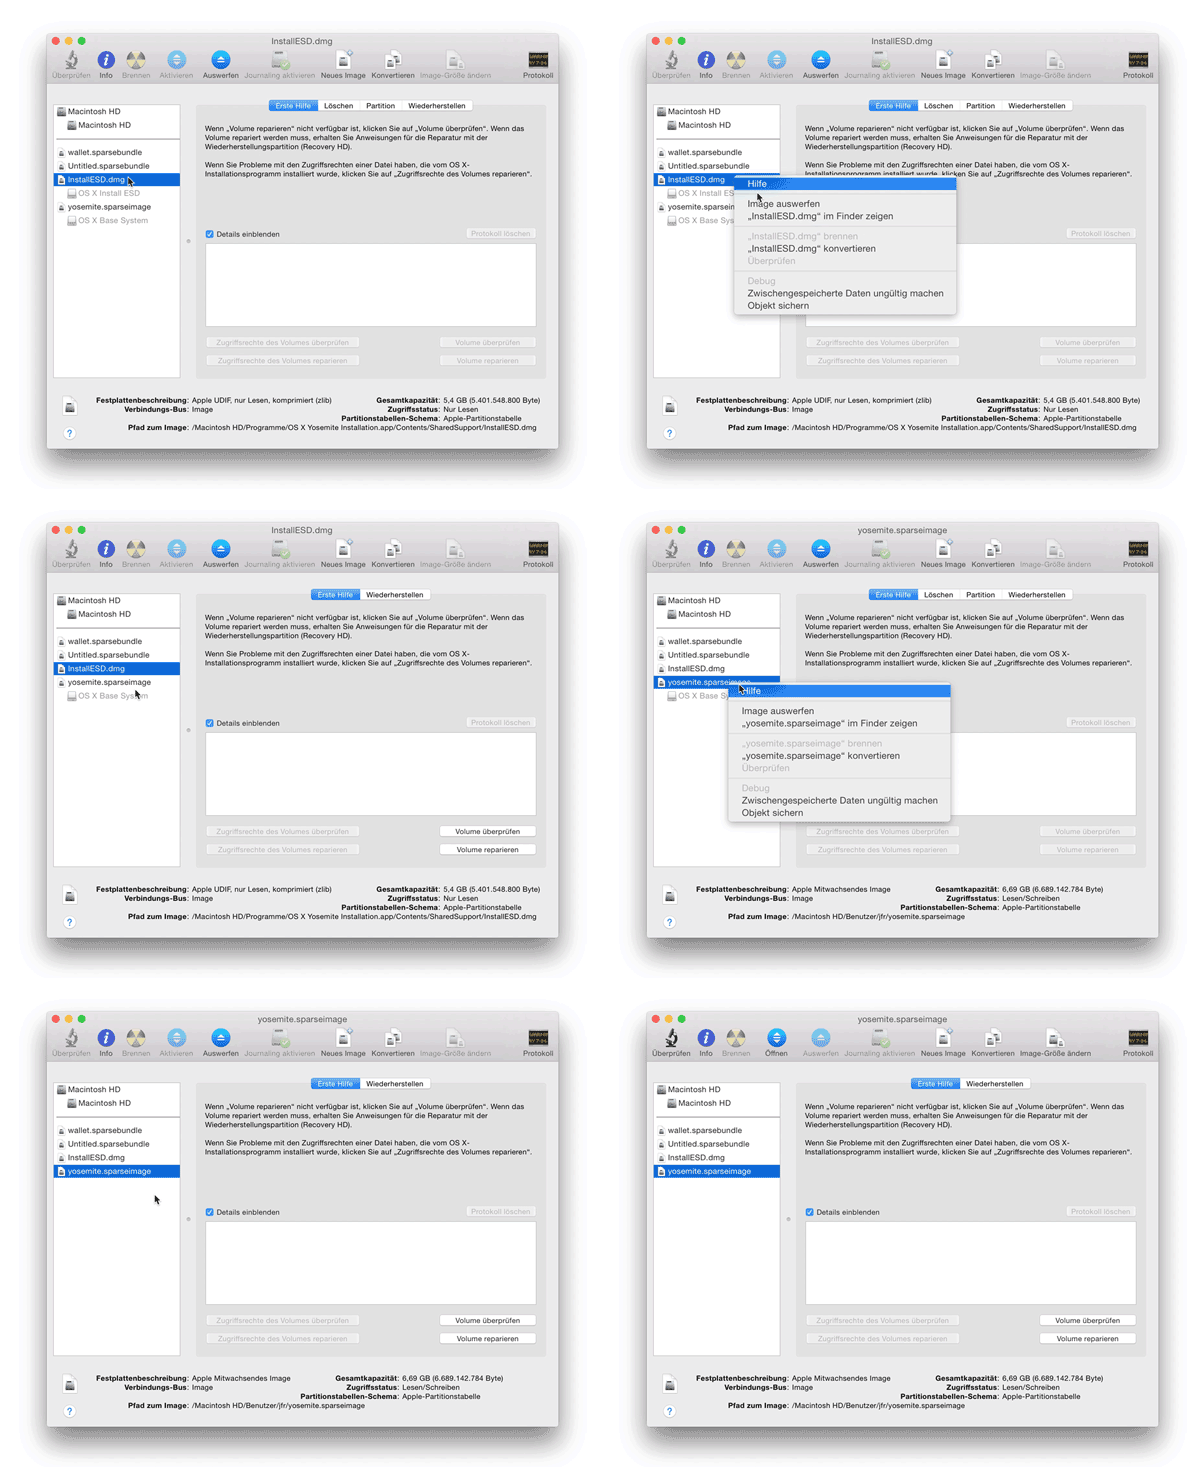
diskutil unmountDisk $(diskutil list | grep "OS X Install ESD" -B 4 | head -1) - if that doesn't work and you get a "resource busy" message in step 12, try using the Disk Utility:
- Convert back to UDZO format (compressed image):
hdiutil convert yosemite.sparseimage -format UDZO -o yosemitefixed.dmg - Add
yosemitefixed.dmgas a live cd in virtual box - Change the chipset of your virtual machine to "PIIX3"
- Start your VM, open Disk Utility within installer and create a new HFS+ partition on the virtual disk
- Install it!
Try to reinstall VirtualBox to fix this error
Try the following steps to fix this issue:
- Stop the virtual machine in VirtualBox
- Open a new terminal window
- Run the following command to adjust the guest CPU (Replace
<YourVMname>with your actual VM name):
VBoxManage modifyvm '<YourVMname>' --cpuidset 1 000206a7 02100800 1fbae3bf bfebfbff

