Microstack Configurer WSL2 is a simple SH script that automates WSL2 configuration to install Microstack inside WSL2
Which unlike the previous script here the new script won't need to compile the kernel every time because it will have a vmlinux already compiled with kernel modules too
- Windows 10 or Windows 11 (22H2)
- WSL2 with Systemd support
- Clean WSL Distro with Ubuntu 20.04 or 22.04
First of all go to this link and download the zip package that contains the script
https://drive.google.com/u/0/uc?id=14aRqCeq-q0yPUxatWa38KTG234f_01GX&export=download
Unzip the zip file into the 'home' folder of your WSL2 distro, inside you should see a folder named 'Microstack Configurer WSL2 v2'
Now from WSL enter your home folder and the folder you just copied from Windows
cd '/home/Microstack Configurer WSL2 v2'
As in the previous script you must also specify the name of your Windows user in the WINDOWS_USERNAME directive, this is important never to forget!, if you forget to set this value the script will fail immediately because it will not be able to access the current user folder
Before running the script give yourself permission to run it:
sudo su
chmod +x Microstack-Configurer-WSL2-v2.sh
And now actually start the script with:
./Microstack-Configurer-WSL2-v2.sh
Now the script will copy the vmlinux file to your user folder, build wsl configuration to use ready made vmlinux, and copy all kernel modules to system without any kernel build, then install DM Multipath and enable systemd
The script will finish in max 1-2 minutes, it depends on your internet connection as it will have to install DM Multipath
while the previous one including kernel compilation could take more than 2 hours
When the script has been successful in all operations you will see this output
**** WSL2 Distro Configured Successfully ******

Your WSL2 Ubuntu distro is now ready to install Microstack
To install microstack run: 'sudo snap install microstack --edge --devmode' and 'sudo microstack --init --control'

Before installing Microstack on the distro restart the distro with 'wsl --shutdown'

Script Completed!
Finally after getting this output restart your distro with
wsl --shutdown
And if after reboot by typing command uname -r and you get this output
5.15.xx.x-microsoft-custom-WSL2-ovs-multipath-xxxxxxxxxxxxx
The custom kernel has been 100% loaded on your Ubuntu WSL2 distro. Now you can go to install Microstack
Since we saw earlier that we have successfully compiled and run a kernel with Openvswitch and Multipath integrated, we can start with installing Microstack
Install Microstack with:
sudo snap install microstack --edge --devmode
And now you will be able to do initialization with as well
sudo microstack init --auto --control
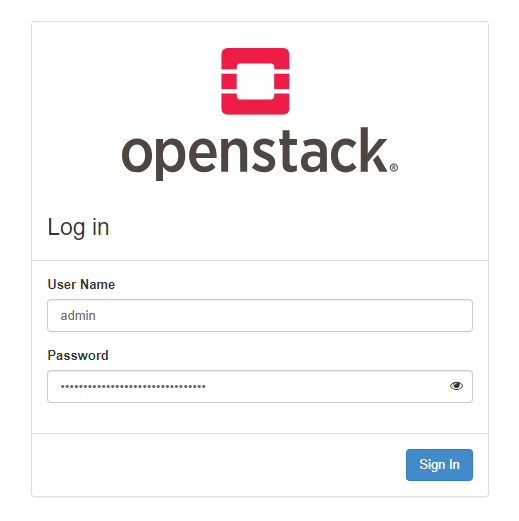
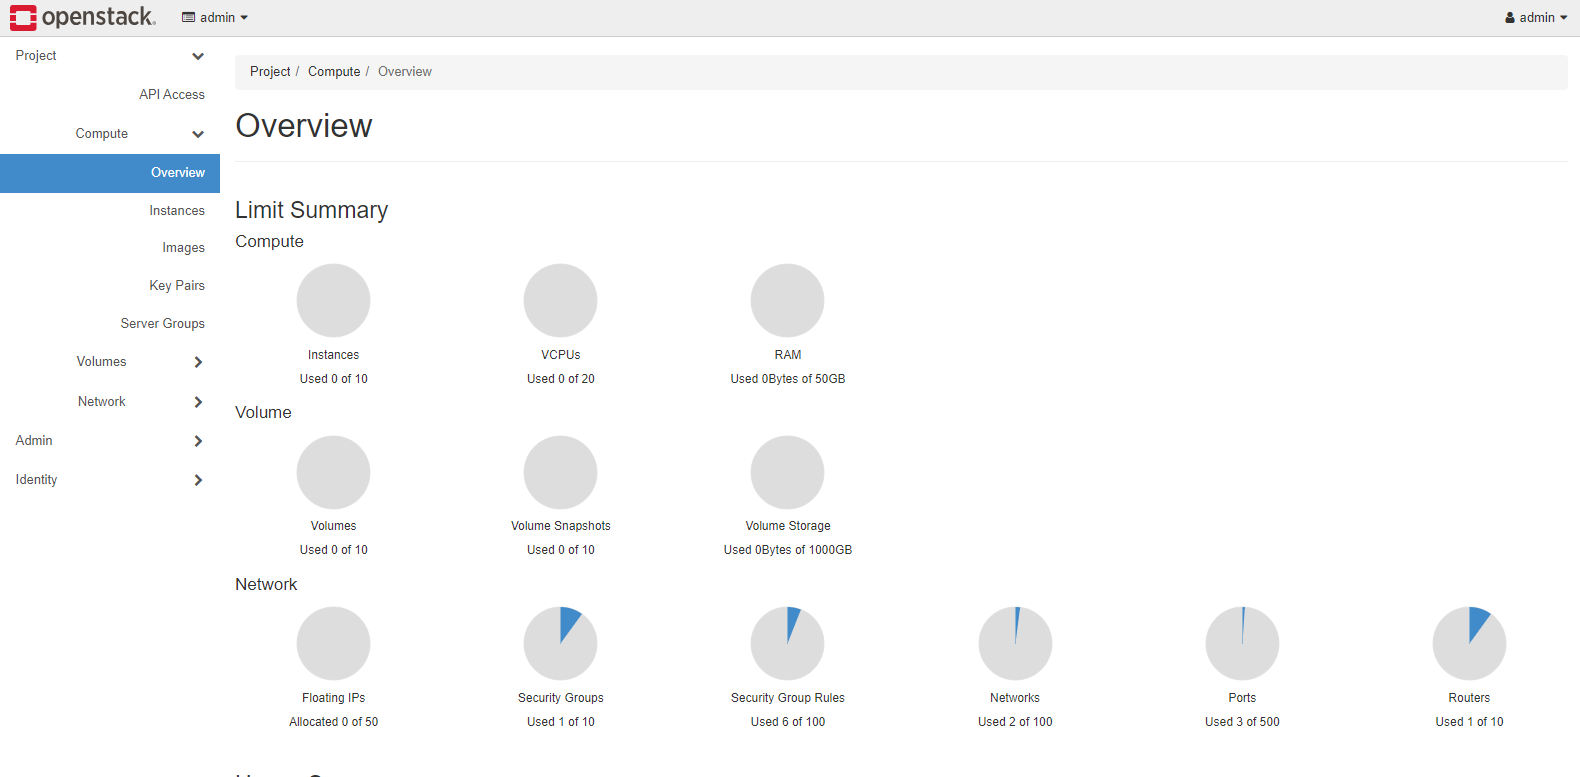
the initialization will take some time, and after that if the initialization is completed you can access the OpenStack Dashboard from https://yourip/
To get the administrator password: sudo snap get microstack config.credentials.keystone-password
That's it, now you can have fun creating instances, floating IP images and much more
NOTE!: This script can ONLY be run in WSL2 environments on Ubuntu, not on non WSL2 environments, if you run it the script will break immediately, as Microstack would already work on an Ubuntu distro