This is a separate guide that shows how to create volumes on OpenStack inside Windows
This guide continues the previous one: OpenStack on Hyper-V
This guide is totally OPTIONAL, it is only necessary if you want to create volumes from Windows
Open Windows Powershell as Administrator
First, create a folder named "volumes" wherever you want, I recommend it on a large external disk
Now create a network share for the volumes folder
New-SmbShare -Name volumes -Path D:\volumes
In the Path parameter make sure to enter the path of the folder you created previously
Now you will need to grant all read and write permissions on the newly created share
Grant-SmbShareAccess -Name volumes -AccountName "Everyone" -AccessRight Full -Force
First of all, download the MSI setup from this URL: https://cloudbase.it/downloads/CinderVolumeSetup_Yoga_20_0_0.msi
Run it with Powershell and fill in all the required fields, entering the location of your network share, the location of the Glance api, the Cinder database connection, the Nova authentication, all this information you can find in the files /etc/cinder/cinder.conf and /etc/nova/nova.conf from your OpenStack controller and finally start the installation
And make sure you use SMB3 driver
If you are sure that you have successfully installed the Cinder Volume, you can now try creating a volume
Create a test volume with:
cinder create --name volume1 30
Now you can see if the volume was created successfully from the dashboard
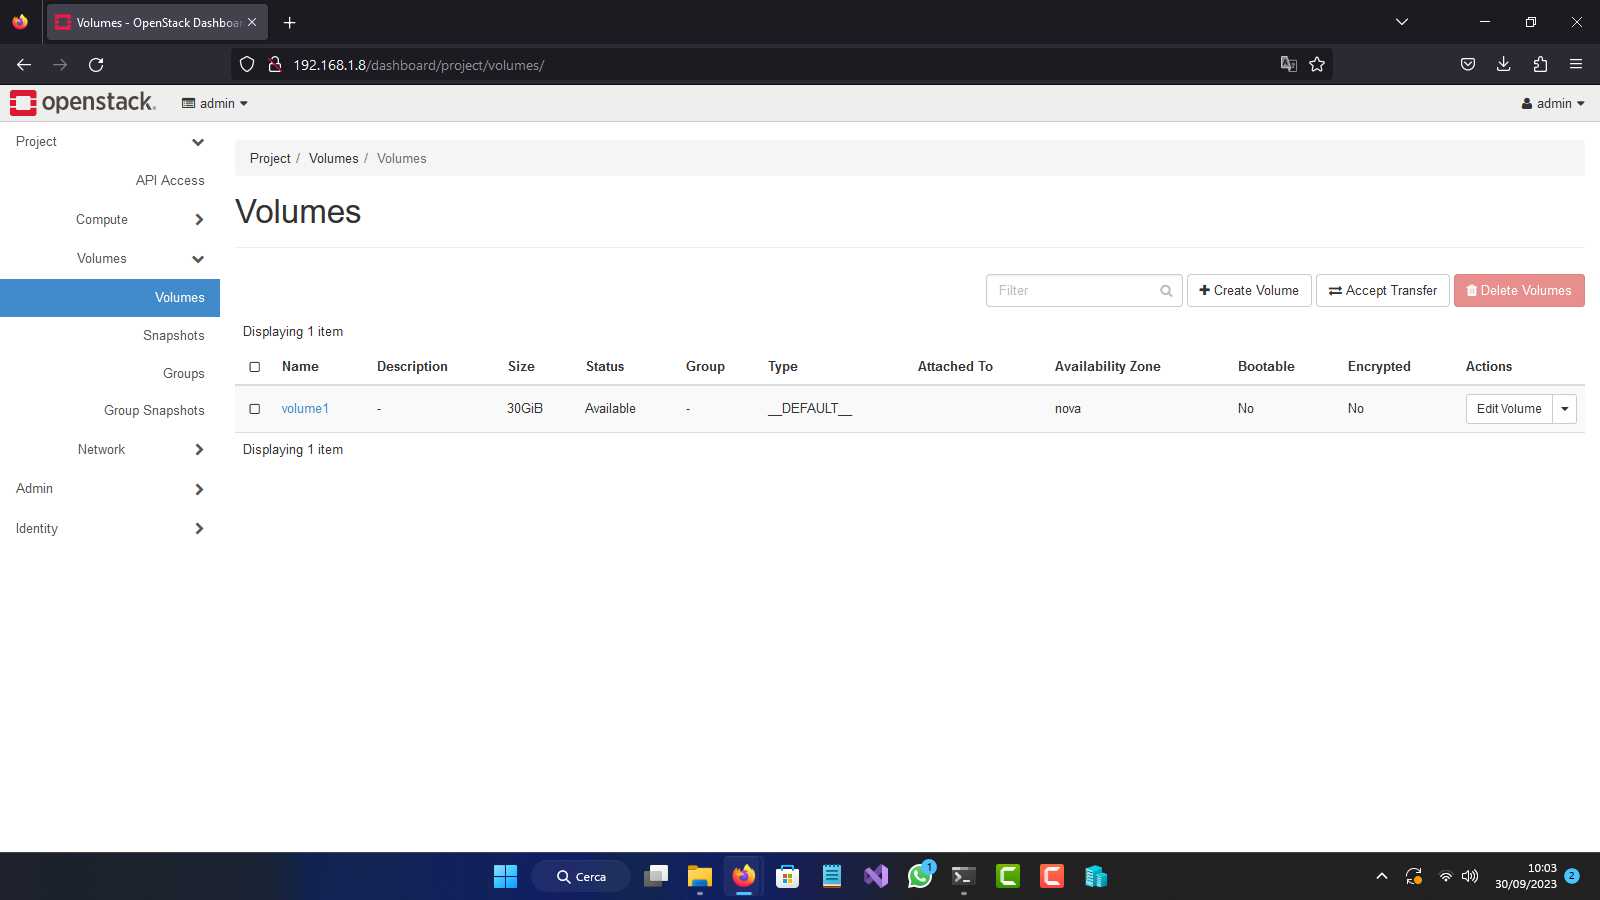
And all the volumes you create will be stored in the volumes folder you created at the beginning
And you will be able to attach these volumes on your instances launched on Hyper-V