In the “Add-ons” tab on your app console click on the Redis Cloud add-on, and choose your Redis Cloud plan.
Once Redis Cloud has been added, you will notice a new configuration variable: REDISCLOUD_URL in the Configuration variables tab on your app console, containing the username, password, hostname and port of your first Redis Cloud database.
Note: as database provisioning is carried out asynchronously, please wait until the creation and initialization of the database is complete. This process shouldn't take more than 60 seconds. You are ready to go when the "hostname" value in the `REDISCLOUD_URL` environment variable is different than your "localhost".
Next, setup your app to start using the Redis Cloud add-on.
The ServiceStack.Redis is an open source C# client for redis. The easiest way to get it is via NuGet.
Configure connection to your Redis Cloud service using the REDISCLOUD_URL configuration variable and the following code snippet:
:::c#
string redisCloudUrl = ConfigurationManager.AppSettings["REDISCLOUD_URL"].ToString();
Uri connectionUri = new Uri(redisCloudUrl);
RedisClient redis = new RedisClient(connectionUri);
:::c#
redis.Set("foo", "bar");
string value = redis.Get<string>("foo");
BookSleeve is offering a pipelined, asynchronous, multiplexed and thread-safe access redis client for C#. The easiest way to get it is via NuGet.
Configure connection to your Redis Cloud service using the REDISCLOUD_URL configuration variable and the following code snippet:
:::c#
string redisCloudUrl = ConfigurationManager.AppSettings["REDISCLOUD_URL"].ToString();
Uri connectionUri = new Uri(redisCloudUrl);
string host = connectionUri.Host;
int port = connectionUri.Port;
string password = connectionUri.UserInfo.Split(':').LastOrDefault();
RedisConnection redis = new RedisConnection(host, port: port, password: password);
:::c#
redis.Strings.Set(db, "foo", "bar");
var value = redis.Strings.GetString(db, "foo");
Our dashboard presents all performance and usage metrics of your Redis Cloud service on a single screen, as shown below:
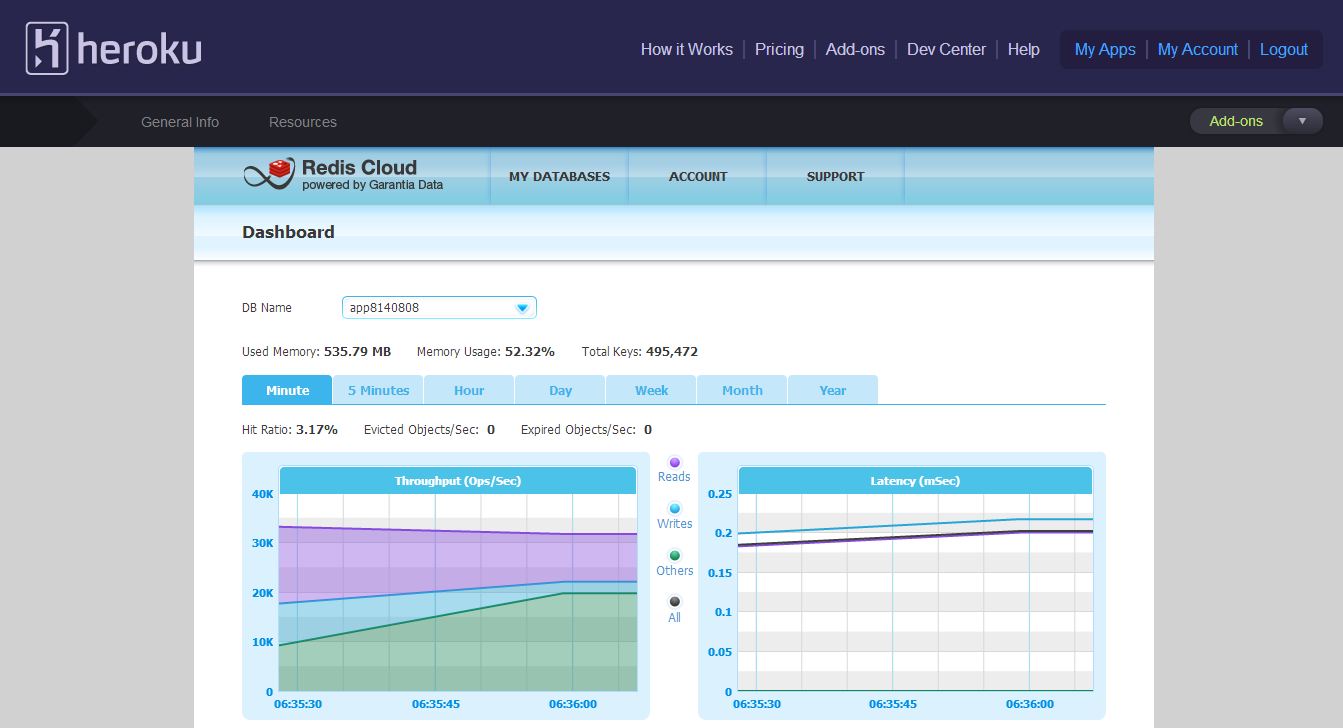
To access your Redis Cloud dashboard, simply click the “Go to Redis Cloud” link in the Redis Cloud add-on management page on your app console.
You can then find your dashboard under the MY DATABASES menu.
Redis Cloud allows you to add multiple Redis databases to your plan, each running in a dedicated process, in a non-blocking manner (i.e. without interfering with your other databases).
You can create as many databases as you need, limited by the memory size of your plan.
Your first Redis database is created automatically upon launching the Redis Cloud add-on and its URL and credentials are maintained in the REDISCLOUD_URL configuration variable.
To add more databases, simply access your Redis Cloud console and click the New Redis DB button in the MY REDIS DBs > Manage page.
You will have to manually set the connection between your application and your new Redis database (created through the Redis Cloud console), as only one canonical URL is supported by the add-on scheme of appharbor.com.
You can also delete a Redis database created through your Redis Cloud console, however, your first Redis database can only be deleted by entirely removing the add-on.
Plans migration is easy and instant. It requires no code change and has no effect on your existing datasets.
To upgrade a plan, simply go to the Redis Cloud add-on management page on your app console, and click the Upgrade button on the plan you choose.
Note: Only plan upgrade is supported currently.
To uninstall Redis Cloud add-on go to the Redis Cloud add-on management page on your app console, and click Uninstall.
Contact us if you have any questions at: [email protected].