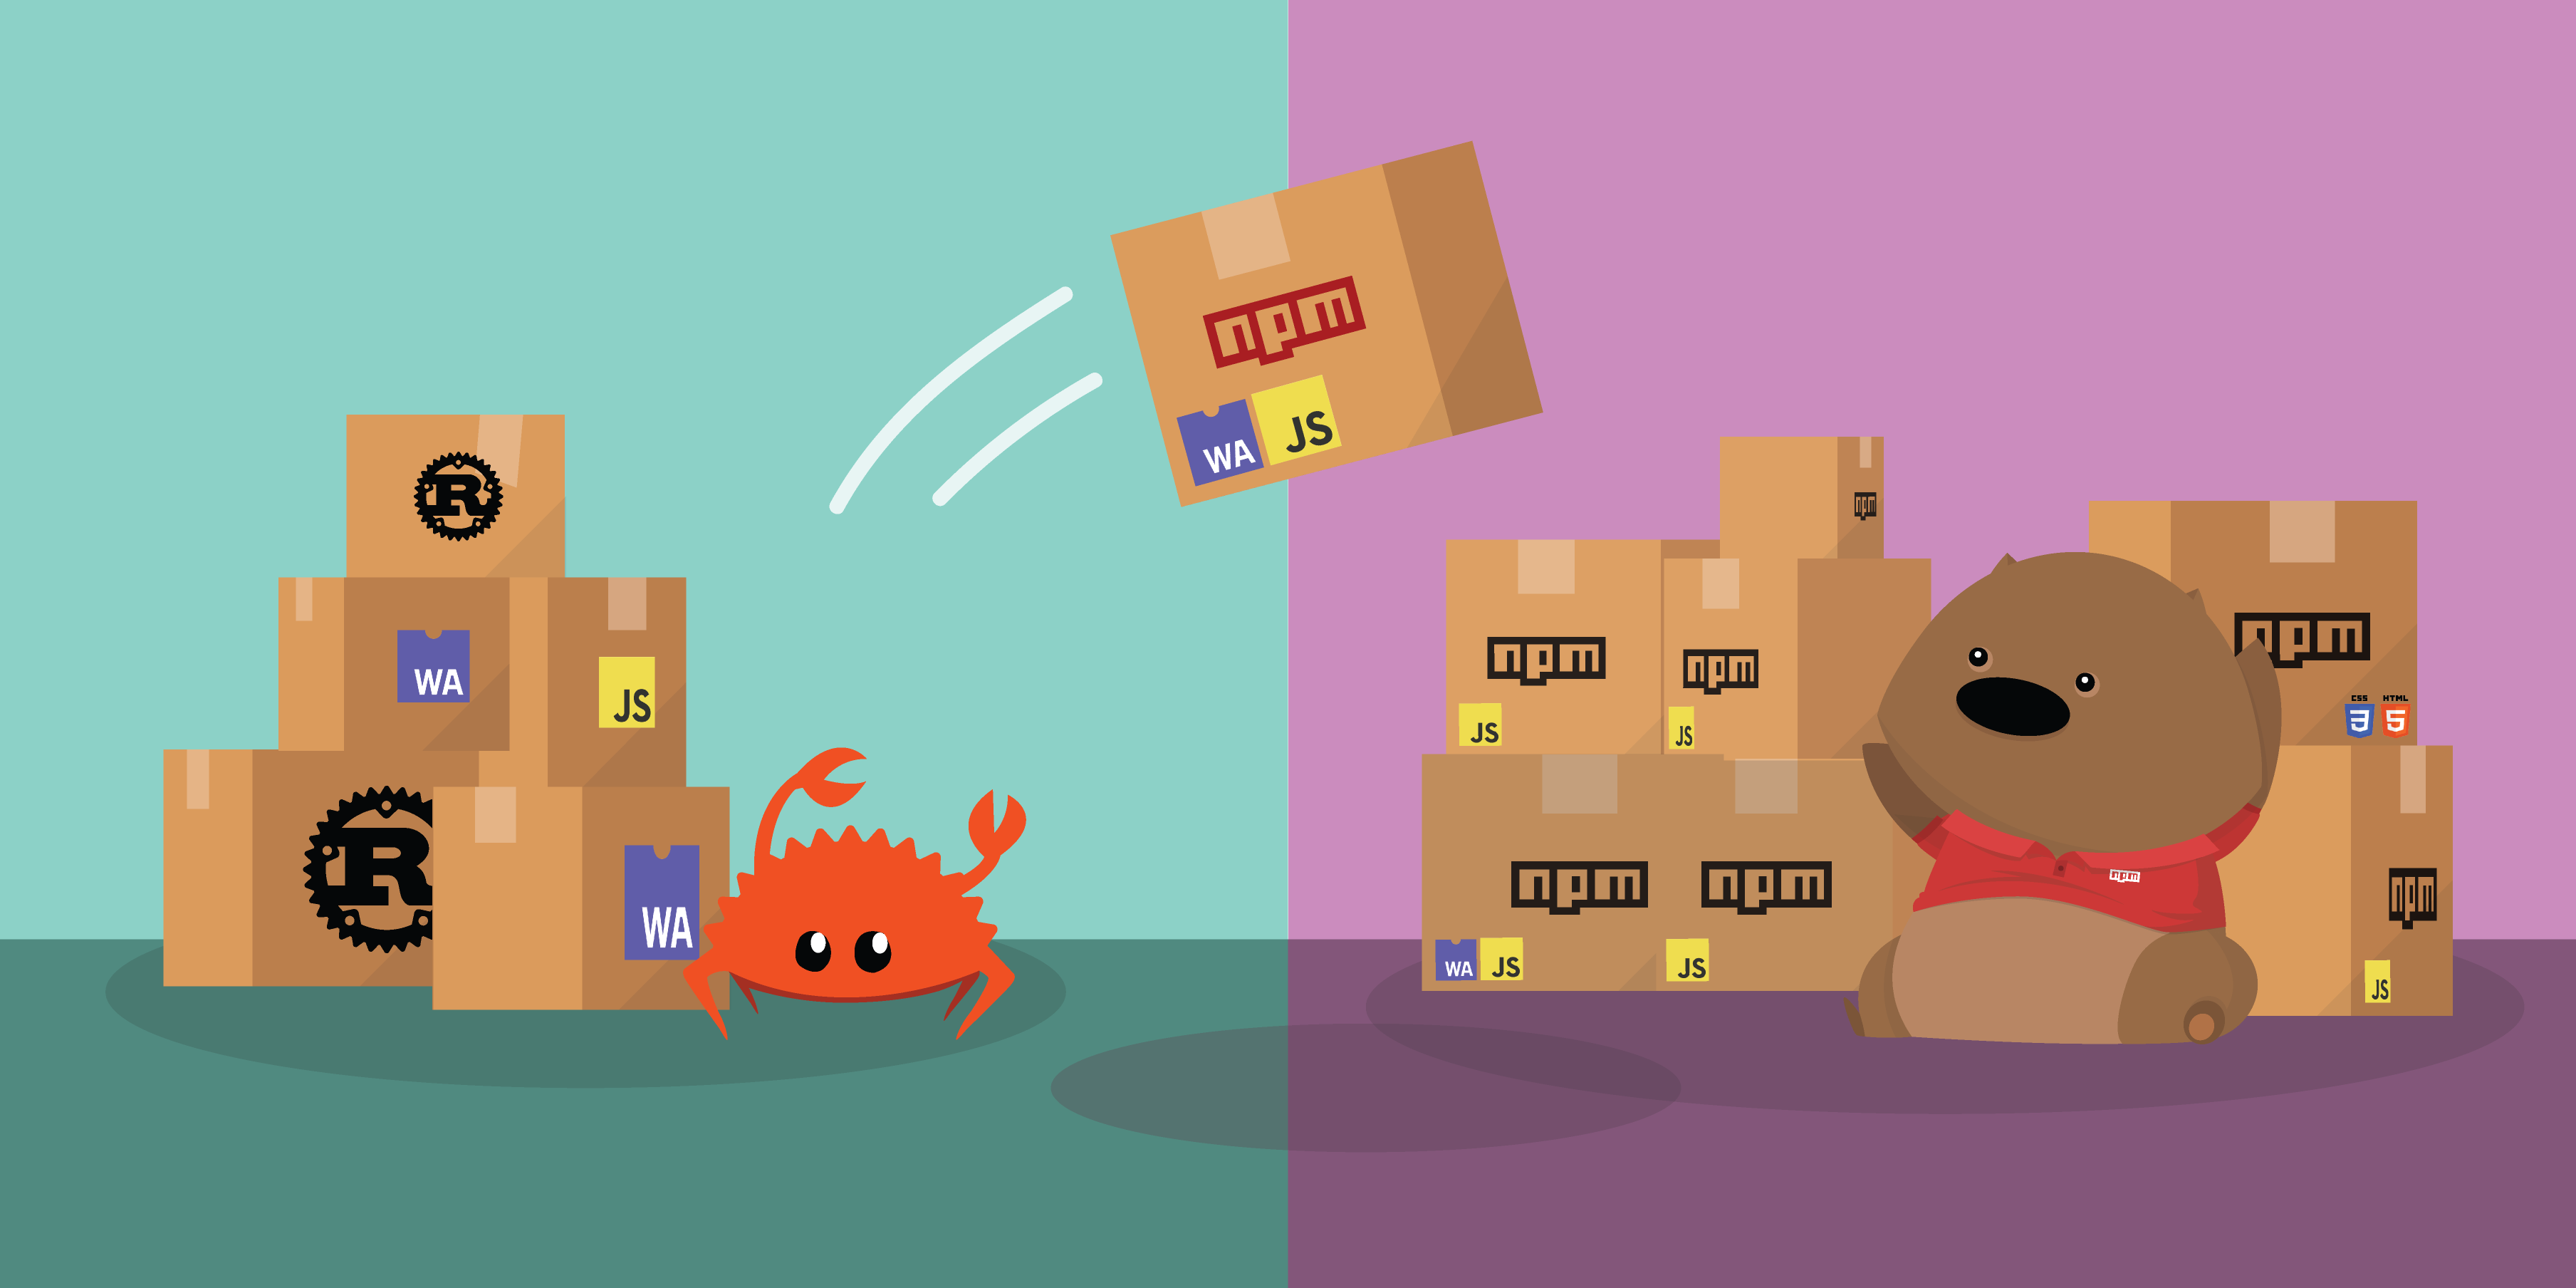
WebAssembly既拥有大量的前端输入(Rust、C++、Go、AssemblyScript),又拥有大量的运行时支持,可以内嵌在大量的语言中运行,也可以独立运行,可以说是编程界的(未来)最佳配角了,结合npm使用自然不在话下。
考虑到WebAssembly目前的发展度还不够成熟,为了避免踩坑,还是先尝试下最传统的使用场景:使用Rust编译wasm包,并通过npm发布,最后用于浏览器和Node.js之中。
本文中我会使用Rust构建一个npm包,并分别在浏览器和Node.js中打印出 "Hello Wasm!" 的语句。
在开始之前,需要配置下开发环境:
- 安装Rust:https://www.rust-lang.org/tools/install
- 安装 wasm-pack: https://rustwasm.github.io/wasm-pack/installer/
- 安装Node.js及相关工具包
可以使用 wasm-pack 工具快速地初始化一个 wasm 包的工程
$ wasm-pack new hello-wasm
[INFO]: ⬇️  Installing cargo-generate...
🐑  Generating a new rustwasm project with name 'hello-wasm'...
🔧   Creating project called `hello-wasm`...
✨   Done! New project created /private/tmp/wasm/hello-wasm
[INFO]: 🐑 Generated new project at /hello-wasm
这个命令会创建一个Rust的工程,包含如下的代码结构:
$ cd hello-wasm
$ tree .
.
├── Cargo.toml
├── LICENSE_APACHE
├── LICENSE_MIT
├── README.md
├── src
│   ├── lib.rs
│   └── utils.rs
└── tests
    └── web.rs

2 directories, 7 files
里面比较重要的有两个文件,一个是 Cargo.toml ,是整个项目的配置文件,类似于 package.json。
[package]
name = "hello-wasm"
version = "0.1.0"

[lib]
crate-type = ["cdylib", "rlib"]

[dependencies]
wasm-bindgen = "0.2.63"
这里的 name 即对应于 npm 包的 name,可以按需修改。注意这里不支持 @scope,如果需要 scope,可以在下面构建步骤中添加。
另一个是 src/lib.rs ,包含着核心代码:
use wasm_bindgen::prelude::*;
#[wasm_bindgen]
extern {
    fn alert(s: &str);
}

#[wasm_bindgen]
pub fn greet() {
    alert("Hello, hello-wasm!");
}默认生成的代码里面,通过wasm_bindgen声明了使用外部的 alert 函数,并导出了一个 greet 函数,在调用的时候会使用 alert 提示一段文本。
这就限制了它只能用在浏览器里面,因为Node.js中默认不带有全局的 alert 函数。
为了使这个包既能用于浏览器之中,也能用于Node.js之中,我需要把它修改成调用 console.log,而非 alert。
因为 console.log 不是 Rust 的内置方法,所以也需要使用 wasm_bindgen 声明,类似于 alert。
wasm_bindgen的帮助文档中给了两个使用 console.log的方法,分别如下:
第一种,使用 extern 声明
#[wasm_bindgen]
extern "C" {
    #[wasm_bindgen(js_namespace = console)]
    fn log(s: &str);
    #[wasm_bindgen(js_namespace = console, js_name = log)]
    fn log_u32(a: u32);
    #[wasm_bindgen(js_namespace = console, js_name = log)]
    fn log_many(a: &str, b: &str);
}

fn bare_bones() {
    log("Hello from Rust!");
    log_u32(42);
    log_many("Logging", "many values!");
}
这个示例中给了三个函数,分别覆盖 console.log 可接受参数的一部分子集。因为Rust是强类型的语言,并且不像TS那样可以声明 union 类型(也许可以,但是我还没学到),所以用起来不会像 JS 或 TS 那样灵活。虽然 TS 号称是强类型语言,但是和这种真正的强类型比起来还是方便太多了。
Rust中也支持泛型和可变参数列表,只是可能定义起来会比较复杂,例子中暂时没涉及到。暂时不必灰心,且慢慢了解吧。
第二种,使用web_sys库
Rust中有 crates 模块仓库,类似于 npm 仓库。其中有一个 web_sys 库就可以提供 console.log 工具。
用法如下:
fn using_web_sys() {
    use web_sys::console;
    console::log_1(&"Hello using web-sys".into());
    let js: JsValue = 4.into();
    console::log_2(&"Logging arbitrary values looks like".into(), &js);
}同时需要修改Cargo.toml,添加web_sys依赖。
[dependencies]
wasm-bindgen = "0.2.63"
web-sys = { version = "0.3.53", features = ['console'] }
这里,我采用了第二种用法,最新的代码如下:
#[wasm_bindgen]
pub fn greet() {
    use web_sys::console;
    console::log_1(&"Hello Wasm!".into());
}构建使用 wasm-pack 工具提供的 build 子命令即可。
# scope 可以在构建时修改 npm 包的 name,如这里就改成了 @banyudu/hello-wasm
# 按需调整成自己的scope,或不用scope
$ wasm-pack build --scope banyudu --target nodejs
[INFO]: 🎯  Checking for the Wasm target...
[INFO]: 🌀  Compiling to Wasm...
   Compiling proc-macro2 v1.0.28
   Compiling unicode-xid v0.2.2
   Compiling wasm-bindgen-shared v0.2.76
   Compiling syn v1.0.75
   Compiling log v0.4.14
   Compiling cfg-if v1.0.0
   Compiling bumpalo v3.7.0
   Compiling lazy_static v1.4.0
   Compiling wasm-bindgen v0.2.76
   Compiling cfg-if v0.1.10
   Compiling quote v1.0.9
   Compiling wasm-bindgen-backend v0.2.76
   Compiling wasm-bindgen-macro-support v0.2.76
   Compiling wasm-bindgen-macro v0.2.76
   Compiling js-sys v0.3.53
   Compiling console_error_panic_hook v0.1.6
   Compiling web-sys v0.3.53
   Compiling hello-wasm v0.1.0 (/private/tmp/wasm/hello-wasm)
warning: function is never used: `set_panic_hook`
 --> src/utils.rs:1:8
  |
1 | pub fn set_panic_hook() {
  |        ^^^^^^^^^^^^^^
  |
  = note: `#[warn(dead_code)]` on by default

warning: 1 warning emitted

    Finished release [optimized] target(s) in 17.69s
[INFO]: ⬇️  Installing wasm-bindgen...
[INFO]: Optimizing wasm binaries with `wasm-opt`...
[INFO]: Optional fields missing from Cargo.toml: 'description', 'repository', and 'license'. These are not necessary, but recommended
[INFO]: ✨   Done in 18.26s
[INFO]: 📦   Your wasm pkg is ready to publish at /private/tmp/wasm/hello-wasm/pkg.
构建完成后,再执行发布操作,因为wasm是跨平台的,不区分宿主环境,所以不用像Node.js的C++包那样把二进制文件单独提出来下载,直接放在 npm 包中即可:
$ wasm-pack publish --access public -t nodejs --tag nodejs
npm notice
npm notice 📦  @banyudu/[email protected]
npm notice === Tarball Contents ===
npm notice 2.2kB  README.md
npm notice 13.0kB hello_wasm_bg.wasm
npm notice 80B    hello_wasm.d.ts
npm notice 2.0kB  hello_wasm.js
npm notice 262B   package.json
npm notice === Tarball Details ===
npm notice name:          @banyudu/hello-wasm
npm notice version:       0.2.0
npm notice filename:      @banyudu/hello-wasm-0.2.0.tgz
npm notice package size:  7.9 kB
npm notice unpacked size: 17.5 kB
npm notice shasum:        114f7e2c5eeaeac79714a14b5165b21cbd005c0b
npm notice integrity:     sha512-44pOZDcQE0aSu[...]FcyfvfBwgIfkQ==
npm notice total files:   5
npm notice
+ @banyudu/[email protected]
[INFO]: 💥 published your package!新建一个 node.js 工程,并安装@banyudu/[email protected]
npm i @banyudu/[email protected]然后新建一个 index.js,内容如下:
require('@banyudu/hello-wasm').greet()运行 node index.js,可以看到 Hello Wasm!的输出,说明能正常加载运行。
在前端项目中使用 wasm 似乎略有一些复杂。
使用create-react-app新建一个React工程,并在代码中引入 @banyudu/hello-wasm。
import "./styles.css";
import { greet } from '@banyudu/hello-wasm'

export default function App() {
  return (
    <div className="App">
      <button onClick={() => greet()}>Click Me to say Hello Wasm in console</button>
    </div>
  );
}
这个时候会报如下的错:
Module parse failed: magic header not detected
这是因为wasm没有被正确的加载,需要使用wasm-loader处理。
使用react-app-rewired添加自定义配置 config-overrides.js:
const path = require('path');

module.exports = function override(config, env) {
    // Make file-loader ignore WASM files
    const wasmExtensionRegExp = /\.wasm$/;
    config.resolve.extensions.push('.wasm');
    config.module.rules.forEach(rule => {
        (rule.oneOf || []).forEach(oneOf => {
            if (oneOf.loader && oneOf.loader.indexOf('file-loader') >= 0) {
                oneOf.exclude.push(wasmExtensionRegExp);
            }
        });
    });

    // Add a dedicated loader for WASM
    config.module.rules.push({
        test: wasmExtensionRegExp,
        include: path.resolve(__dirname, 'src'),
        use: [{ loader: require.resolve('wasm-loader'), options: {} }]
    });

    return config;
};再运行React项目,还是有错误,现在的错误是:WebAssembly module is included in initial chunk.
这个错误相对来说好理解一点,也就是说导入wasm模块必须异步进行,将代码改成如下的形式:
import "./styles.css";

const handleClick = () => {
  import('@banyudu/hello-wasm').then(wasm => {
    wasm.greet()
  })
}

export default function App() {
  return (
    <div className="App">
      <button onClick={handleClick}>Click Me to say Hello Wasm in console</button>
    </div>
  );
}但是错误还没有结束,现在变成了TypeError: TextDecoder is not a constructor.
wasm-pack在构建的时候支持多种模式,有nodejs,也有web等,这个错看起来像是引用了node.js的模块导致的,所以我怀疑是wasm-pack构建的时候不能设置成node.js。
果然使用wasm-pack build --scope banyudu 重新构建之后就正常了。
前端示例代码在Github仓库中。
前端项目中使用wasm略显复杂,而且看起来wasm-pack也无法同时提供node.js和web兼容的npm包?也许以后会有更便捷的方式。
以上就是一个完整的使用Rust构建wasm包,发布到npm,并在node.js和React项目中分别引用的实际过程。
通过使用体验来看,WebAssembly在Node.js中表现较好,只要是新版本Node.js,使用的时候不需要特殊配置,而前端React项目中使用比较复杂,需要修改Webpack配置,且引入的方式也必须是dynamic的。
暂时还算不上很理想,期待以后会有更好的发展。
