Assuming your have already set up your NextJS + Tailwind project,
1. Select your desired custom Google font


@import url('https://fonts.googleapis.com/css2?family=Playfair+Display:ital,wght@0,400;0,500;1,400&display=swap');

@tailwind base;
@tailwind components;
@tailwind utilities;
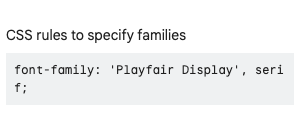
4. Add a new property within the fontFamily property in tailwind.config.js under theme > extend, using the CSS rules above.
(Ensure that unquoted values are quoted, otherwise Tailwind might mistake them for a variable)
theme: {
  extend: {
    fontFamily: {
     PlayfairDisplay: ['Playfair Display', 'serif'],
    },
  },
},
If you will like to use the deafult Tailwind font styles as a fallback, you can include the existing theme font (Optional):
const defaultTheme = require('tailwindcss/defaultTheme');

module.exports = {
  theme: {
    extend: {
      fontFamily: {
        PlayfairDisplay: ['Playfair Display', ...defaultTheme.fontFamily.sans]
      }
    }
  },
}
You can now use reference the style using the class name font-<Defined-Font-Name>.
For example,
<h1 className="font-PlayfairDisplay text-5xl">This is using a custom font</h1>
You can do this by setting the class name of the font on the body tag in your root layout, after having initialised the font.
Playfair initialization
Root layout definition
Alternatively, you can go simple and use the Google embed code to add the required links and class name provided in your project.