Blog 2020/5/7
<- previous | index | next ->
EDIT 2024/12/1: I updated a few of these commands to work with qemu 9.x.
Here are some notes on how I set up an installation of OS X Tiger (10.4) on an emulated PowerPC G4 using QEMU, on a modern x86_64 Mac.
This setup was performed using QEMU 5.0.0 (obtained via brew install qemu).
Note: at some point during this process -cdrom /dev/cdrom seems to have stopped working, but -cdrom /dev/disk2 works.
In this step we will format the disk and perform the initial OS X installation.
Download a copy of the
2Z691-5305-A OS X Tiger installation DVD
and burn it to a physical DVD.
Note: for some reason qemu does not seem to be able to boot UPDATE: I revisited this with qemu 9.1.2 and it boots directly from a .toast file..iso files of the OS X installation DVD (using -cdrom tiger.iso),
but if you burn that .iso to a physical DVD and then use -cdrom /dev/disk2, it works.
Rename the .toast file to something more convenient:
mv 691-5305-A\,2Z\,Mac\ OS\ X\ v10.4\ Tiger.\ Includes\ Xcode\ 2.\ Install\ Disc_2005\ \(DVD\).toast tiger.toast
Boot the DVD to verify it works:
qemu-system-ppc -L pc-bios -M mac99,via=pmu -m 512 -cdrom tiger.toast -boot d
If you see the grey Apple logo, the DVD is working correctly with QEMU:

Quit QEMU and create a 127GB QEMU disk (note: this file will grow in size as OS X uses more space, it will not initially occupy 127GB):
qemu-img create -f qcow2 1-fresh.qcow2 127G
Boot the install DVD with the disk attached and begin the installation. QEMU will exit when the installer reboots.
qemu-system-ppc \
    -L pc-bios \
    -M mac99,via=pmu \
    -cpu G4 \
    -m 1024 \
    -prom-env 'auto-boot?=true' \
    -prom-env 'boot-args=-v' \
    -prom-env 'vga-ndrv?=true' \
    -hda 1-fresh.qcow2 \
    -cdrom tiger.toast \
    -boot d \
    -no-reboot
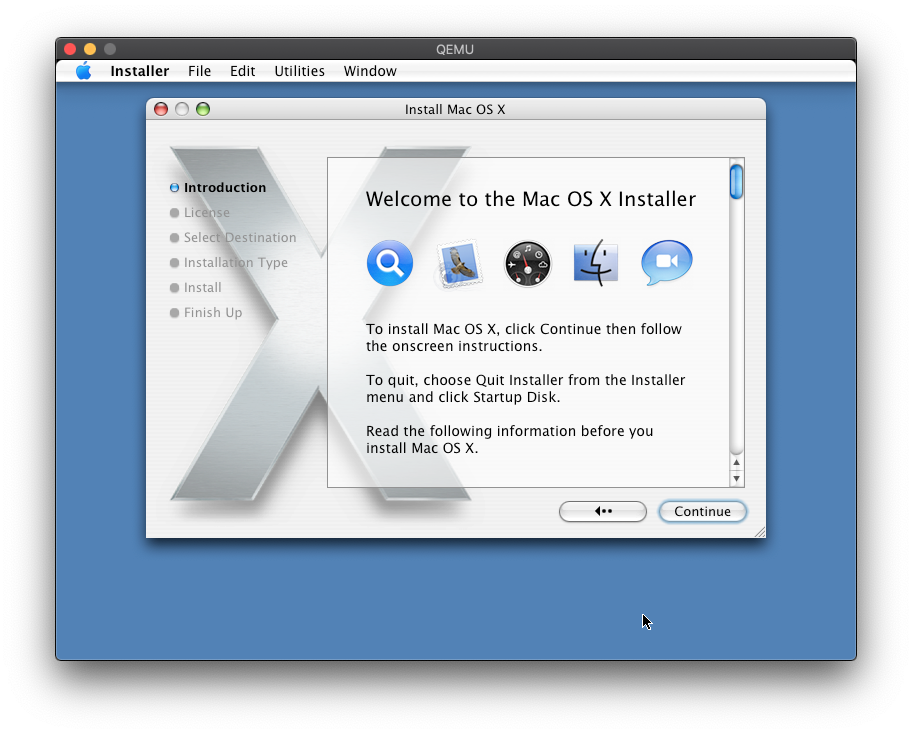
When the installer reaches the disk selection screen, there will be no disks to choose from, because the disk has not been partitioned yet:

Start up Disk Utility:

"Erase" the disk to partition and format it:

Quit Disk Utility and the installer should now see the newly formatted partition:

The install will take quite some time (over an hour). When it completes, it will reboot, which will cause QEMU to exit (due to the -no-reboot flag).

At this point you may (physically) eject the installation DVD (from your host Mac).
Mark the disk as read-only to prevent any accidental writes to it (which would cause any snapshots based on this disk to become corrupt):
chmod ugo-w 1-fresh.qcow2
In this step we will create a user account and install all of the system updates.
Create a snapshot of the disk (think of this as forking the hard drive):
qemu-img create -f qcow2 -b 1-fresh.qcow2 -F qcow2 2-updates.qcow2
The system updates can either be installed using the Software Update utility (iteratively repeated across many reboots), or you can download and install them manually.
The manual route is quicker because some of the updates are bundled, and you don't have to wait on Software Update to detect which updates have / haven't been installed yet.
To install the updates manually, download (on your host Mac) item #33 (Tiger_Updates.dmg_.zip) from the "Mac OS X for PPC" page of macintoshgarden.org.
Unzip that file and convert the dmg to a DVD image:
hdiutil convert Tiger_Updates.dmg -format UDTO -o tiger-updates.cdr
We can now use tiger-updates.cdr as a virtual DVD with QEMU.
EDIT: alternatively, just boot Tiger (without -cdrom tiger-updates.cdr), open Safari, type in http://leopard.sh/dist/orig/ and download MacOSXUpdCombo10.4.11PPC.dmg. I maintain a non-HTTPS server so that old macs can still access it.
Boot the G4 and create a user account:
qemu-system-ppc \
    -L pc-bios \
    -M mac99,via=pmu \
    -cpu G4 \
    -m 1024 \
    -prom-env 'auto-boot?=true' \
    -prom-env 'boot-args=-v' \
    -prom-env 'vga-ndrv?=true' \
    -hda 2-updates.qcow2 \
    -cdrom tiger-updates.cdr \
    -boot c \
    -no-reboot
Note: if you plan on using Software Update rather than tiger-updates.cdr, you man omit the -cdrom tiger-updates.cdr line from the above command.
Note: this boot may take several minutes to get started.
This install was set up with user macuser and password macuser:


This installation was set up with the Central timezone:

Disable the screen saver and power-saving features:
Open up System Preferences and:
- Display & Screen Saver -> Screensaver -> Start screen saver -> Never
- Energy Saver
- Put the computer to sleep when it is inactive for -> Never
- Put the display to sleep when the computer is inactive for -> Never

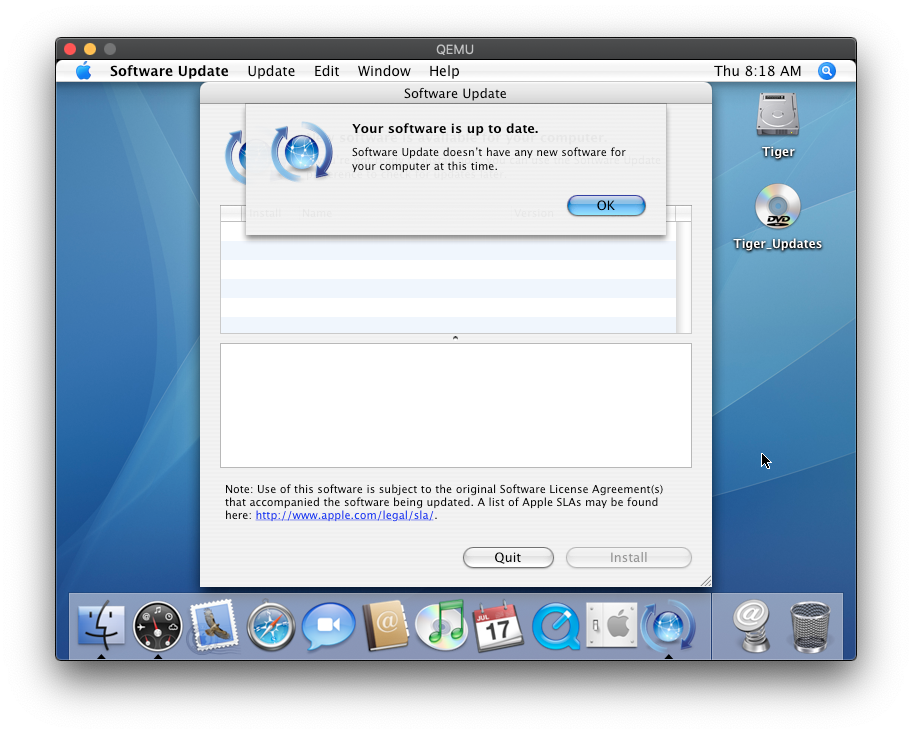
If you did not use Software Update, open up the Tiger_Updates "DVD" and install all of the updates:


If you go with the updates DVD route, make sure you run Software Update at the end just to be sure you've covered everything.
Mark the snapshot read-only to prevent accidental writes to it:
chmod ugo-w 2-updates.qcow2
In this step we will install TenFourFox, VLC and TextWrangler.
Create a snapshot of the disk:
qemu-img create -f qcow2 -b 2-updates.qcow2 -F qcow2 3-browser.qcow2
TenFourFox is a fork of the Firefox web browser which is currently supported on Tiger/PPC. Their website links to the latest version, FPR22.
The latest version of VLC for Tiger/PPC is 0.9.10, which is still available from their downloads page.
The latest version of TextWrangler for Tiger/PPC is 3.1, available via Bare Bones or macintoshgarden.org.
Strangely, no combination of using Disk Utility and hdiutil to create .dmg or .cdr images of TenFourFox.app seemed to work with Tiger:
Note: in retrospect, perhaps this was an APFS vs. HFS+ issue?

I resorted to burning TenFourFox, VLC, and TextWrangler to a physical DVD and passing it through to QEMU.
Note: even burning to a physical CD-ROM didn't work -- it had to be a DVD.
qemu-system-ppc \
    -L pc-bios \
    -M mac99,via=pmu \
    -cpu G4 \
    -m 1024 \
    -prom-env 'auto-boot?=true' \
    -prom-env 'boot-args=-v' \
    -prom-env 'vga-ndrv?=true' \
    -hda 3-browser.qcow2 \
    -cdrom /dev/disk2 \
    -boot c \
    -no-reboot
Drag the applications into /Applications.
Shutdown the G4 and mark the disk read-only:
chmod ugo-w 3-browser.qcow2
In this step we will set up a development environment for building modern Unix software.
Create a snapshot of the disk:
qemu-img create -f qcow2 -b 3-browser.qcow2 -F qcow2 4-tigerbrew.qcow2
The latest version of Xcode Tools for Tiger/PPC is 2.5, which is still available via Apple (search for "xcode 2.5" at https://developer.apple.com/download/more/, requires login), or via macintoshgarden.org from their Xcode page.
Again, I had to burn this to a physical DVD in order to use it with QEMU.
Boot the G4 and install the Xcode Tools:
qemu-system-ppc \
    -L pc-bios \
    -M mac99,via=pmu \
    -cpu G4 \
    -m 1024 \
    -prom-env 'auto-boot?=true' \
    -prom-env 'boot-args=-v' \
    -prom-env 'vga-ndrv?=true' \
    -hda 4-tigerbrew.qcow2 \
    -cdrom /dev/disk2 \
    -boot c \
    -no-reboot


Tigerbrew is a fork of Homebrew for PowerPC Macs running Tiger or Leopard.
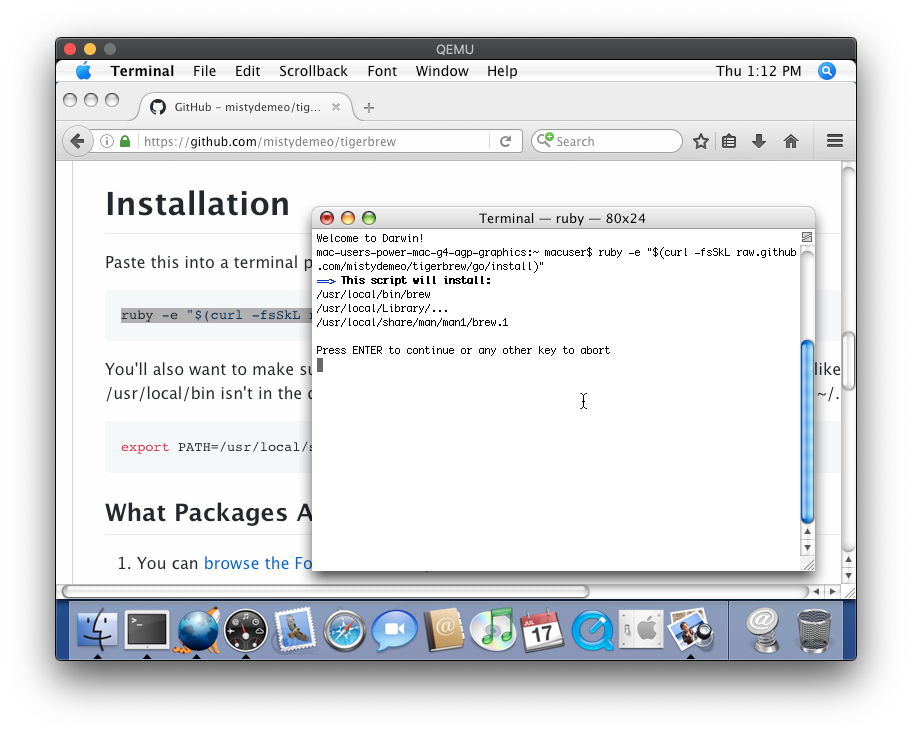
Open up a terminal on the emulated G4 and use the following commands to install Tigerbrew:
ruby -e "$(curl -fsSkL raw.github.com/mistydemeo/tigerbrew/go/install)"
echo 'export PATH=/usr/local/sbin:/usr/local/bin:$PATH' >> ~/.profile
source ~/.profile
brew doctor
brew install --verbose curl git
brew update --verbose
Also, change Terminal.app to spawn a "login" bash shell:
- Terminal -> Preferences -> Execute this command ->
/bin/bash -l

Don't forget to mark the disk image read-only:
chmod ugo-x 4-tigerbrew.qcow2
At this point we've created a series of four chained hard drive images:
$ qemu-img info --backing-chain 4-tigerbrew.qcow2
image: 4-tigerbrew.qcow2
file format: qcow2
virtual size: 127 GiB (136365211648 bytes)
disk size: 3.63 GiB
cluster_size: 65536
backing file: 3-browser.qcow2
Format specific information:
    compat: 1.1
    lazy refcounts: false
    refcount bits: 16
    corrupt: false

image: 3-browser.qcow2
file format: qcow2
virtual size: 127 GiB (136365211648 bytes)
disk size: 448 MiB
cluster_size: 65536
backing file: 2-updates.qcow2
Format specific information:
    compat: 1.1
    lazy refcounts: false
    refcount bits: 16
    corrupt: false

image: 2-updates.qcow2
file format: qcow2
virtual size: 127 GiB (136365211648 bytes)
disk size: 2.42 GiB
cluster_size: 65536
backing file: 1-fresh.qcow2
Format specific information:
    compat: 1.1
    lazy refcounts: false
    refcount bits: 16
    corrupt: false

image: 1-fresh.qcow2
file format: qcow2
virtual size: 127 GiB (136365211648 bytes)
disk size: 4.62 GiB
cluster_size: 65536
Format specific information:
    compat: 1.1
    lazy refcounts: false
    refcount bits: 16
    corrupt: false
We can squash these images into a single, combined, stand-alone hard drive image:
chmod u+w *.qcow2
qemu-img merge 4-tigerbrew.qcow2
qemu-img merge 3-browser.qcow2
qemu-img merge 2-updates.qcow2
mv 1-fresh.qcow2 combined.qcow2
rm 2-updates.qcow2 3-browser.qcow2 4-tigerbrew.qcow2
We can then boot using that combined image directly, without the use of any snapshots. This is analogous to having a real Mac with a physical hard drive:
qemu-system-ppc \
    -L pc-bios \
    -M mac99,via=pmu \
    -cpu G4 \
    -m 1024 \
    -prom-env 'auto-boot?=true' \
    -prom-env 'boot-args=-v' \
    -prom-env 'vga-ndrv?=true' \
    -hda combined.qcow2
Or, we could treat combined.qcow2 as a "golden master"
and create snapshots based off of it, perhaps to try out some experimental tigerbrew packages:
chmod ugo-w combined.qcow2
qemu-img create -f qcow2 -b combined.qcow2 -F qcow2 experiment-1.qcow2
qemu-img create -f qcow2 -b combined.qcow2 -F qcow2 experiment-2.qcow2
qemu-img create -f qcow2 -b combined.qcow2 -F qcow2 experiment-3.qcow2
Perhaps in experiment-1.qcow2 we try out gcc-7, and in experiment-2.qcow2 we try out llvm, etc.
Each of these snapshots can be used with the above command line as the -hda argument:
qemu-system-ppc ... -hda experiment-2.qcow2
We could even create further branches off of e.g. experiment-2.qcow2:
qemu-img create -f qcow2 -b experiment-2.qcow2 -F qcow2 experiment-2A.qcow2
qemu-img create -f qcow2 -b experiment-2.qcow2 -F qcow2 experiment-2B.qcow2
Perhaps we decide that experiment-2B.qcow2 was the keeper and the rest can be gotten rid of?
qemu-img merge experiment-2B.qcow2
qemu-img merge experiment-2.qcow2
rm experiment-*.qcow2
combined.qcow2 now contains the changes from experiment-2.qcow2 and experiment-2B.qcow2.
Thus far we've been branching off of the 'tip',
but we could just as easily branch off several points in the snapshot tree.
For example, if we hadn't merged the images into combined.qcow2,
we could make a "daily driver" snapshot for web browsing based off of 3-browser.qcow2,
and a "dev box" for doing development work based off of 4-tigerbrew.qcow2:
qemu-img create -f qcow2 -b 3-browser.qcow2 -F qcow2 daily-driver.qcow2
qemu-img create -f qcow2 -b 4-tigerbrew.qcow2 -F qcow2 dev-box.qcow2
Let's say we accidentally hosed our dev box with a careless rm -rf /. Starting over with a new dev box is trivial:
rm dev-box.qcow2
qemu-img create -f qcow2 -b 4-tigerbrew.qcow2 -F qcow2 dev-box.qcow2
Etc :)
See also https://gist.github.com/akemin-dayo/0e9bdcd74b2ad7f0bcf56e0680256103