
Created
August 14, 2017 20:29
-
-
Save clonn/297840e586e79293bcac7e87acc61cbf to your computer and use it in GitHub Desktop.
Chatbot與電子商務結合實戰 - iThome Workshop (8/19)
This file contains hidden or bidirectional Unicode text that may be interpreted or compiled differently than what appears below. To review, open the file in an editor that reveals hidden Unicode characters.
Learn more about bidirectional Unicode characters
| Chatbot 入門課程教學 | |
| 很高興能夠與大家見面,在活動一開始希望大家先開通一些服務, | |
| * [Github](https://github.com/) | |
| 下載軟體 | |
| * [node.js v8.3.0](https://nodejs.org/en/) | |
| * [ngrok](https://ngrok.com/download) | |
| * [VSCode](https://cldup.com/ClFpPA71uX.png) (Option) | |
| * [github desktop](https://desktop.github.com/) (Option) | |
| ## Service | |
| 請申請以下幾個服務帳號(如無特別需求,請 **不要** 填入信用卡卡號) | |
| * [API.AI](https://api.ai/) | |
| * [Agenty](https://www.agenty.com/) | |
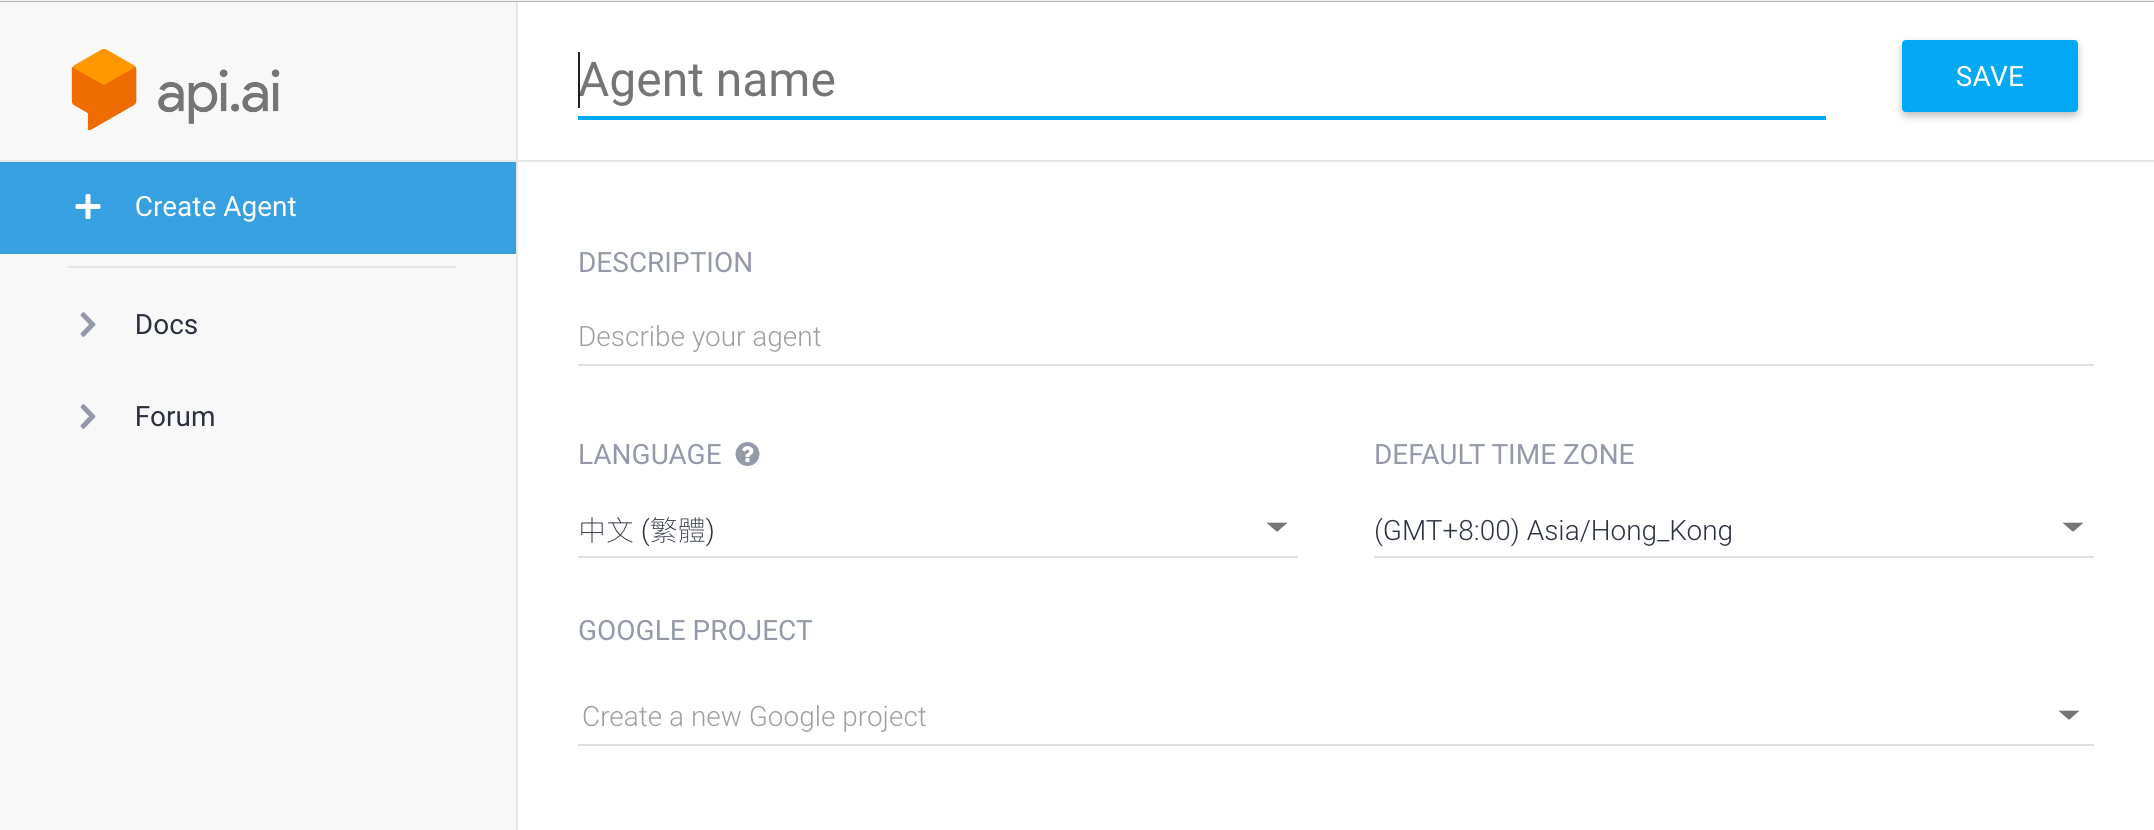
| API.ai 開通完畢至少畫面會呈現為 | |
|  | |
| ## Facebook Messenger | |
| 1. 建立 [Facebook 粉絲頁](https://www.facebook.com/help/104002523024878?helpref=about_content) | |
| 2. 建立 [Facebook 應用程式](https://developers.facebook.com/) | |
| 3. 透過 [Facebook Messenger 開發快速指南步驟進行](https://developers.facebook.com/docs/messenger-platform/guides/quick-start) | |
| ## 設定 WebHook | |
| 設定 Facebook 應用程式中,設定 Messenger 相關設定,以及 Webhook 位置 | |
|  | |
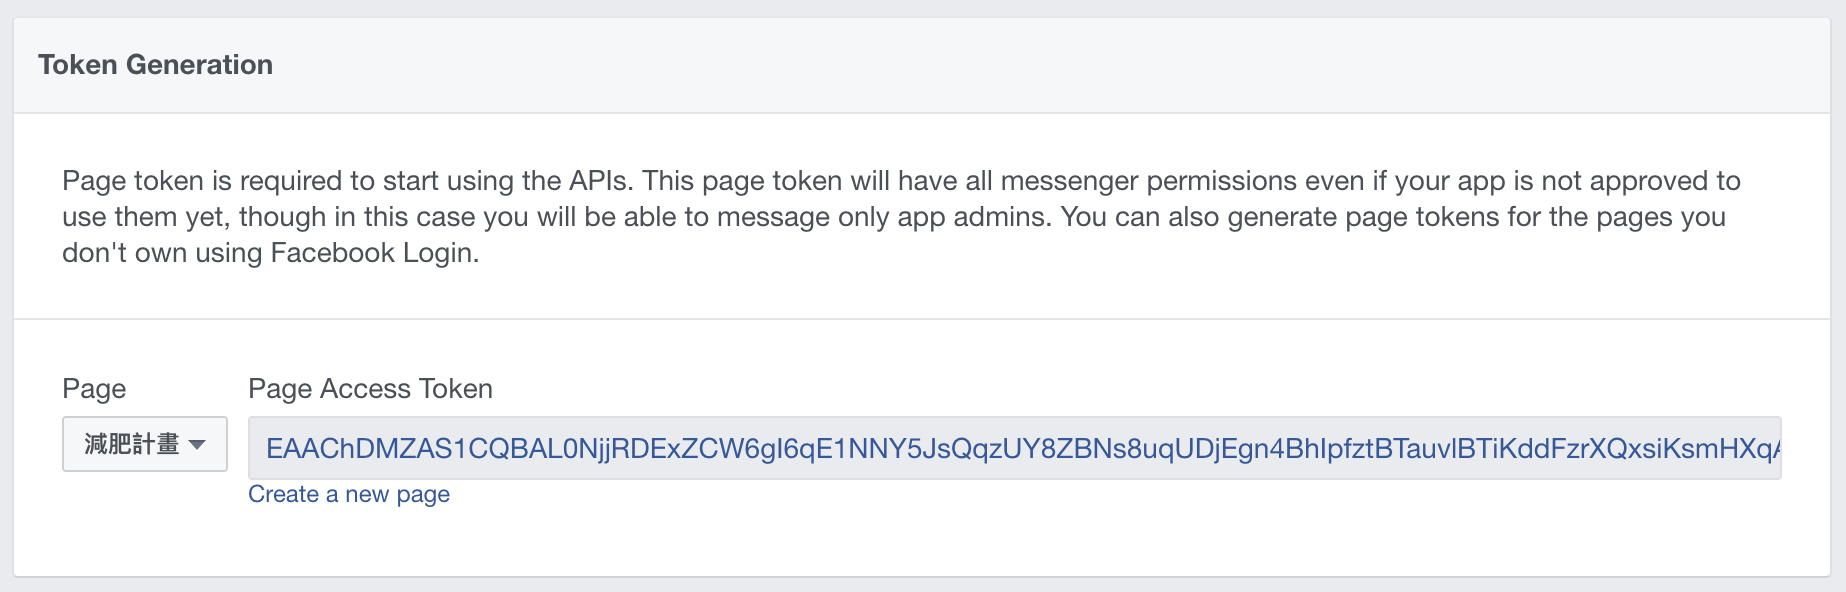
| Messenger 底下請選擇剛才增加的粉絲頁,選擇後,會自動建立一組關於 FB Messenger Token。 | |
|  | |
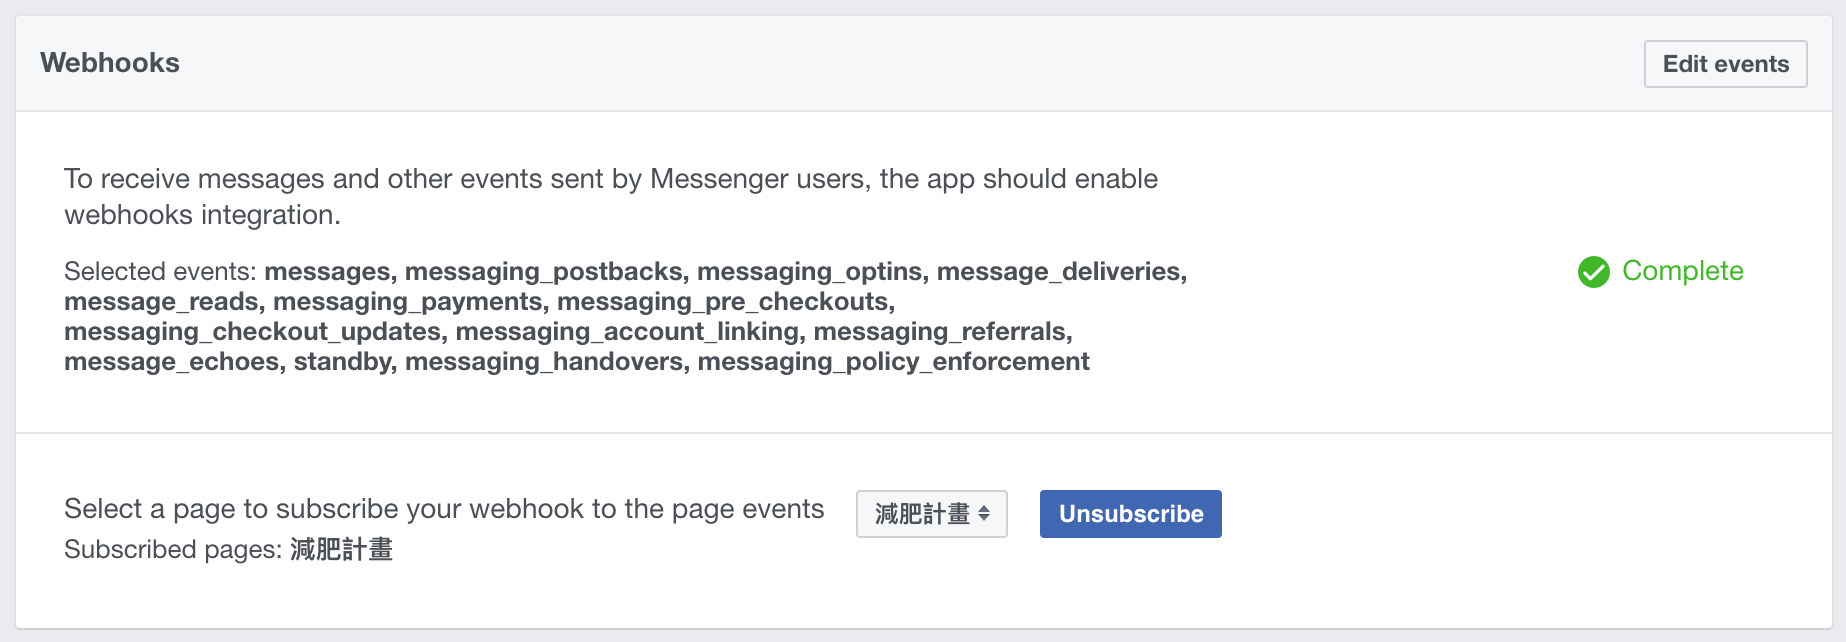
| Messenger 設定完粉絲頁之後,需要對應到底下 Webhook option,重點在於將剛才粉絲頁面進行選擇後,進行 subscribe | |
|  | |
| 接著才到左邊的 Webhooks 進行設定 `Callback URL`, `Verify Token`,關於 Callback URL 需要使用 HTTPS 協定。 | |
| 因此就會用到 ngork 這個服務,來進行 proxy 到本地接下來的服務中,請到終端機中,根據 ngork 指令位置,輸入以下指令,就會獲得下圖的 HTTPS 網址可供開發使用。 | |
| ``` | |
| ./ngrok http 5000 | |
| ``` | |
| 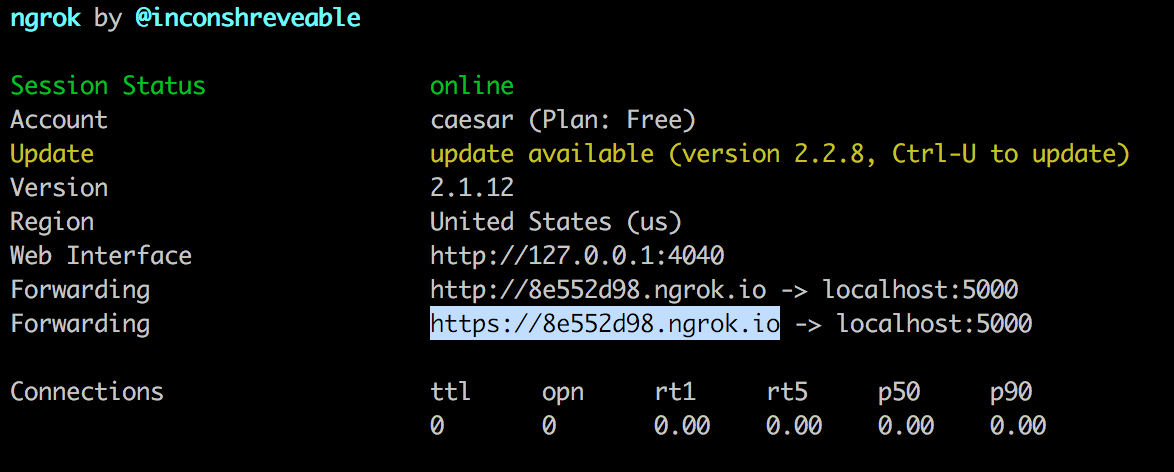 | |
| 回到 Facebook Webhooks 設定頁面中,就可以填入剛才取得的網址,設定如下 | |
| 特別一提,`Verify Token` 是隨意填寫,但請先記錄起來,接下來會使用到。 | |
| ``` | |
| Callback URL: https://8e552d98.ngrok.io/webhook | |
| Verify Token: HELLO_WELCOME | |
| ``` | |
| ## Facebook 範例程式使用 | |
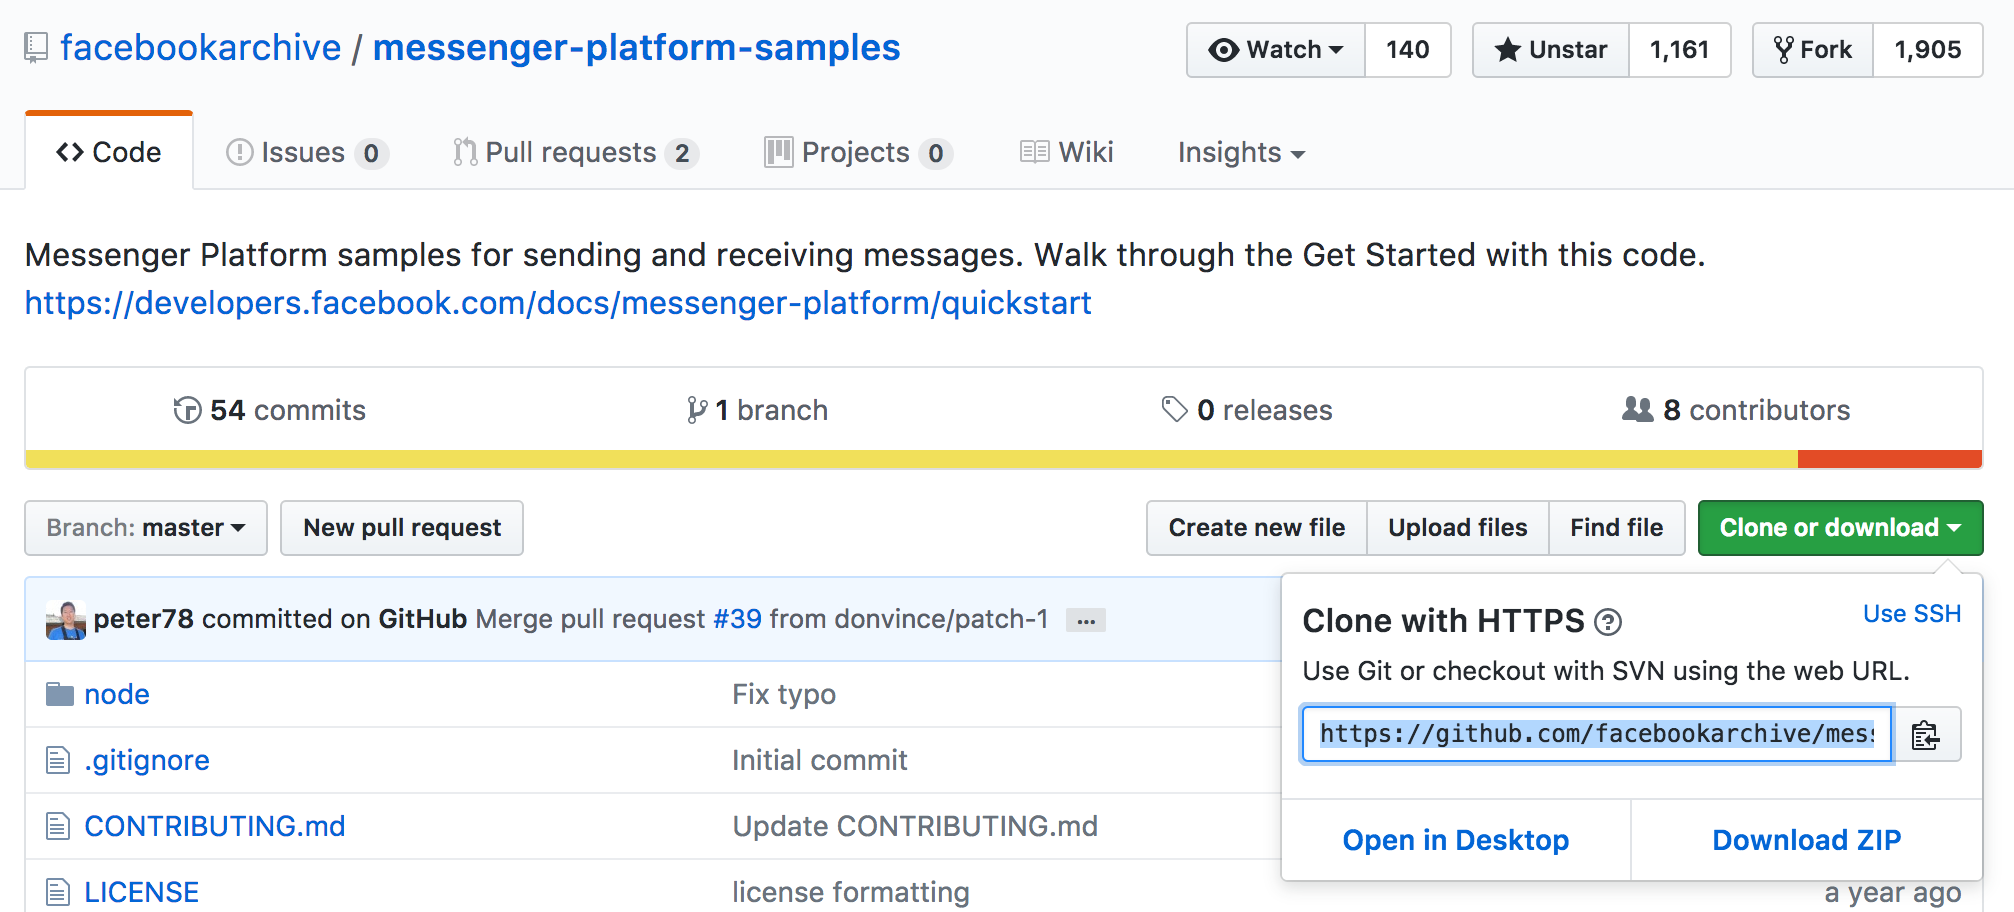
| 將剛才 Facebook Messenger 提供的範例程式下載下來, (可透過 git 指令,或者 Github desktop 進行專案複製) | |
| ``` | |
| git clone https://github.com/fbsamples/messenger-platform-samples | |
| ``` | |
|  | |
| 修改資料夾中的 `node/config/default.json`,填入 Facebook App 及 Facebook Messager, Facebook Webhooks 相對應的資料 | |
| ``` | |
| { | |
| "appSecret": "-- FB Apps 設定中取得 --", | |
| "pageAccessToken": "-- FB Messenger 設定粉絲頁時取得 --", | |
| "validationToken": "-- FB Webhooks 設定值 --", | |
| "serverURL": "-- FB Webhooks 設定值 --" | |
| } | |
| ``` | |
| 設定完之後,回到 `node/` 資料夾中,進行指令如下 | |
| ``` | |
| npm install | |
| npm start | |
| ``` | |
| 出現以下訊息,表示伺服器執行成功, | |
| ``` | |
| > messenger-get-started@1.0.0 start messenger-platform-samples/node | |
| > node app.js | |
| Node app is running on port 5000 | |
| ``` | |
| 接下來開啟網頁,切換剛才建立的粉絲頁當中,進行測試傳訊息動作。 | |
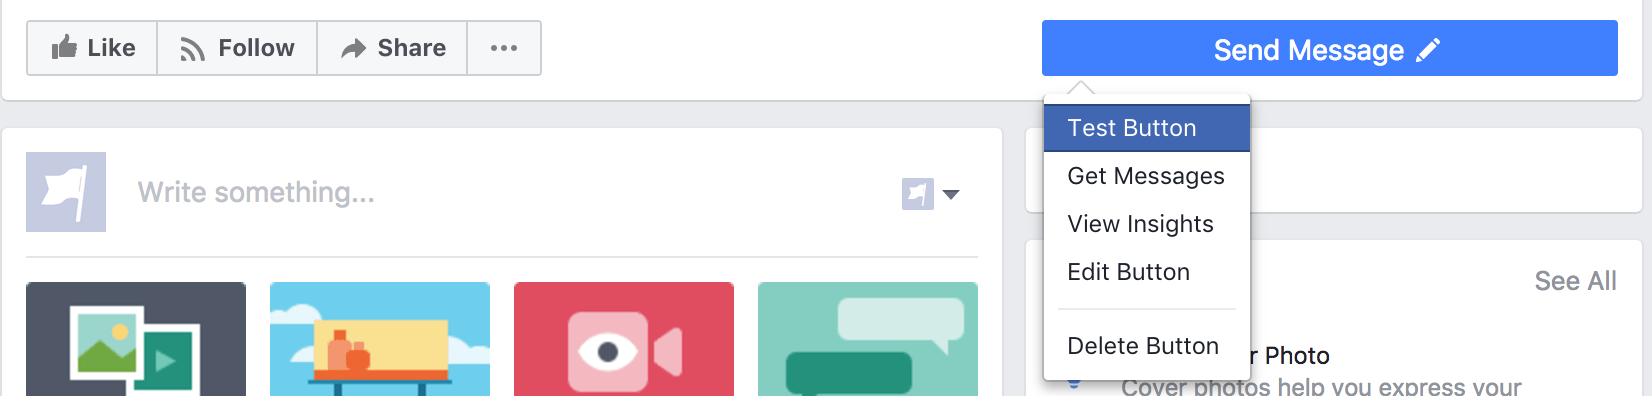
| 在粉絲頁面上,右上角位置,可以增加 call to action 行為,請選擇 send messenge ,因為你是粉絲頁的管理者,所以還要再選擇 Test button 才會正確啟用聊天對話窗, | |
|  | |
| 試著發送訊息,如果會收到 echo 回覆,即表示設定成功! | |
| 恭喜你!完成課程前置作業, | |
| 如果中間有遇到任何問題,歡迎將訊息發到 | |
| https://hackmd.io/IwEwRgrGwMYGwFoAMBDAZgZgQFgxsCKA7MEstuEkgJwCmGE1IQA= | |
| 問題格式請參照 | |
| ``` | |
| 發文者: OOO | |
| 問題描述: | |
| * 開發環境: Windows 7 | |
| * 瀏覽器:Chrome | |
| * 是否依照上述安裝完成:是 / 否(執行到那個步驟 ... | |
| xxxxxx | |
| xxxxxx (可加上截圖) | |
| ``` | |
| 將會盡快回覆您的課程前置問題,十分感謝 |
Sign up for free
to join this conversation on GitHub.
Already have an account?
Sign in to comment