Created
September 16, 2022 16:43
-
-
Save cloudybdone/54c603c282bd90fd372f3465a3b44948 to your computer and use it in GitHub Desktop.
How to install Jitsi Meet on Any Linux
This file contains hidden or bidirectional Unicode text that may be interpreted or compiled differently than what appears below. To review, open the file in an editor that reveals hidden Unicode characters.
Learn more about bidirectional Unicode characters
| If you need any help related to Jitsi Meet Installation Service on Any Linux contact with me: | |
| Telegram: https://t.me/Cloudybdone | |
| WhatsApp: https://wa.link/3j794g | |
| Skype: https://join.skype.com/invite/vLFaKHx... | |
| Email: cloudybdone@gmail.com | |
| Linkedin: https://www.linkedin.com/in/cloudybdone/ | |
| Facebook: https://www.facebook.com/cloudybdone/ | |
| About Me: https://about.me/cloudybdone | |
| YouTube Playlist: https://youtu.be/xn8IbDOUm50 | |
| #!/bin/sh | |
| #Prerequisites | |
| Ubuntu 20.04 server | |
| Root privileges | |
| A domain or sub-domain | |
| sudo hostnamectl set-hostname jitsi.your_domain | |
| # Check that this was successful by running the following: | |
| hostname | |
| #Next, you will set a local mapping of the server’s hostname to the loopback IP address, 127.0.0.1. Do this by opening the /etc/hosts with a text editor: | |
| sudo nano /etc/hosts | |
| #Then, add the following line: | |
| 127.0.0.1 jitsi.your_domain | |
| #Configuring the Firewall | |
| sudo ufw allow 80/tcp | |
| sudo ufw allow 443/tcp | |
| sudo ufw allow 4443/tcp | |
| sudo ufw allow 10000/udp | |
| sudo ufw status | |
| #Installing Jitsi Meet | |
| wget https://download.jitsi.org/jitsi-key.gpg.key | |
| sudo apt-key add jitsi-key.gpg.key | |
| rm jitsi-key.gpg.key | |
| sudo nano /etc/apt/sources.list.d/jitsi-stable.list | |
| sudo apt update | |
| sudo apt install jitsi-meet | |
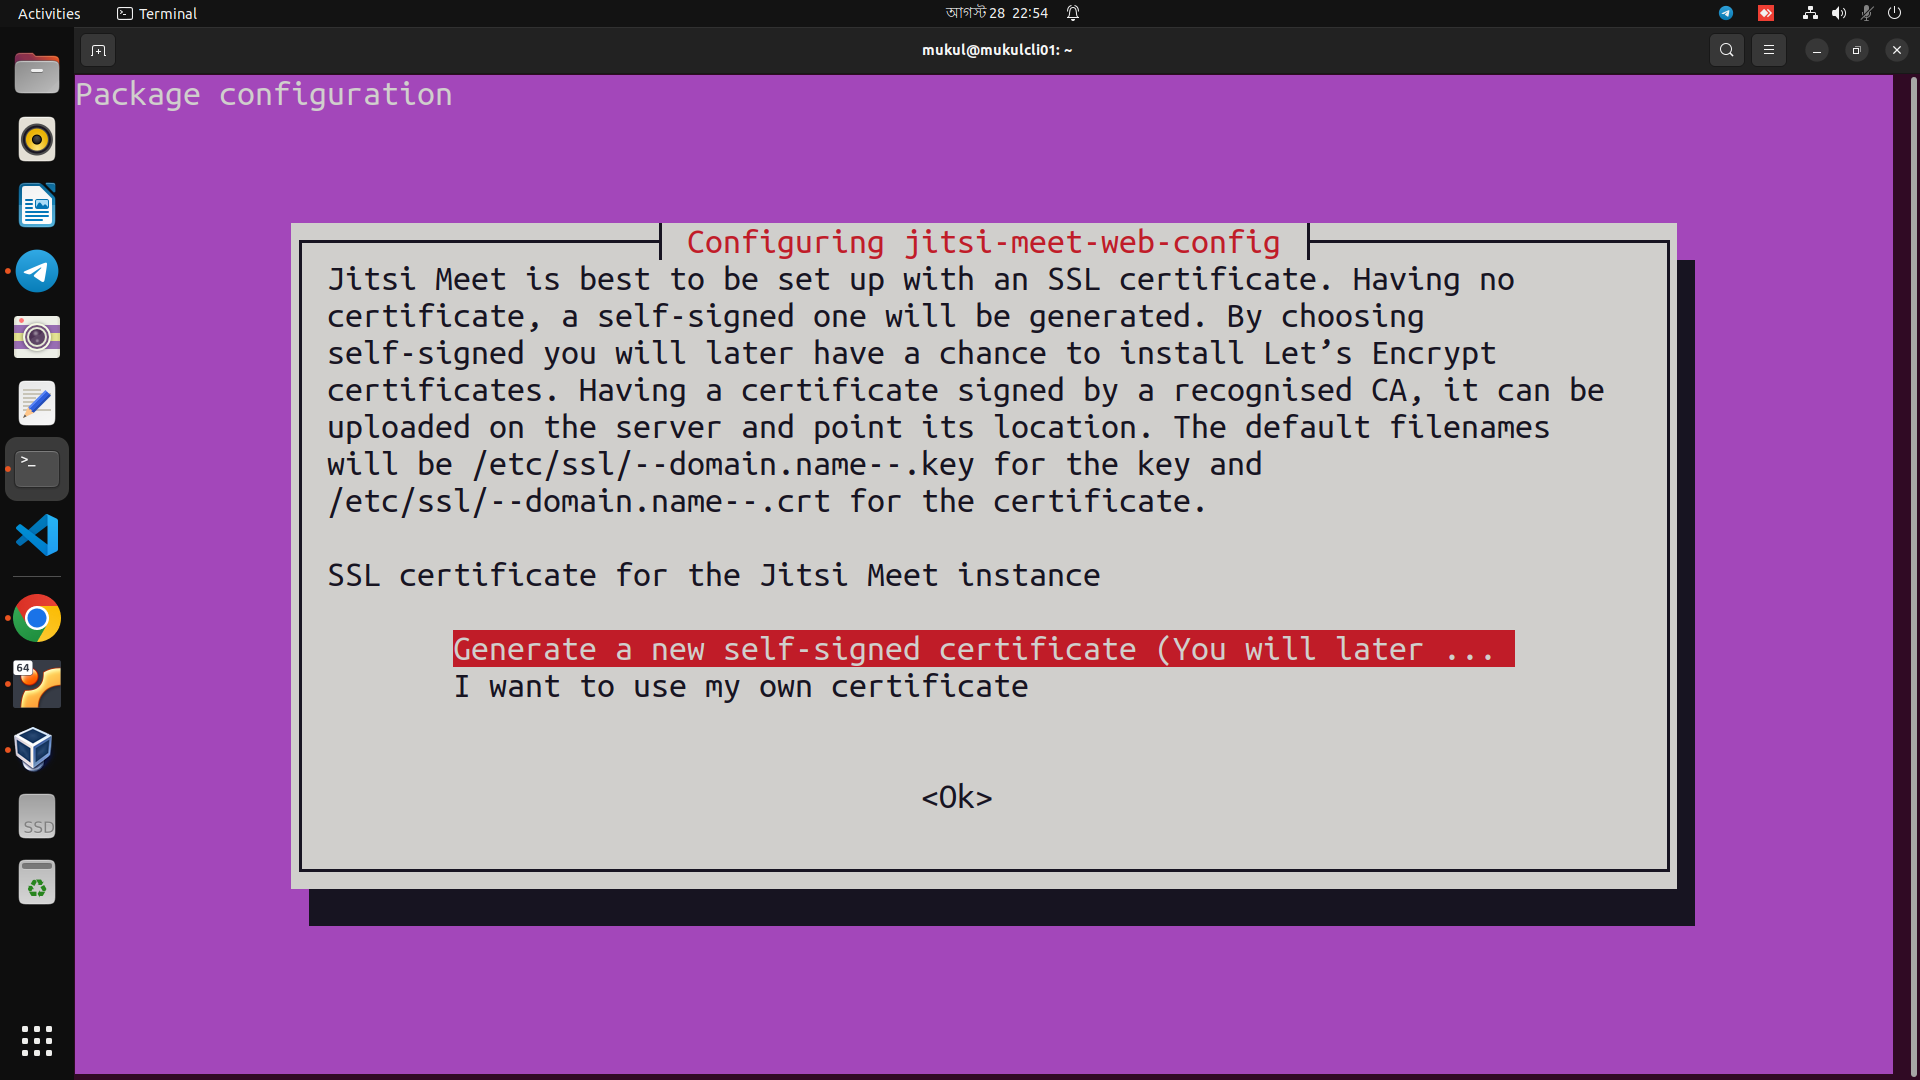
| #Obtaining a Signed TLS Certificate | |
| sudo /usr/share/jitsi-meet/scripts | |
| #Locking Conference Creation | |
| sudo nano /etc/prosody/conf.avail/your_domain.cfg.lua | |
| #Edit this line: | |
| authentication = "anonymous" to | |
| #Then, in the same file, add the following section to the end of the file: | |
| VirtualHost "guest.jitsi.your_domain" | |
| authentication = "anonymous" | |
| sudo nano /etc/jitsi/meet/jitsi.your_domain-config.js | |
| #And add the following line to complete the configuration changes: | |
| org.jitsi.jicofo.auth.URL... | |
| sudo prosodyctl register user your_domain password | |
| #Finally, restart the Jitsi Meet processes to load the new configuration: | |
| sudo systemctl restart prosody.service | |
| sudo systemctl restart jitsi-videobridge2.service | |

Sign up for free
to join this conversation on GitHub.
Already have an account?
Sign in to comment