Today we're going to cover how to set up Single Sign-on for CockroachDB Dedicated cluster.
CockroachDB Dedicated is a fully-managed, reserved CockroachDB cluster ideal for a cloud database. We frequently get asked how to setup SSO for the individual CockroachDB Dedicated clusters and we have a detailed tutorial to walk you through that with a local, self-hosted cluster. What was unclear was that you can use the same steps to set up SSO with Dedicated. Based on this detailed document, CockroachDB Dedicated supports OIDC authentication. Today, we're going to provide details on how to leverage OIDC specifically with the Dedicated offering.
- Provision a Dedicated cluster
- Configure OAuth Client ID
- Configure CockroachDB with the OAuth details
- Verify
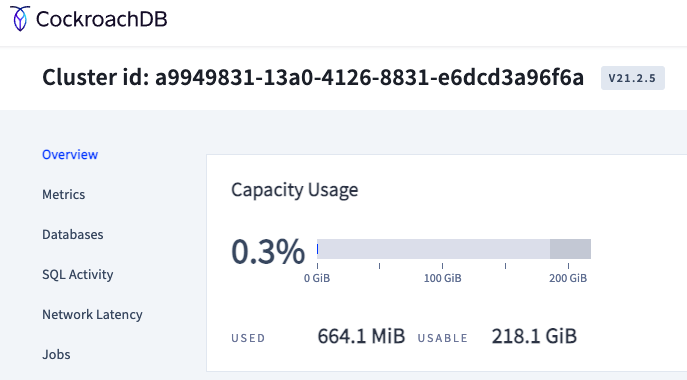
Follow this tutorial to set up a Dedicated cluster.
Create a SQL user with the first part of your email account up to the @ sign you're going to use for OIDC, in my case artem.
You can do so in the CockroachDB CLI or in the CockroachDB Cloud Console, following this tutorial.

Configure your network authorization based on this tutorial.
Document the DB Console URL, you will need it for the next step. In my case it is the following https://admin-artem-single-region-gbn.cockroachlabs.cloud:8080.
At this point we're all set with CockroachDB, let's switch to GCP Console to set up OIDC.
Follow this tutorial to set up an OAuth client.
In your GCP Console, navigate to APIs overview
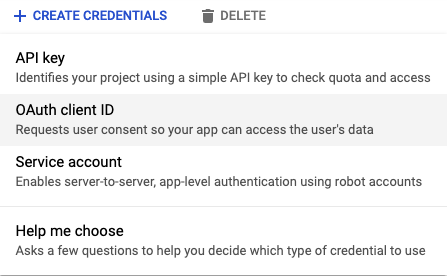
Click Credentials
Click Create Credentials / OAuth client ID
Fill out the info

Click Create
Copy the Oauth client ID and secret

With all of the prequisites in place, we can populate the following SQL statements to configure OIDC.
SET CLUSTER SETTING server.oidc_authentication.client_id = '<YOUR CLIENT ID>';

SET CLUSTER SETTING server.oidc_authentication.client_secret = '<YOUR CLIENT SECRET>';

SET CLUSTER SETTING server.oidc_authentication.provider_url = 'https://accounts.google.com';

SET CLUSTER SETTING server.oidc_authentication.redirect_url = '<YOUR COCKROACHDB DEDICATED URL INCLUDING PORT>/oidc/v1/callback';

SET CLUSTER SETTING server.oidc_authentication.scopes = 'openid email';

SET CLUSTER SETTING server.oidc_authentication.claim_json_key = 'email';

SET CLUSTER SETTING server.oidc_authentication.principal_regex = '^([^@]+)@<YOUR EMAIL DOMAIN>$';

SET CLUSTER SETTING server.oidc_authentication.enabled = true;
After I've filled the properties out, my entries excluding the client ID and secret look like so:
SET CLUSTER SETTING server.oidc_authentication.provider_url = 'https://accounts.google.com';

SET CLUSTER SETTING server.oidc_authentication.redirect_url = 'https://admin-artem-single-region-gbn.cockroachlabs.cloud:8080/oidc/v1/callback';

SET CLUSTER SETTING server.oidc_authentication.scopes = 'openid email';

SET CLUSTER SETTING server.oidc_authentication.claim_json_key = 'email';

SET CLUSTER SETTING server.oidc_authentication.principal_regex = '^([^@]+)@cockroachlabs.com$';

SET CLUSTER SETTING server.oidc_authentication.enabled = true;
Run the queries in the CockroachDB CLI and make sure they complete successfully.
Back in the CockroachDB Dedicated console, refresh the DB Console webpage.
You will now see a new option below the login
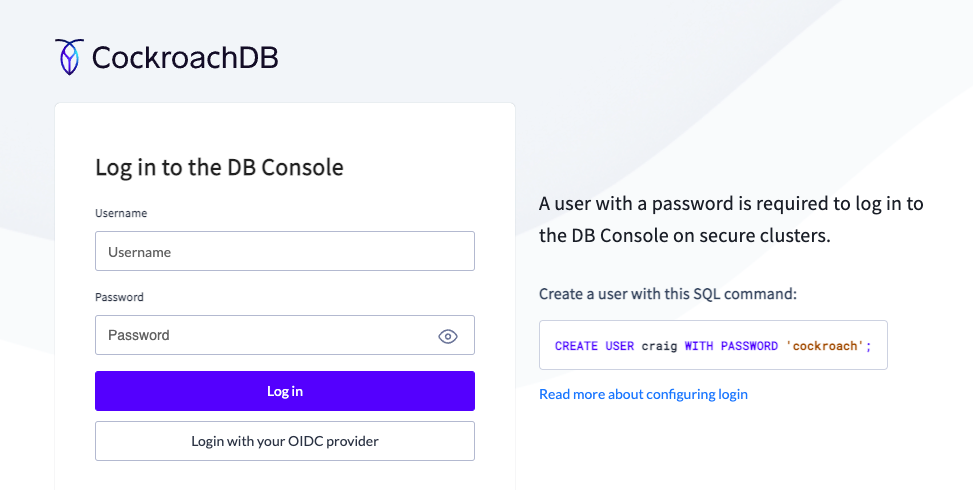
Click it and you should be able to login into the DB Console.
Update: This SSO functionality is only applicable to the DBConsole and not the SQL login.
Hope you found this tutorial useful. Leave your feedback in the comments.