This writeup will provide instruction and a template to follow when creating submissions to the SRA archive.
-
You must have a NCBI account before beginning. Note that if you have an existing account from another institution, you may use that account, but be advised that it may be better to register for a new account that links you to your current institution.
-
Login to NCBI. From the home page, if you click the submission wizard link, it will show you all of the possible submissions. If you select Sequence Read Archive, it will take you to a help page.
To start the SRA Submission process, click 'My Submissions',
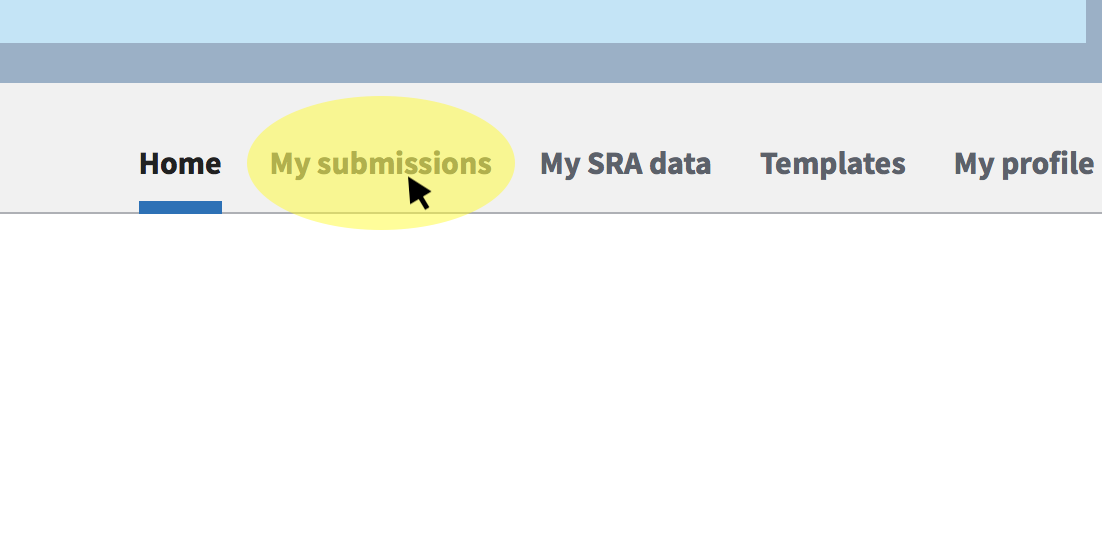 and then in the next screen, under 'Start a new submission, click 'Sequence Read Archive'

- In the screen that follows, click 'New Submission'. This will start a new BioSample submission to SRA, which contains 6 steps.
-
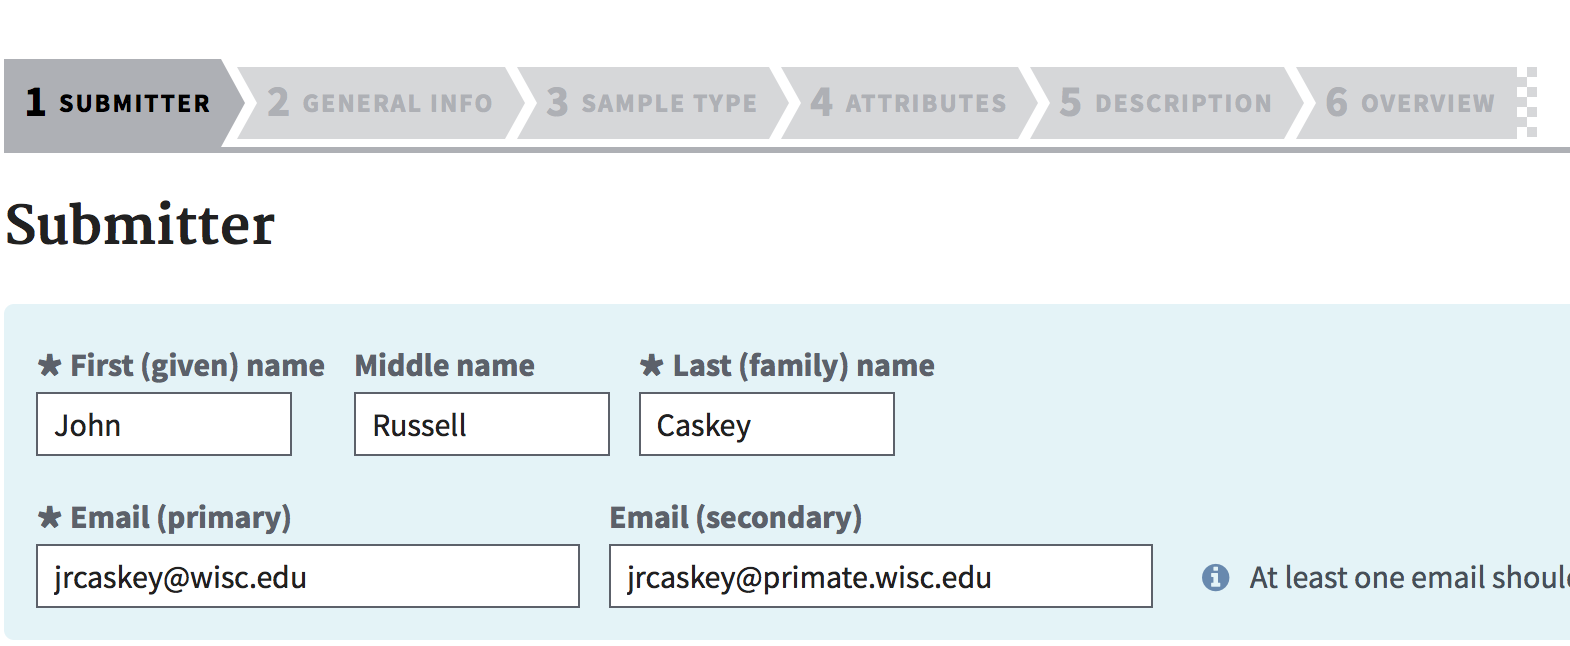
The Submitter step is mostly self-explanatory. Fill this out as accurately as possible. Under 'General Info', always select 'Release on specified date or upon publication, whichever is first' unless you have been specifically instructed otherwise. Select a release date at least 1 month from when you expect the publication to be published. You have the option later of changing this to a date that is sooner or later, but you cannot un-release data to the public. If you are submitting a single sample (including a single sample with multiple biological replicates), then select 'Single BioSample'. If you are submitting multiple samples, then select 'Batch/Multiple BioSamples'.
-
A concise Description for the 'Sample Type' is difficult; the best advice is to select the category that best describes your sample. As an example, The Macaque MES samples used the 'Model Organism or animal' package.
-
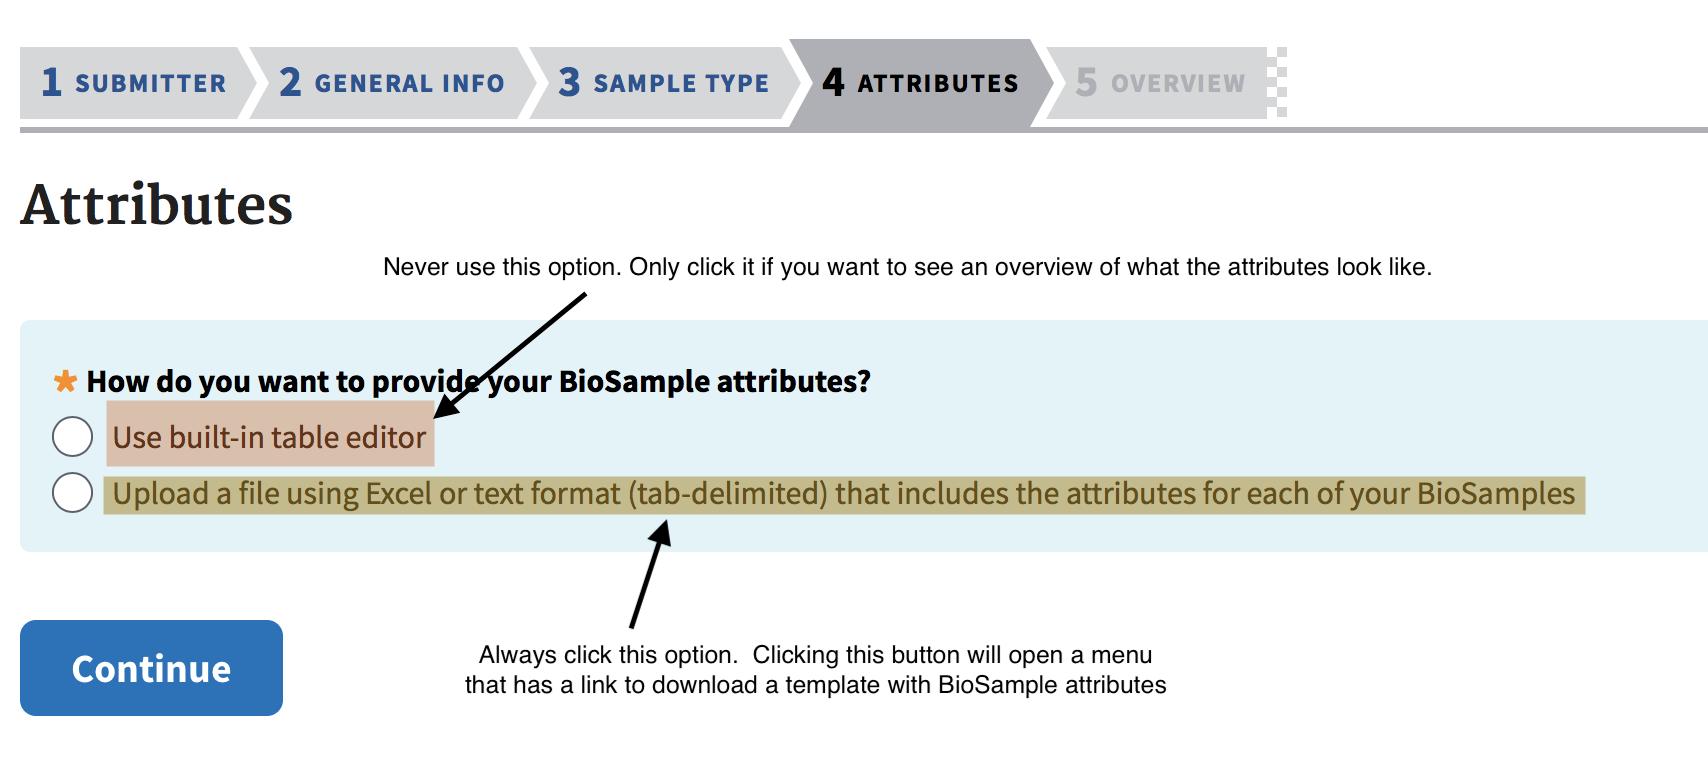
The attributes section is arguably the most frustrating step. As shown in the image below, never use the built-in table editor if you value your sanity. Always use the option to upload an Excel Spreadsheet containing the required values for Sample Attributes
Before proceeding further, I should note that you should always attempt to fill out as much information accurately that is possible. This point cannot be stressed enough. However, the SRA upload portal is set up in such a way that without some metadata information, you will not be allowed to proceed with sample uploading, which can place you in a bind.
The following fields are required, meaning if you do not provide a value, then the submission will not proceed:
- Sample Name
- Sample Title OR bioproject_accession
- Organism
- strain, isolate, breed, cultivar, ecotype: you must provide a value to these columns. If you do not know the any of these or it was not collected, then you must enter 'not collected' or 'missing'
- age: you must enter a value, and the value cannot be replicated (i.e. if you copy and paste a value here, the upload will fail).
- sex: you must enter a value; see the note for 'age'
- tissue: you must enter a value, 'not collected', or 'not applicable' here
- all other columns: the values are not required, however, it is strongly encouraged for you to do so. If you have replicates, it is a very good idea to enter this in the description field
Note 1: You can download a sample template file as an example and to try/retry uploading metadata. Note 2: If you receive an error 'sample name not entered', when you did enter a value for sample name, re-download the template SRA spreadsheet and start over.
-
Metadata: This may vary depending on you analysis, and at this step use the provided spreadsheet as a guide ONLY. Create your own from scratch with the appropriate column headers indicated by the web-based table or download the example spreadsheet.
-
Upload Data:
To upload the data, there are two recommended ways; but always download the Aspera Connect client here: https://downloads.asperasoft.com/connect2/
-
First option: use the web-based tool. Only use this if you have small (less than 1 GB compressed) files, and there are less than 100 total files. Click the option to use web-based upload, select the folder, then select all read files that will be uploaded. You may need to repeat the process if an upload silently fails.
-
Second option: use the command line tool. Download the Aspera CLI Client in addition to the Aspera Client above at this link https://downloads.asperasoft.com/en/downloads/62 . Then, click the option for Aspera CLI, and download the key file. Finally, make sure that all of the files that will be uploaded have been copied to a separate directory, and then run the command line uploader using this syntax:
  ascp -I /path/to/keyfile/you/just/downloaded -QT -l100m -k1 -d /path/to/directory/with/fastq/files [email protected]:uploads/jrcaskey_wisc.edu_NfGV6kGh

  # here is an example usage running the command from the directory that contains the fastq files that will be uploaded
  ascp -i /Users/jrcaskey/Documents/aspera.openssh.txt -QT -l100m -k1 -d ${PWD} [email protected]:uploads/jrcaskey_wisc.edu_NfGV6kGh
- Process files
This is the last step, and you can select the option 'email me when complete' only after all files have been uploaded. The only word of caution is once the files have been uploaded, it is very difficult/impossible to delete them, and re-uploading the same samples to SRA is both frowned on by the NIH and an arduous task. Verify twice that all information has been entered correctly before pressing the 'submit' button.
What if I need to delete a BioSample?
- You cannot delete files while they are processing. Once processing in SRA has been completed, send an email to [email protected] and explain the situation, then follow their guidance on how to proceed.
What if I need to change something in the SRA upload?
- You can modify the metadata at a later date. See this link or contact [email protected] for assistance.
I keep getting an error at the attributes step, and I've followed all of the instructions you provided. What do I do??
- Download a new version of the Excel template file, then type all information in manually.
- If you do not receive an error or receive a different error than what you had seen, then there is a problem in how values are being filled in, or copy/pasted.
- If you still receive the same error, enter a single sample and only enter the required values as described in Step 6. Then, remove one column value starting from the left. If a different error occurs after you remove a value, then that is where at least one problem exists. Work through all of the attributes this way.