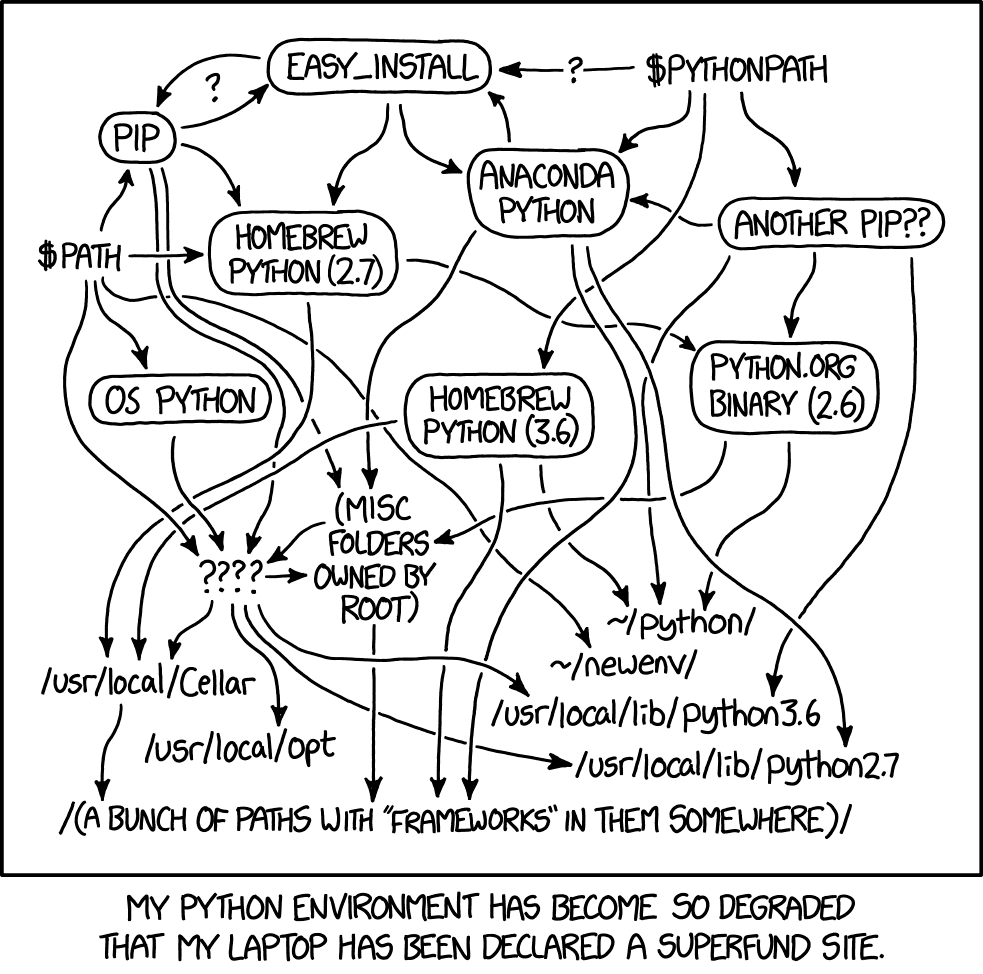
This is my highly opinionated way of developing with Python locally. Use it, don't use it. But you probably know that it's a PITA to manage different projects with different dependencies targeting different Python versions, and there are different ways of installing Python too:
- Using the interpreters preinstalled in the OS 😵
- Using
brew(oraptetc.) 😅 - Using the binaries from www.python.org 😫
- Using pyenv 😎
So I thought I'd document my set up in the hope that it helps you too.
pyenv is simple version management for Python, similar to Ruby's rvm. It's better to just show you how it works:
$ brew install pyenv

# Install Python 3.6.6
$ pyenv install 3.6.6

# It won't change your Python interpreter until you tell it to
$ python --version
Python 2.7.10

$ mkdir my_project && cd my_project
$ pyenv local 3.6.6

# pyenv now knows to use Python 3.6.6 when in the my_project folder
$ python --version
Python 3.6.6
Make sure to add the following to your .bashrc or .bash_profile, this ensures that pyenv is activated in a new shell.
eval "$(pyenv init -)"Updated 2019/08/21: I strongly recommend that you use Poetry instead of Pipenv
Pipenv is the offically recommended way of managing project dependencies. Instead of having a requirements.txt file in your project, and managing Virtual Environments, you'll now have a Pipfile that does all this stuff automatically.
If you're starting out with a fresh project then all you gotta do is tell pipenv that you'd like to begin with Python 3:
$ cd my_project
$ pipenv --python 3

Creating a virtualenv for this project...
Pipfile: /Users/dan/Projects/my_project/Pipfile
Using /Users/dan/.pyenv/versions/3.6.6/bin/python3 (3.6.6) to create virtualenv...
Notice that pipenv used the pyenv version of Python 3.6.6 that we installed above.
If you've downloaded a project with a Pipfile in it, then installing all the packages is simple:
$ pipenv install
Note that we didn't activate any Virtual Environments here, Pipenv does that for us. Installing new dependencies is also simple:
$ pipenv install django

Installing django...
If all went well you'll have Pipfile and Pipfile.lock in your project's directory. Let's take a look at Pipfile:
[[source]]
url = "https://pypi.org/simple"
verify_ssl = true
name = "pypi"

[packages]
django = "*"

[dev-packages]

[requires]
python_version = "3.6"
If we wanted to install dev dependencies for use during development, for example YAPF, you'd add --dev to the install step:
$ pipenv install --dev yapf
Pipfile.lock is super important because it does two things:
- Provides good security by keeping a hash of each package installed.
- Pins the versions of all dependencies and sub-dependencies, giving you replicable environments.
Let's see what it currently looks like:
{
    "_meta": {
        "hash": {
            "sha256": "0fc7ed32913161e0331c380b8e86a644bb0437927a100d59d9e943bbf911d6bd"
        },
        "pipfile-spec": 6,
        "requires": {
            "python_version": "3.6"
        },
        "sources": [
            {
                "name": "pypi",
                "url": "https://pypi.org/simple",
                "verify_ssl": true
            }
        ]
    },
    "default": {
        "django": {
            "hashes": [
                "sha256:7f246078d5a546f63c28fc03ce71f4d7a23677ce42109219c24c9ffb28416137",
                "sha256:ea50d85709708621d956187c6b61d9f9ce155007b496dd914fdb35db8d790aec"
            ],
            "index": "pypi",
            "version": "==2.1"
        },
        "pytz": {
            "hashes": [
                "sha256:a061aa0a9e06881eb8b3b2b43f05b9439d6583c206d0a6c340ff72a7b6669053",
                "sha256:ffb9ef1de172603304d9d2819af6f5ece76f2e85ec10692a524dd876e72bf277"
            ],
            "version": "==2018.5"
        }
    },
    "develop": {
        "yapf": {
            "hashes": [
                "sha256:6567745f0b6656f9c33a73c56a393071c699e6284a70d793798ab6e3769d25ec",
                "sha256:a98a6eacca64d2b920558f4a2f78150db9474de821227e60deaa29f186121c63"
            ],
            "index": "pypi",
            "version": "==0.22.0"
        }
    }
}
Notice that the versions of each dependency are pinned. Without a very good reason, you should always want this file committed to Source Control.
Until Pipenv it was difficult to use private Python repositories, now all you need to do is define them as an additional source in the Pipfile:
[[source]]
url = "https://pypi.org/simple"
verify_ssl = true
name = "pypi"

[[source]]
url = "https://www.example.com"
verify_ssl = true
name = "some-repo-name"

[packages]
django = "*"
my-private-app = {version="*", index="some-repo-name"}

[dev-packages]

[requires]
python_version = "3.6"
Notice that we told my-private-app to use the private repo. If omitted, Pipenv will cycle through indexes until it finds the package.
Pipenv will also consume any environment variables found in values, which is useful if you have sensitive credentials you don't want sitting in source control (this was my contribution </humblebrag>).
When deploying it's important that your deploy fails if there's a mismatch between installed dependencies and the Pipfile.lock. So you should append --deploy to your install step which does just that:
$ pipenv install --deploy
You could also check which dependencies are mismatched:
$ pipenv check
If you're actively developing a project, it's helpful to activate the Virtual Environment:
$ pipenv shell
>>> Launching subshell in virtual environment…

(my_project-y6rvM2uA) $
Or, if you'd like to execute a command in the Virtual Environment:
$ pipenv run python manage.py runserver
I hope this was helpful!

Perhaps https://github.com/sdispater/poetry and https://www.anaconda.com/download/ should be on a radar too.