2023-12-10
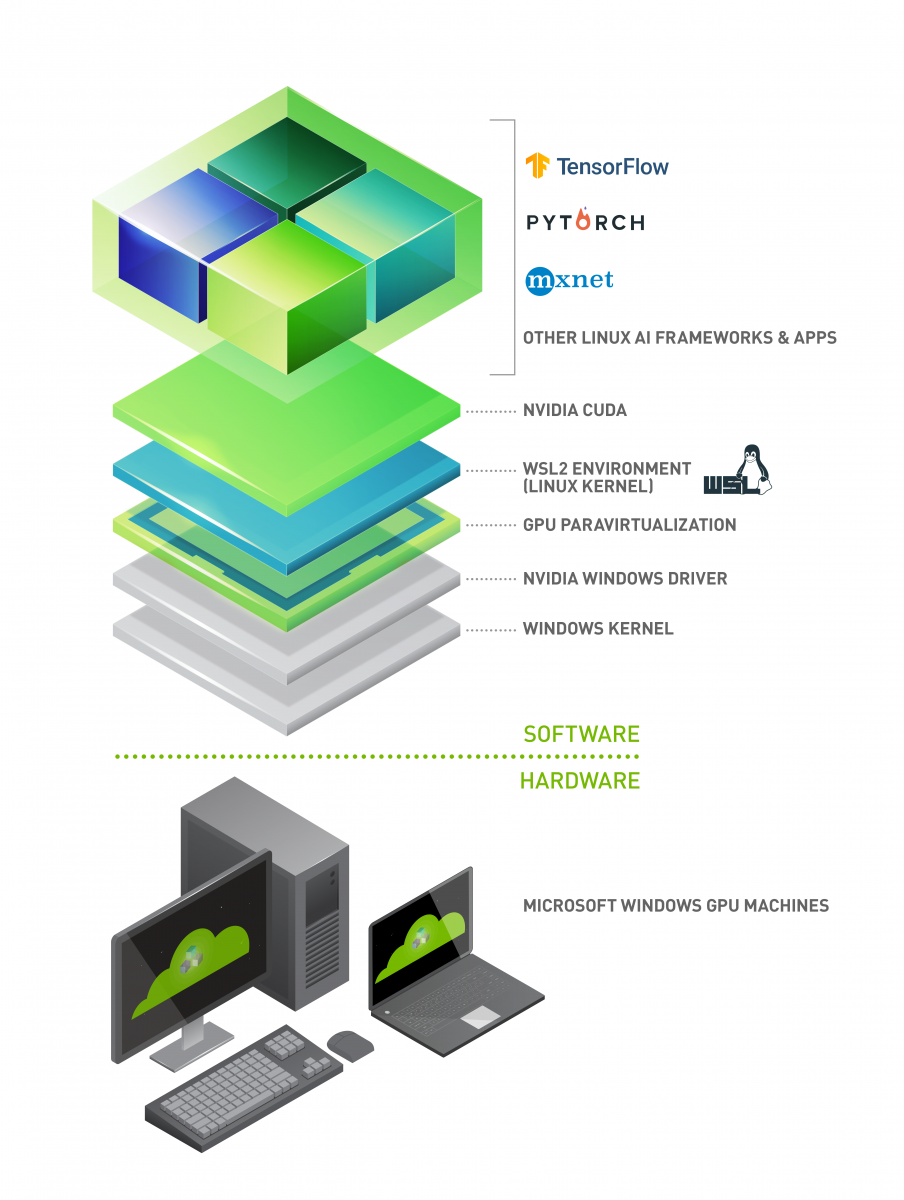
I recently set up CUDA and PyTorch to chat with LLMs and play with image recognition neural networks on my desktop. I used Windows Subsystem for Linux (WSL) to avoid running a full Linux alongside Windows 10. There are plenty of other guides for setting CUDA and WSL up, but this one is mine. Hopefully these notes will save someone else some time.
We roughly follow "Enable NVIDIA CUDA on WSL" here.
Note
To get started more quickly use Google Colaboratory. Or for production workloads pay for a Linux machine and GPU with more memory on cloud-hosted instances from runpod.io, fly.io, or another provider.
Tip
Nvidia's CUDA and PyTorch are the most popular options and easiest to set up, but AMD's consumer-grade cards offer more VRAM per $ and AMD's ROCm library is improving as an alternative to CUDA. Check the Radeon tab on the tables in the ROCm windows support and linux support docs to see if ROCm supports your AMD graphics card and this PyTorch page to see if PyTorch supports your ROCm version.
from https://developer.nvidia.com/cuda/wsl
- a computer running Windows 10 or 11
- a Nvidia GPU using the Pascal microarchitecture or newer i.e. 10XX or newer for official support. Use the "CUDA-Enabled GeForce and TITAN Products" table for consumer GPUs on this page for CUDA support and this page for CUDA on WSL support
- 50GB or more of free disk space
- Administrator access
- a fast and stable internet connection
-
Run Windows Update to update Windows 10 to version 21H2 or newer. 1
-
Update graphics card drivers.2
steps
- Open https://www.nvidia.com/en-us/geforce/drivers/ and search for your graphics card.
Game ReadyandStudiodrivers should both work.
- Download the a recent version of your driver

- Run the installer. I skip GeForce Experience to avoid automatic driver updates:

- I also pick an express install:

- After the install finishes check you still have graphics and restart your computer
- Open https://www.nvidia.com/en-us/geforce/drivers/ and search for your graphics card.
-
Install WSL2. 3
steps
- Select PowerShell and "Run as administrator"

- Run
wsl --installto install the Ubuntu Linux distribution - Run
wsl --updateto update the Linux kernel version - Restart your computer
- Select PowerShell and "Run as administrator"
Warning
These dependencies take up a decent amount of disk space. I installed WSL on my C:\ drive with ~25GB of space free before running into a dpkg error on the CUDA install step that moving the WSL install to a larger drive fixed (as recommended here).
-
(Optional) Move WSL to a faster or larger drive. 4
steps
- Select PowerShell and "Run as administrator"
- Create a directory on your larger drive. I ran
mkdir E:\wsl-backupreplaceE:\with your drive. - Run
wsl --export Ubuntu E:\wsl-backup\ubuntu.tar - Then run
wsl --unregister Ubuntu - Run
wsl --import Ubuntu E:\wsl\ E:\wsl-backup\ubuntu.tarto reimport it - Run
wsl --list --verboseto confirm that the move completed successfully:
-
Install CUDA Support for WSL2. 5
steps
-
Note: Pascal / 10XX GPUs are optimized for CUDA 11.8.6 Use this link to install that version.

-
Otherwise run the following commands from here to download and install CUDA Toolkit then configure the
aptpackage manager to fetch and trust Nvidia's updates (the.debfile is ~3GB):
wget https://developer.download.nvidia.com/compute/cuda/repos/wsl-ubuntu/x86_64/cuda-wsl-ubuntu.pin sudo mv cuda-wsl-ubuntu.pin /etc/apt/preferences.d/cuda-repository-pin-600 wget https://developer.download.nvidia.com/compute/cuda/12.3.1/local_installers/cuda-repo-wsl-ubuntu-12-3-local_12.3.1-1_amd64.deb sudo dpkg -i cuda-repo-wsl-ubuntu-12-3-local_12.3.1-1_amd64.deb sudo cp /var/cuda-repo-wsl-ubuntu-12-3-local/cuda-*-keyring.gpg /usr/share/keyrings/ sudo apt-get update sudo apt-get -y install cuda-toolkit-12-3 -
-
Install the Anaconda Distribution. 7
steps
- Run
curl -O https://repo.anaconda.com/archive/Anaconda3-2023.09-0-Linux-x86_64.shto download the install script. It is ~1GB. - Run
shasum -a 256 Anaconda3-2023.09-0-Linux-x86_64.shto check the integrity of the installer. Its hash should be6c8a4abb36fbb711dc055b7049a23bbfd61d356de9468b41c5140f8a11abd851. - Run
bash Anaconda3-2023.09-0-Linux-x86_64.shand accept the prompts to install the distribution.
- Run
-
Install PyTorch. 8
steps
- Run
conda install pytorch torchvision torchaudio pytorch-cuda=12.1 -c pytorch -c nvidiato install PyTorch with CUDA support (useconda install pytorch torchvision torchaudio pytorch-cuda=11.8 -c pytorch -c nvidiaif you installed CUDA 11.8 for step 5.).
- Run
-
Confirm everything works
steps
- Run
python -c "import torch;torch.cuda.is_available()"andpython -c "import torch;torch.zeros(1).cuda()"to confirm that PyTorch and CUDA are working.
- Run
Footnotes
-
https://learn.microsoft.com/en-us/windows/ai/directml/gpu-cuda-in-wsl#install-windows-11-or-windows-10-version-21h2 ↩
-
see also the Nvidia WSL User Guide ↩
-
see also the Microsoft WSL install docs and Nvidia WSL install docs ↩
-
Option 1 from https://docs.nvidia.com/cuda/wsl-user-guide/index.html#cuda-support-for-wsl-2 ↩
-
https://docs.nvidia.com/deeplearning/cudnn/support-matrix/index.html#abstract ↩
-
Python dependency resolution can be messy. The Anaconda Distribution bundles a tested set of packages for data science. Check out Anaconda's miniconda distribution to save some disk space https://docs.anaconda.com/free/anaconda/getting-started/distro-or-miniconda/. Check https://repo.anaconda.com/archive/ to find newer versions and hashes. ↩


