-
Migrate to your projects folder using bash command
cd <name of folder> -
Create new react app using
npx create-react-app <name of project -
Migrate to the newly created project folder and launch project folder in vscode
code . -
Remove redunt files in the src folder e.g test files, app.test.js, react logo
-
Install the following
react router
npm install react-router-dom
react loggernpm i --save redux-logger
react reduxnpm install react-reduxreact iconsnpm install react-icons --saveredux toolkitnpm install @reduxjs/toolkit -
Add a
.gitattributes file. In the file include this piece of code to enforce that github preserves your project files' EOL as LF* text=false -
Include your linters setup. Check out Documentations
-
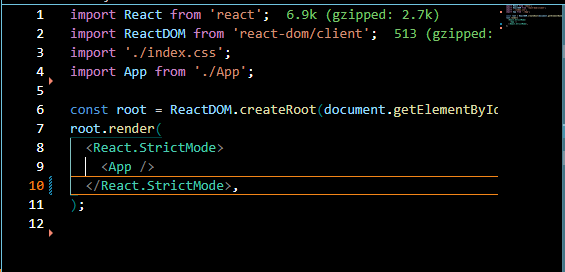
Your index .js file should look like this
Last active
August 16, 2023 08:03
-
-
Save geekelo/82920d8cf5a493e30a751793cd0b1c3a to your computer and use it in GitHub Desktop.
Crypto Price Rank - Tutorials
- Head to your src and add a
componentsfolder to house all your components - Create a navbar.js file
- Include initial codes
function NavBar() {
  return (
    <div className="navbarContain">
      <p className="navArrow"> </p>
      <p className="logo">LOGO</p>
      <p className="theme">Q</p>
    </div>
  );
}

export default NavBar;
- Import navbar into the App.js file
+ import NavBar from './components/navbar';
  import './App.css';

  function App() {
    return (
      <div className="App">
+       <NavBar />
      </div>
    );
  }

  export default App;
- Create a styles folder inside the "components folder"
- Create a navbar.css file inside the "styles folder"
- Import this file into the navbar.js file
+ import './styles/navbar.css';

  function NavBar() {
   return (
     <div className="navbarContain">
       <p className="navArrow"> </p>
       <p className="logo">LOGO</p>
       <p className="theme">Q</p>
     </div>
   );
  }

  export default NavBar;


export default App;

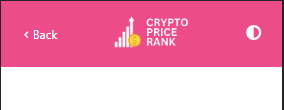
navbar.js file
import { BiSolidChevronLeft, BiSolidAdjust } from 'react-icons/bi';
import './styles/navbar.css';
import logo from './assets/logo.png';

function NavBar() {
  return (
    <div className="navbarContain">
      <p className="navArrow">
        <p><BiSolidChevronLeft className="arrow" /></p>
        <p>Back</p>
      </p>
      <p className="logo"><img src={logo} width="100" alt="Logo" /></p>
      <p className="theme"><BiSolidAdjust className="navIcon" /></p>
    </div>
  );
}

export default NavBar;
navbar.css
/* MOBILE STYLES */
@media only screen and (max-width: 600px) {
	.navbarContain  {
    background-color: #ec4c8a;
    display: flex;
    gap: 5px;
    justify-content: space-between;
    color: #fff;
    padding: 5% 7%;
    align-items: center;
  }

  .navArrow {
    display: flex;
    flex-direction: row;
    align-items: center;
    justify-content: center;
  }

  .arrow {
    margin-top: 0.3rem;
  }

  .navIcon {
    font-size: 1.5rem;
  }
}

/* DESDKTOP STYLES */
@media only screen and (min-width: 600px) {
  .navbarContain  {
    background-color: #ec4c8a;
    display: flex;
    gap: 25px;
    justify-content: space-between;
    padding: 2% 5%;
    color: #fff;
  }

  .navArrow {
    display: flex;
    flex-direction: row;
    align-items: center;
    justify-content: center;
  }

  .arrow {
    margin-top: 0.3rem;
  }

  .navIcon {
    margin-top: 0.68rem;
    font-size: 1.5rem;
  }
}
Now that navbar is set, it's time o change implemet theme toggle feature when the theme button on the navbar is clicked. I prefer to use Redux rather than useState so I can have access to the current state on all pages of the webapp
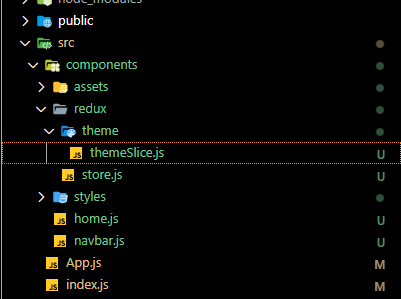
In themeSlice to js, i initialize my state, then included a themetoggle action to change the value of state.value from false to true and vice-versa (toggle the value false | true)
themeSlice.js
import { createSlice } from '@reduxjs/toolkit';

const initialState = {
  value: false,
};

const themeSlice = createSlice({
  name: 'theme',
  initialState,
  reducers: {
    toggleMode: (state) => ({
      ...state,
      value: !state.value,
    }),
  },
});

export const { toggleMode } = themeSlice.actions;
export default themeSlice.reducer;
store.js
import { configureStore } from '@reduxjs/toolkit';
import themeSlice from './theme/themeSlice';

const store = configureStore({
  reducer: {
    theme: themeSlice,
  },
});

export default store;
Finally I'll provide the store or make the store accessible to all the components using provider inside the index.js file
index.js
import React from 'react';
import ReactDOM from 'react-dom/client';
+ import { Provider } from 'react-redux';
import store from './components/redux/store';
import App from './App';

const root = ReactDOM.createRoot(document.getElementById('root'));
root.render(
  <React.StrictMode>
+    <Provider store={store}>
      <App />
+    </Provider>
  </React.StrictMode>,
);
Sign up for free
to join this conversation on GitHub.
Already have an account?
Sign in to comment