For beginners and experts alike, IPython Notebook, along with the package collection Anaconda, has to be the premier interactive Python environment for playing, learning, prototyping, and exploring data. IPython Notebook is a browser-based environment where you can combine code execution, text, mathematics, plots and rich media into a single document. Look at these awesome examples (and more)! You can easily share and save your work, and ensure reproducibility of your results. Cool!
However, it can be daunting to set up...
Many people who could benefit from such an environment are unused to working in the terminal. Experienced users already know that resolving Python dependencies can be a chore. This post shows how to set up IPython Notebook with Anaconda, a full suite of scientific and numerical tools highly useful for scientists, engineers, and medical and business professionals. Anaconda enables the installation of these complex, interdependent, takes-forever-to-compile tools while preserving your sanity, thanks to the hard work of folks at Continuum Analytics and the many community supporters.
Download and install Anaconda for your platform.
Congratulations, you are now ready to create 'virtual environments' in which the packages you choose will be installed. The Python programs/notebooks you create will be executed within the context of one of these environments or 'envs'. The context is essentially a list of Python packages available to your program as importable modules, such as numpy, matplotlib, or the natural language toolkit. This makes it easy to snapshot your environment (simply a list of packages and their versions), and run your program/document on just about any other computer/OS out there (after creating the environment using the package list). There are easy ways to create virtual environments with virtualenv and pip of course, but Anaconda's conda tool should be used, at least initially, when using the major numerical/scientific packages. It is fast (already compiled), it handles dependencies, and the packages have been tested on all major platforms. It just works™
Open a terminal (Terminal.app on OSX), navigate to the Anaconda directory, and list the contents. Usually this is ~/anaconda/ inside your home directory (represented as ~/). Commands are preceded by the $ representing your prompt; output is shown otherwise.
$ cd ~/anaconda
$ ls
Launcher.app conda-meta   envs         include      pkgs         share
bin          docs         lib          python.app
Hit the TAB key a bunch when typing commands to get autocomplete suggestions. I defer you to another tutorial for general terminal usage.
The conda create function is used to create a new environment called my_env (or whatever you choose). The env name is preceded by the -n flag. It requires one or more packages to be specified at creation. The bin folder contains all of Anaconda's binary executables and scripts.
$ bin/conda create -n my_env ipython pyzmq tornado jinja2
This will resolve dependencies for the given packages and show you the full list of packages to be installed. pyzmq (process communication library), tornado (web framework), and jinja2 (template rendering) are needed by IPython's browser-based notebook (IPython can be installed without the notebook. If you forget them, it will tell you which packages to install in the form of an ImportError when you try to start the notebook). These are all included with Anaconda and are simply linked to the new environment without copying.
You should see a folder for each environment you create inside Anaconda's envs directory should you care to look:
$ ls envs/
my_env  my_env_throwaway plotting_tutorial
Use the source command to run the activate script (also in ~/anaconda/bin), given the environment name:
$ source bin/activate my_env
prepending /Users/michael/anaconda/envs/my_env/bin to PATH
(my_env)$ which python
/Users/michael/anaconda/envs/my_env/bin/python
The active environment's name is parenthesized and prepended to your prompt for visual convenience. The which command shows the location of the given command, indicating that the actual python we run is contained in our virtual environment within ~/anaconda/envs. This Python will be aware of packages installed in the environment, shown with conda list:
(my_env)$ conda list
# packages in environment at /Users/michael/anaconda/envs/my_env:
#
ipython                   1.0.0                    py27_0
jinja2                    2.7.1                    py27_0
markupsafe                0.18                     py27_0
python                    2.7.5                         2
python.app                1.2                      py27_0
pyzmq                     2.2.0.1                  py27_1
readline                  6.2                           1
sqlite                    3.7.13                        1
tk                        8.5.13                        1
tornado                   3.1.1                    py27_0
zeromq                    2.2.0                         1
zlib                      1.2.7                         1
Go ahead and start IPython notebook which will open the browser interface. Enter some code, and watch it run, or not! SHIFT+RETURN runs the current cell. CTRL+C twice in the terminal to quit.
(my_env)$ ipython notebook
How to deactivate your virtual environment (which removes the (my_env) prompt prefix):
(my_env)$ source bin/deactivate
discarding /Users/michael/anaconda/envs/my_env/bin from PATH
$ pwd
/Users/michael/anaconda
Reactivate before continuing if you deactivated.
Install matplotlib (superb plotting) and scipy (data manipulation algorithms built on numpy) for the full experience! We will also install pip (Python package manager) so that we can install packages not found in Anaconda.
(my_env)$ conda install scipy matplotlib pip
conda list will display all of Anaconda's available packages if not inside a virtual env (i.e., your prompt looks like $ and not (my_env)$. Otherwise it will show currently installed packages. Install other packages you may need using conda if possible, since they are known to work together and automatically use compatible versions.
If your package is not available in conda or you simply don't want to use it, use pip. The most important and traditionally painful ones have been easily installed with conda already. pip is usually slower because it must download and sometimes compile packages, which requires compilers you may not yet have (XCode and the command line tools on OSX). Always use pip inside a virtual environment to install external packages!! That is, make sure which pip shows that it's inside your virtual env (something like ~/anaconda/envs/my_env/bin/pip) before using it; in other words DON'T use the pip installed on your base system in the interest of keeping your system clean.
Now you're ready to crunch and visualize data just like the pros. The --pylab=inline option makes matplotlib and numpy immediately available (auto-imported), displaying the plots in the web page. --pylab alone will pop up another renderer (for interactive graphics, for example).
(my_env)$ ipython notebook --pylab=inline
Execute some Python code. In this case, take 10000 samples from the “standard normal” using numpy's randn(), and plot them using matplotlib's hist() with 100 bins. No imports are needed because we used the pylab option:
x = randn(10000)
hist(x, 100)
Wow!
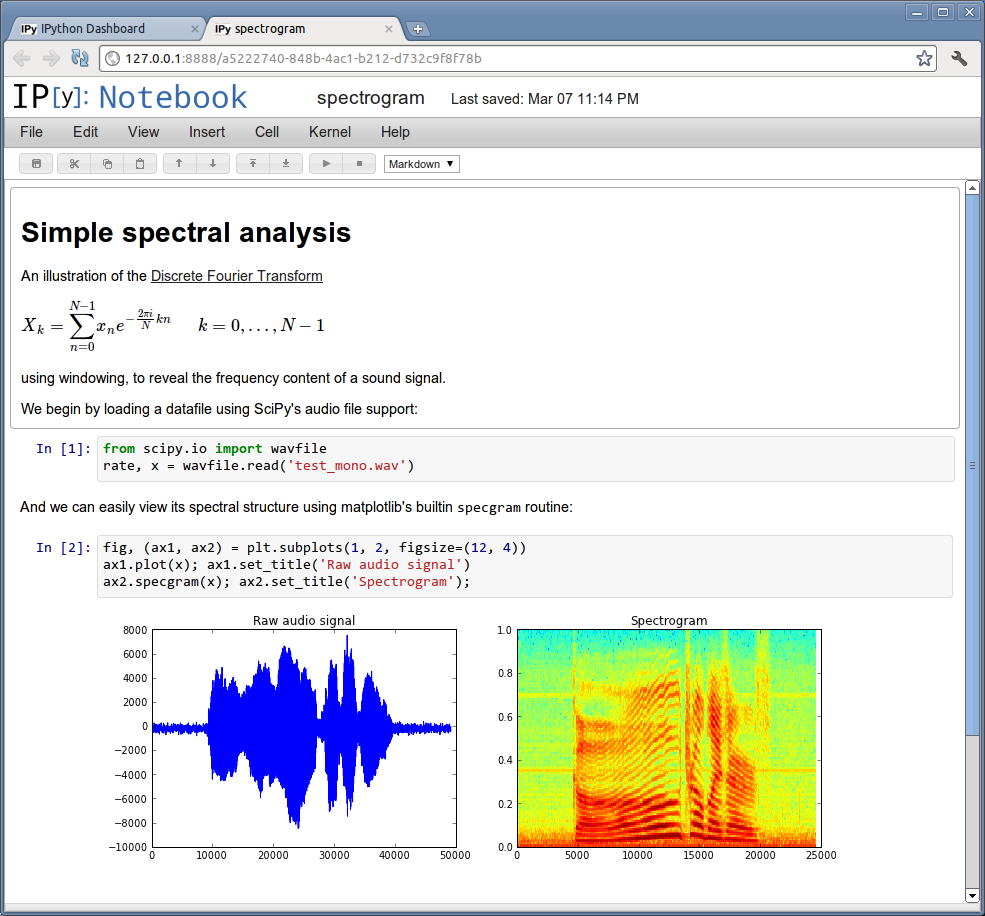
Now go download and run all the cool IPython notebooks in the example gallery!
Don't forget to source ~/anaconda/bin/activate env_name in your terminal sessions!