JSMovieclip is a little javascript framework. It allows you to play, control... animations like a Movieclip object in AS3. It uses a sprite which contains all frames of the animation.
Purpose : We'll create a sprite to use with JSMovieclip, from a Flash animation, using TexturePacker
Requirement : We'll use Flash/After Effects, Texture Packer, and JSMovieclip script
First, create your animation in Flash or After effects, for example this penguin who walk
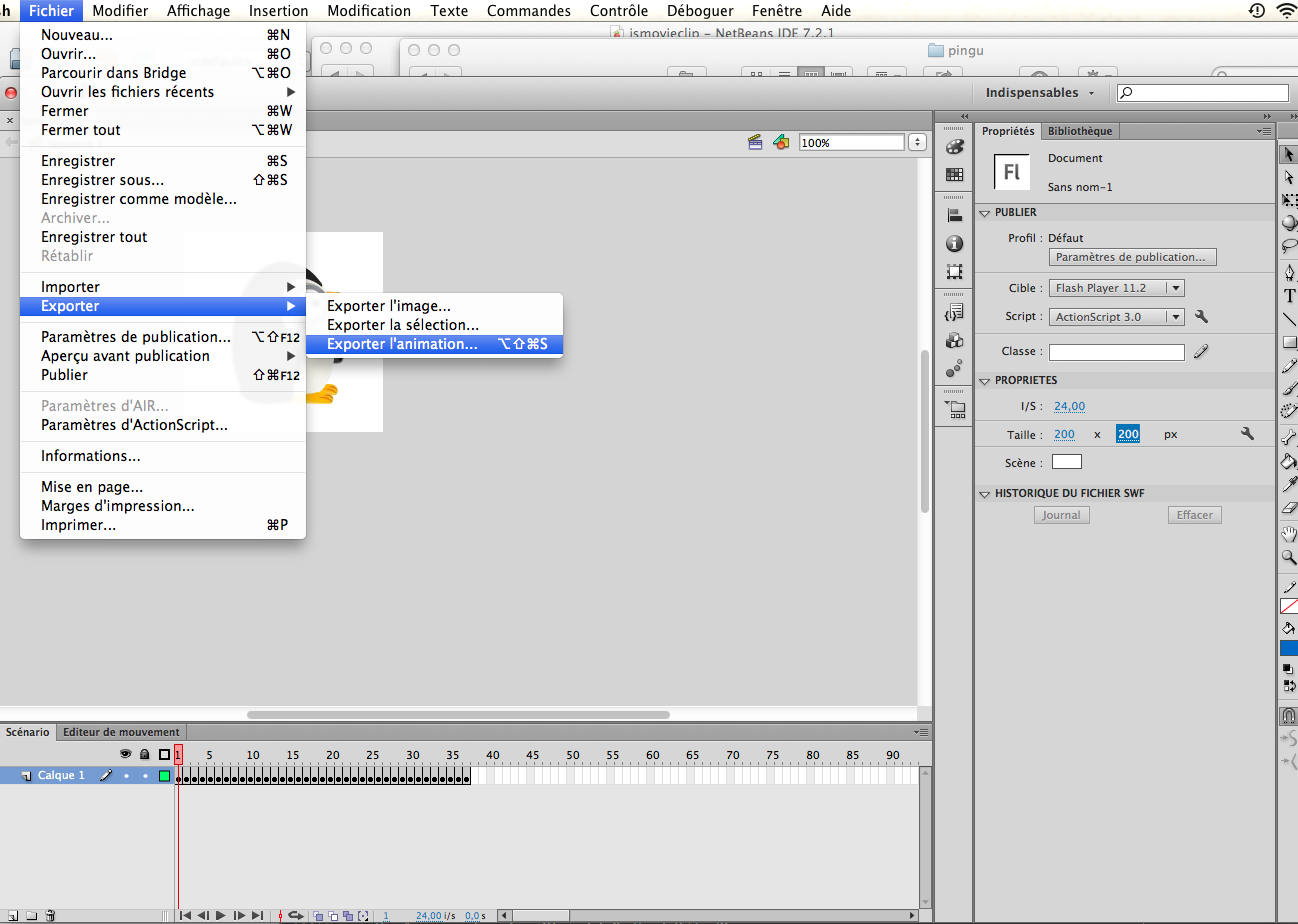
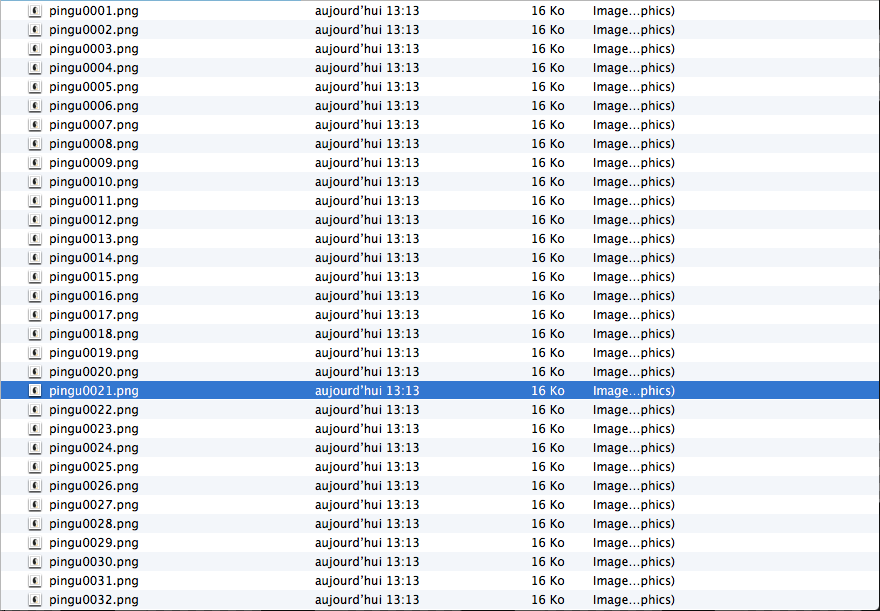
Export the animation as a PNG sequence. Now you have all the frames, each one in a separate PNG.
Now, open the soft Texture Packer
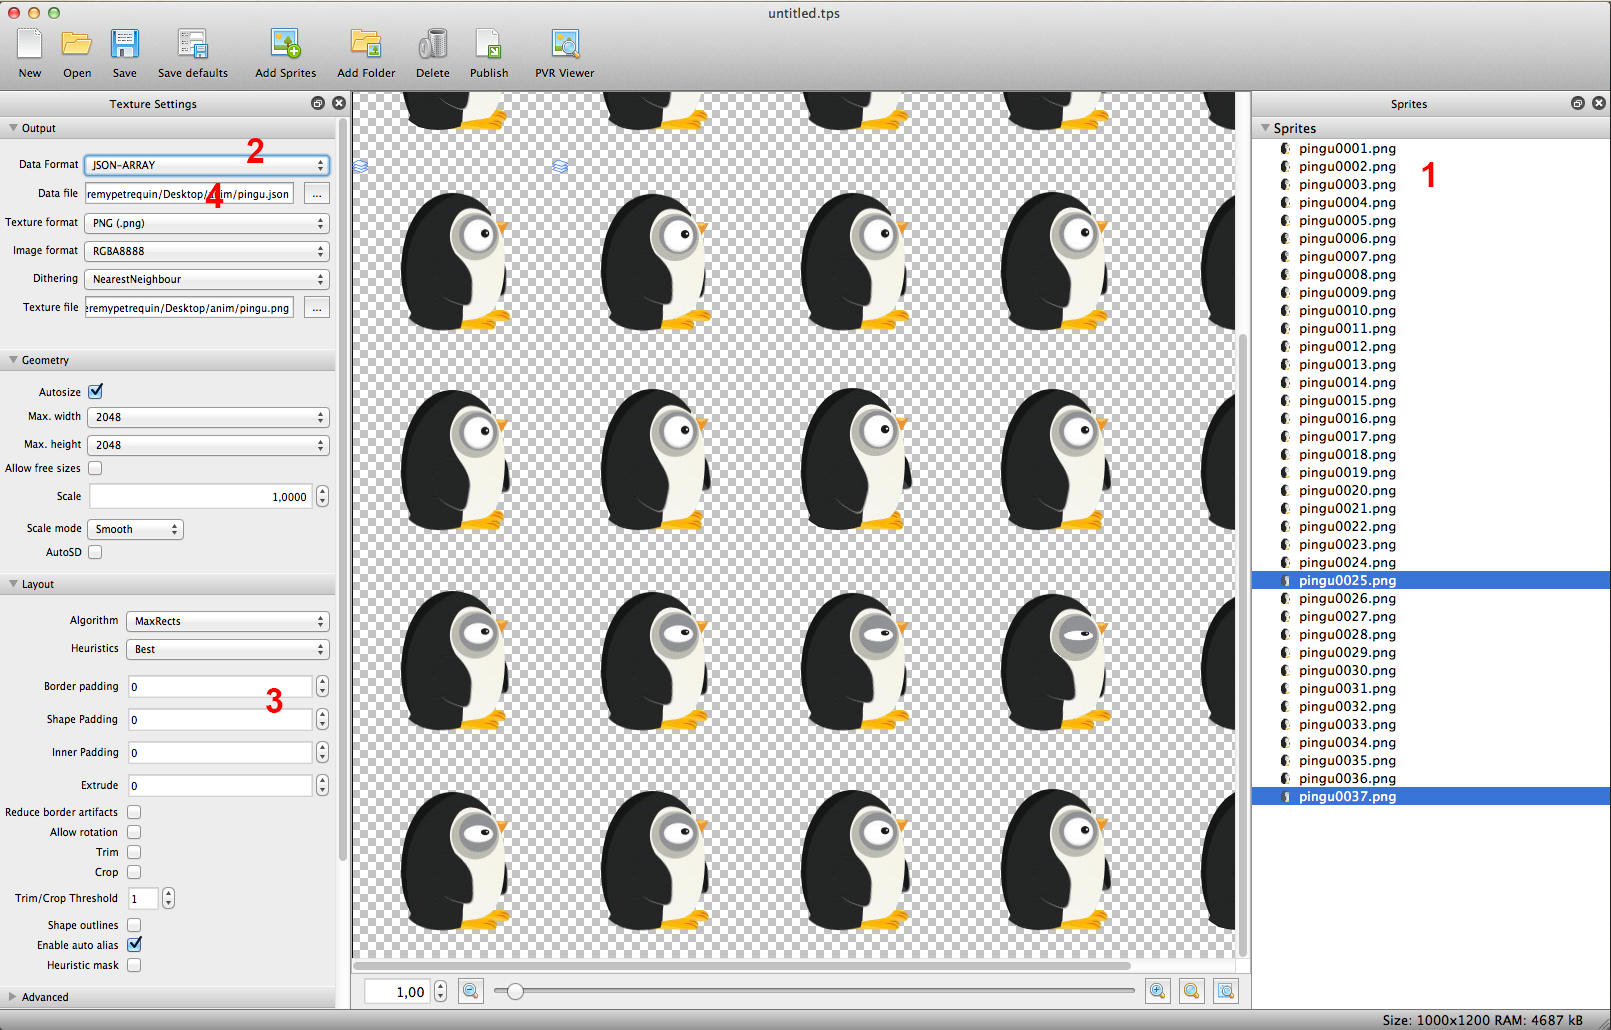
#####1) Drop all your images in texture packer (1) #####2) Select "Basic" in the Algorithm dropdown #####3) Select JSONArray as format export in the dropdown (2) #####4) Border Padding & Shape padding : put 0, to gain some space (3) #####5) Select the folder for output the JSON and the sprite (4) #####6) Publish it with the button on the top bar
Now you have the sprite and the JSON :
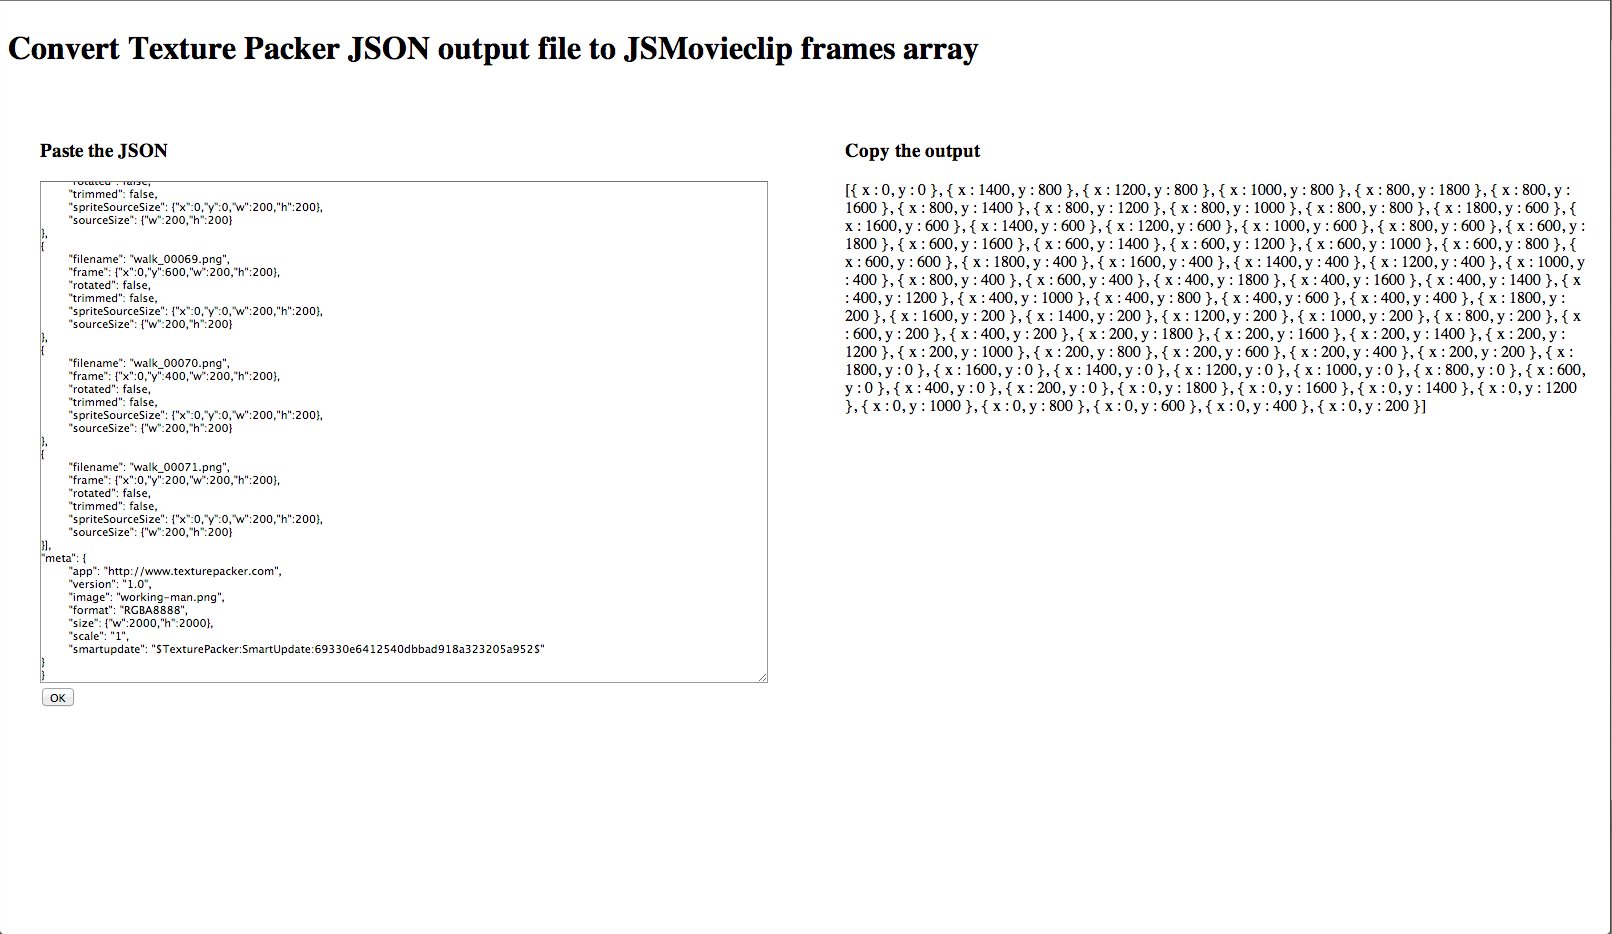
Now, we need to convert the JSON to a simpler Javascript Array, with just the essential for JSMovieclip. In order to do that, you can use this little convertor
Open the JSON file with textedit, a browser or what you want, and copy/past the content in the convertor (on the left), click on "Convert" and you'll have the Javascript Array on the right
then, download JSMovieclip and install it on your server. Create a div for the animation and affect it the width and the height of a frame. And as css background, the sprite
<div id="pingu" style="width:200px;height:200px;background-image:url(pingu.png)"></div>
<script src="PATH_TO_JSMOVIECLIP/JSMovieclip.js"></script>
<script>
  var pingu = new JSMovieclip(document.getElementById('pingu'), {
  //copy the array from the convertor
    frames : [{ x : 800, y : 1000 }, { x : 600, y : 1000 }, { x : 400, y : 1000 }, ....],
    //specifie the framerate
    framerate : 25
    //you can see other options on github repository
  });

  //now you can control the animation
  pingu.play(true);
</script>
Now, you can create really complexe animation, and play/control it with simple javascript! The workflow I describe hereabove is the same I used to create this small experiment.
Hope you'll enjoy it!


