This tutorial explains how to efficiently export selected large tables from a production Percona MySQL 8 database to a local development environment. This approach avoids the significant performance penalty associated with logical backups (mysqldump) when working with large tables (multiple GBs each).
Prerequisites:
-
Your MySQL (Percona MySQL 8 recommended) server must have the
innodb_file_per_tablesetting enabled. This setting is enabled by default in recent installations. -
Install Percona XtraBackup both on your server and local machine. Instructions: Percona XtraBackup Installation
In this example, we're exporting approximately 125GB worth of data from the following tables:
userpublish_v2(FK touser)membership(FK touser)membership_price(FK tomembership)membership_perk(FK touser,membership)member(FK touser,membership,membership_price)member_content(FK tomembership)
If you don't already have the schema locally, create a skeleton database dump without data:
mysqldump --no-data --compact production_db_name > skeleton.sqlImport this schema into your local database:
mysql local_db_name < skeleton.sqlRun this command on your production server. The database can remain online during this process:
xtrabackup --backup \
  --tables="publish_v2$,user$,membership$,membership_price$,member$,member_content$,membership_perk$" \
  --target-dir=/home/user/backup \
  --compress=zstd \
  --parallel=8
Replace /home/user/backup with your preferred temporary backup location.
Look for this confirmation line at the end:
2025-03-11T04:04:48.521345-00:00 0 [Note] [MY-011825] [Xtrabackup] completed OK!
Use your preferred method (rsync, scp, etc.) to transfer the backup:
rsync -av user@host:/home/user/backup .This may take a while depending on your network speed.
Extract and prepare the backup locally:
xtrabackup --decompress --parallel=16 --remove-original --target-dir=/path/to/backup
xtrabackup --prepare --export --target-dir=/path/to/backupEnter the MySQL console and run:
USE dbname;
SET FOREIGN_KEY_CHECKS=0;
ALTER TABLE user DISCARD TABLESPACE;
ALTER TABLE publish_v2 DISCARD TABLESPACE;
ALTER TABLE membership DISCARD TABLESPACE;
ALTER TABLE membership_price DISCARD TABLESPACE;
ALTER TABLE membership_perk DISCARD TABLESPACE;
ALTER TABLE member DISCARD TABLESPACE;
ALTER TABLE member_content DISCARD TABLESPACE;
SET FOREIGN_KEY_CHECKS=1;
Example output:
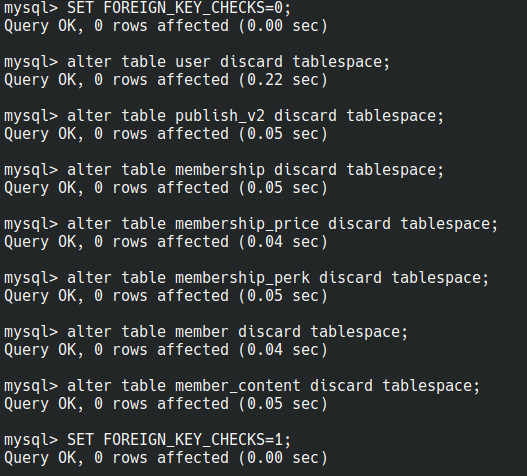
Disabling foreign key checks temporarily is essential.
Copy tables from backup to your local MySQL data directory:
sudo cp -av path/to/backup/dbname/* /var/lib/mysql/dbname/
sudo chown mysql: -R /var/lib/mysql/dbname/
Back in MySQL, import the tablespaces:
ALTER TABLE user IMPORT TABLESPACE;
ALTER TABLE publish_v2 IMPORT TABLESPACE;
ALTER TABLE membership IMPORT TABLESPACE;
ALTER TABLE membership_price IMPORT TABLESPACE;
ALTER TABLE membership_perk IMPORT TABLESPACE;
ALTER TABLE member IMPORT TABLESPACE;
ALTER TABLE member_content IMPORT TABLESPACE;
Example output:
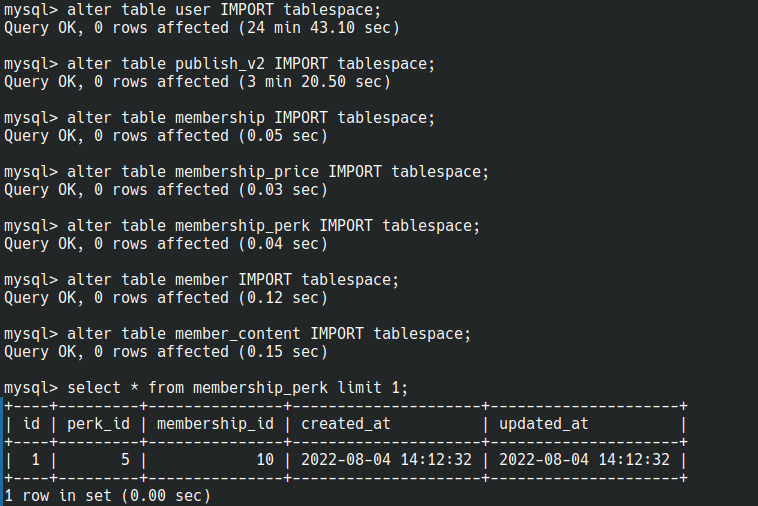
You're now ready to use your partial database locally!