After publishing my article on ECMAScript 6, some have reached out to ask how I exactly I make it all work.
I refrained from including these details on the original post because they're subject to immiment obsoletion. These tools are changing and evolving quickly, and some of these instructions are likely to become outdated in the coming months or even weeks.
When evaluating the available transpilers, I decided to use 6to5, which has recently been renamed to Babel. I chose it based on:
- No global object pollution
- Source maps support
- Not being opinionated about polyfills.
The last point is definitely important to me. I pay special attention to the resulting build size, specially when targeting browsers. The ability to choose any polyfill I want pays off.
I use Babel in several ways:
If you just want a ES6 REPL:
npm install -g babel
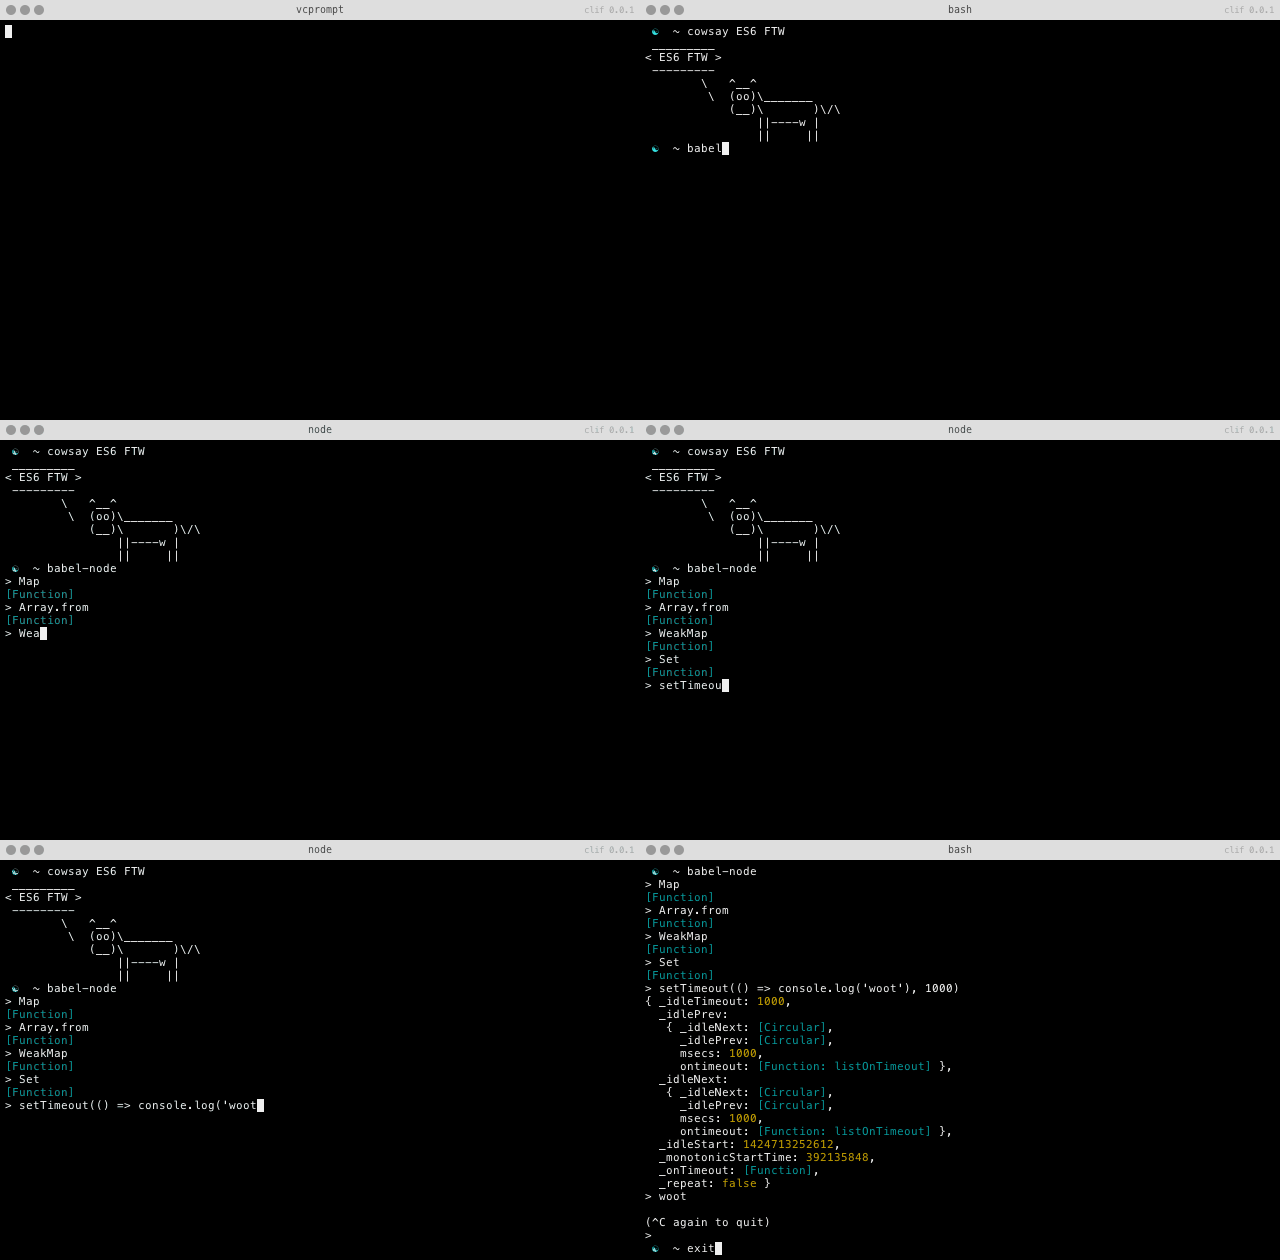
babel-node
will show something like:
Note: if you want to record GIFs like that directly from the terminal, look into my utilty clif.
I also set up an alias es:
alias es=babel-nodeto easily run any file with this wrapper around Node:
echo "console.log(\`Node version: \${process.version}\`);" > /tmp/template-strings.js
es /tmp/template-strings.jsStart with including babel in your package.json:
npm install babel --saveNotice I didn't use --save-dev. Since you might need polyfills, you probably are better off saving Babel as a regular dependency.
It's possible to make ES6 compilation work like CoffeeScript. If you include:
require('babel/register');Subsequent require calls will be on-the-fly compiled.
I refrain from doing this because of the runtime execution penalty. I want my ES6 code to run just as fast as my regular code[1].
I set up a Makefile task that creates node/ directory with my build:
BABEL = ./node_modules/.bin/babel

all: node

node: lib
  @mkdir -p node/
  @for path in lib/*.js; do \
    file=`basename $$path`; \
    $(BABEL) "lib/$$file" > "node/$$file"; \
  done
and I run this prior to publishing on NPM. My package.json main points to node/index:
{
  "main": "./node/index",
}
My .gitignore includes node and my .npmignore includes lib.
At this point you might be concerned about re-running the build and watching directories. Thankfully, this is not a problem at all for me because I mostly run my code by triggering tests.
Making mocha work with ES6 is as easy as creating a file called
mocha.opts inside your test/ directory with the following
contents:
--require babel/register
This means that you should assume code will be compiled when
require is run, like I mentioned above.
When you include your module from the tests, make sure to point
to the source (lib/) instead of the compiled version (node/):
import myModule from '../lib';
describe('my tests', () => {
  it('is shorter than ES5!', done => {
    setTimeout(done, 500);
  });
});If you use browserify, it's as simple as including
the babelify transform:
npm install babelify --save-dev
browserify -t babelify client/index.js -o public/build.js
[1] There's still a performance penalty with full spec compliance. Look into loose mode and benchmark whenever necessary.
