(A little complex article, but works very fine after installing LA of LAMP : https://www.digitalocean.com/community/tutorials/how-to-install-linux-apache-mysql-php-lamp-stack-ubuntu-18-04)
(Easier article : https://www.tecmint.com/install-lamp-with-phpmyadmin-in-ubuntu-18-04/)
we are assuming you are on a linux machine. Although it would be good,if you have an ssh
with you and have set up the machine to act as server with one of the firewalls.
More details Here
- install apache 2
$ sudo apt install apache2
- Verify State After the installation process is complete, the apache service should start automatically and will be enabled to start at system boot time. To verify , run this command:
$ sudo systemctl status apache2
If this shows active, then good and proceed to next step. If not, then proceed anyway, step 3 is gonna handle this.
3. start Apache2 service :
$ sudo systemctl start apache2
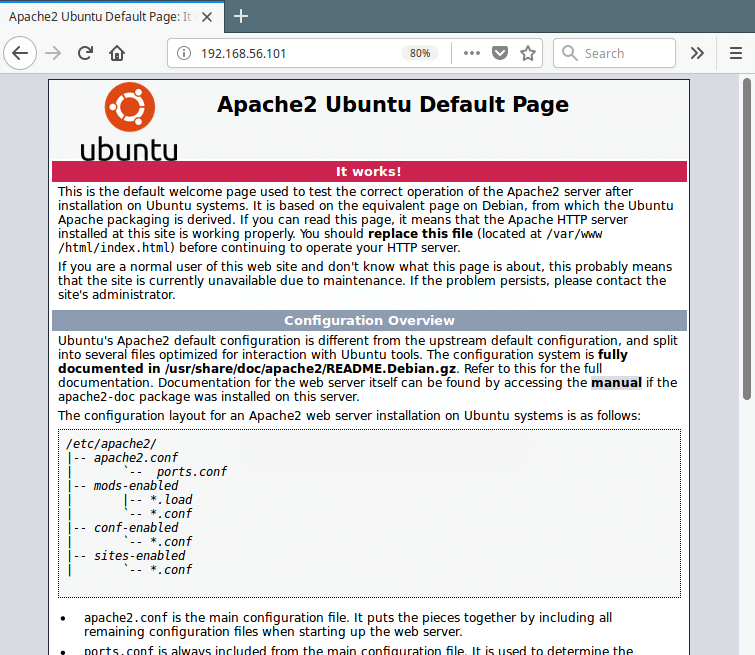
This will start apache2 server. to verify , goto:
- http://localhost or
- http:127.0.0.1 or
- http:127.0.0.1:80 or
- run
hostname -icommand which gives a local ip asa.b.c.dand run it ashttp:a.b.c.don current pc - run
hostname -Icommand which gives a local ip asa.b.c.dand run it ashttp:a.b.c.dfrom Some other PC on the same network (like your mobile or some laptop connected to the same wify) (https://serverfault.com/a/209152/572920)
You will be seeing this image:
Though your server is up and running, it is very important to handle security:
- stop the apache2 service when you don't need it:
$ systemctl stop apache2 - using a firewall
4. allow the firewall permissions:
$ sudo ufw allow in "Apache Full"
$ sudo ufw allow 80/tcp
$ sudo ufw allow 443/tcp
$ sudo ufw reload
(note : you can skip 1st line if error occurs)
(note : the server is now PUBLICALLY ACCESSIBLE, BE CAREFUL . If the previous step urls
were not working, they would definitely work now
1. Install the dependencies:
sudo apt install mariadb-server mariadb-client
2. Verify State: : most of the times it is already running by some software, so it would be better to stop it
before running a new instance. check its state via $ sudo systemctl status mysql. if running, stop it via
$ sudo systemctl stop mysql
3. setup security password : this is both recommended on digital ocean
and techmint article
but am skipping it. if you really wanna do so, then first start mysql ($ sudo systemctl start mysql)
and then perform some configuration steps via $ sudo mysql_secure_installation command
(checkout the article links for more info)
Note: Again. WE SHOULD ALWAYS WORRY ABOUT THE SECURITY and NOT ALLOW ANY UNAUTHORIZED LOGIN. So do apply those security steps in my sql
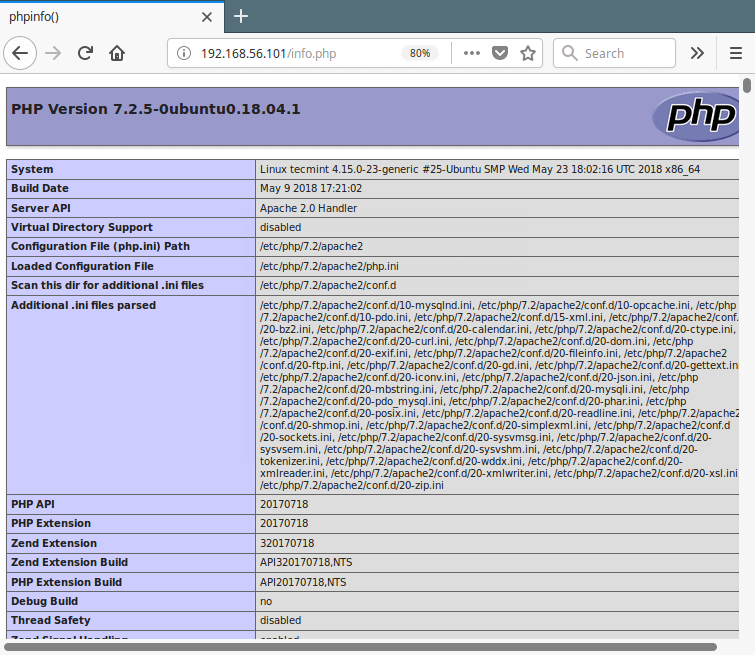
1. installing php: sudo apt install php libapache2-mod-php php-common php-mysql php-gd php-cli
2. verify : by running any of th above localurls/info.php . eg run http:localhost/info.php and this would show up this image :
Again, SECURITY FIRST setup a virtual host @ https://www.digitalocean.com/community/tutorials/how-to-install-linux-apache-mysql-php-lamp-stack-ubuntu-18-04
3. installing phpmyadmin : $ sudo apt install phpmyadmin. this will ask for a few checks and some passwords if you added before
4. Integrating with apache server: run the commands:
$ sudo cp /etc/phpmyadmin/apache.conf /etc/apache2/conf-available/phpmyadmin.conf
$ sudo a2enconf phpmyadmin
$ sudo systemctl restart apache2
This will enable phpmyadmin . check by calling localhost/phpmyadmin
good read: https://www.tecmint.com/secure-phpmyadmin-centos-ubuntu/
this gist link : https://gist.github.com/root-ansh/f93cc5257667ae08545545fbc1b03c1b