To deploy, click:
| Region | Stack |
|---|---|
| us-east-1 |  |
| us-west-2 | |
| eu-west-1 | |
| eu-central-1 | |
After clicking "Launch Stack" you'll be redirected to a screen, leave everything as default and click "Next":

Leave all the parameters as they are and click "Next":

Click "Next":

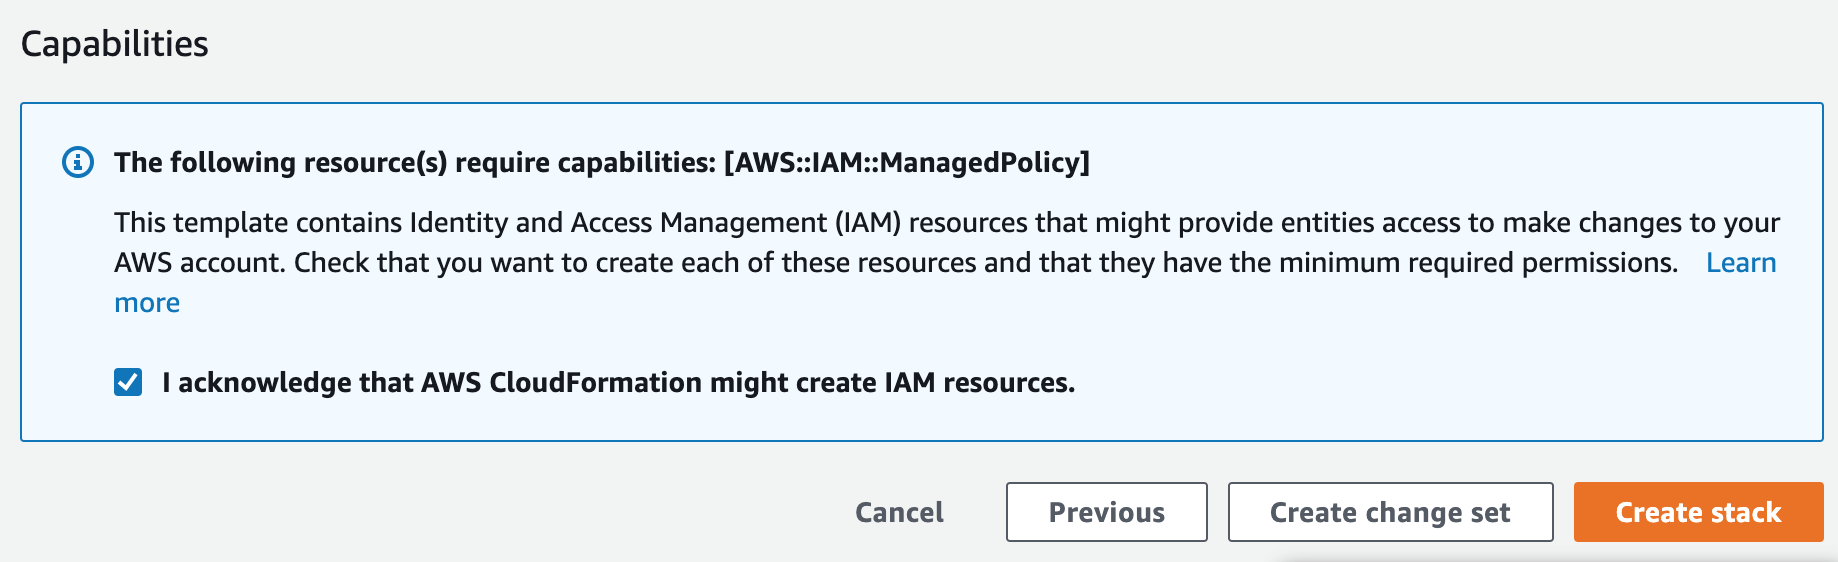
Select "I acknowledge that AWS Cloudformation might create IAM resource" and click "Create Stack"
After the stack goes into CREATE_COMPLETE, click on the "Outputs" tab of the AWS-HPC-Quickstart stack, there you'll see a URL. Click on that URL and you'll be re-directed to the console:

Click to expand
The first step is installing node.js, this can be done easily with Homebrew. After that completes, install aws-cdk:
$ brew install node
$ npm install -g aws-cdk
Now you can activate the python virtualenv and install the python dependencies:
$ source .env/bin/activate
$ pip install -r requirements.txt
At this point, it's time to setup CDK, the following needs to be done once in each account:
$ cdk bootstrap
And finally, deploy the app:
$ cdk deploy
I've surely missed a bunch of python dependencies, the format for installing those is:
$ pip install aws-cdk.custom-resources
Once it finishes deploy, you'll get an ouput with a link to the Cloud9 URL. Click on that to quickly see the Cloud9 result:

Use cdk synth | less to see the generated template.
Provide parameters to the stack via cdk deploy --parameters pcluster:KEY=VALUE.
cdk lslist all stacks in the appcdk synthemits the synthesized CloudFormation templatecdk deploydeploy this stack to your default AWS account/regioncdk diffcompare deployed stack with current statecdk docsopen CDK documentation
Enjoy!