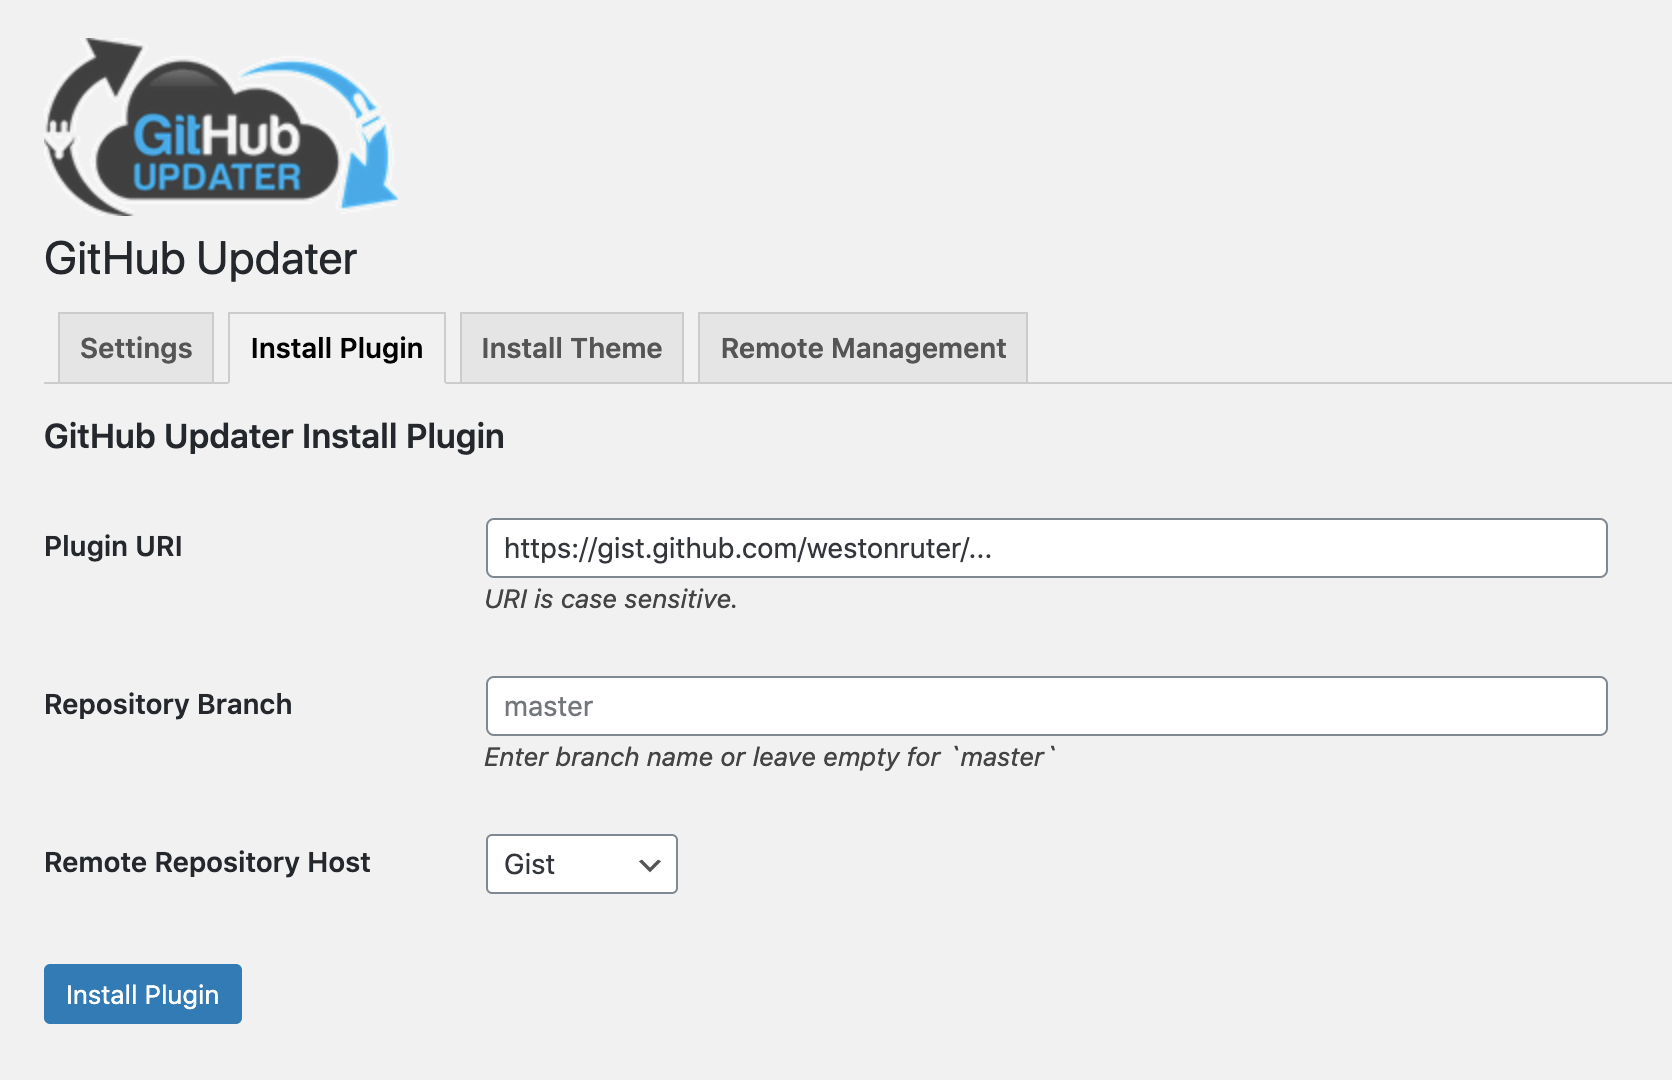
Instructions for how to install a WordPress plugin that is stored in a Gist (example).
There are three ways to do it:
Note: These instructions need to be refreshed now that the Gist updater functionality is in a separate plugin.
-
Install and activate the GitHub Updater and GitHub Updater - Gist plugins.
-
Navigate to Settings > GitHub Updater.
-
Click on the Install Plugin tab.
-
Supply the URL of the Gist as the Plugin URI and select “Gist” as the Remote Repository Host, and click Install Plugin.

-
From now on any updates to the Gist will be listed among the updated plugins on the WordPress Updates screen.
-
Bonus: Install and activate the GitHub Updater plugin to get updates.
-
Click the Embed dropdown and select Clone via SSH (or Clone via HTTPS):

-
Open the
pluginsdirectory on the terminal command line for your WordPress install. -
Do
git clone {url} {slug}where{url}is the Gist SSH URL which you copied to the clipboard and{slug}is the name you want to use. You can leave out{slug}if you want, but then the slug of the plugin will be something like621137b5a5ae1caaaee48c63f61ce7b7instead ofmy-plugin-doing-something. -
Then activate the plugin either via the WordPress admin or via WP-CLI (e.g.
wp plugin activate {slug}).


Is someone else installing files via Git?